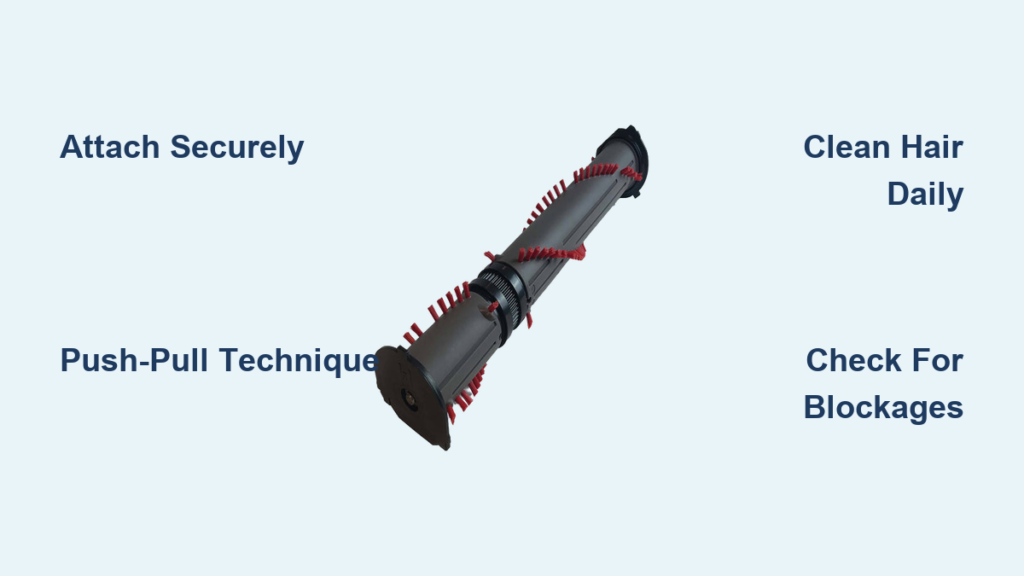
Your Dyson vacuum’s roller brush is the secret weapon for tackling embedded dirt and pet hair that regular suction alone can’t remove. Many users treat it as just another attachment, not realizing this motorized component is engineered to transform your cleaning results—especially on carpets where dirt hides deep in fibers. When you master proper roller brush technique, you’ll notice cleaner floors, less repeat cleaning, and extended vacuum performance. This guide reveals exactly how to use your Dyson roller brush effectively across different surfaces while avoiding common mistakes that damage the mechanism or reduce cleaning power.
Attaching Your Dyson Motorized Cleaner Head Properly
The connection between your roller brush and vacuum wand determines whether the motorized component receives power and functions correctly. Many performance issues stem from improper attachment rather than mechanical failure.
Secure Connection Process for Optimal Power Transfer
Begin with your Dyson switched off to prevent accidental activation. Position the motorized cleaner head so the wand clip aligns perfectly with the connection point at the base of your wand. Push firmly until you hear a distinct click—this audible confirmation means the electrical contacts have engaged properly. Without this secure connection, the roller brush won’t receive power, rendering it just a passive cleaning tool rather than the motorized powerhouse it’s designed to be.
Why Connection Quality Matters for Cleaning Performance
A loose connection creates intermittent power delivery that causes the roller brush to stutter or stop during cleaning. This not only reduces effectiveness but strains the motor components over time. If you notice the brush bar frequently stopping during use, immediately power down and reattach the head. The connection must be both mechanically secure and electrically sound for consistent performance—don’t settle for a connection that feels “mostly” attached.
Mastering the Push-Pull Cleaning Technique for Deep Carpet Cleaning
Most users drag their vacuum in one direction only, missing up to 40% of embedded dirt according to Dyson’s internal testing. The proper technique leverages the roller brush’s bidirectional agitation capability.
Forward Stroke: Agitating Surface Debris
Push your vacuum forward slowly across the carpet at a steady pace. As you move, the rotating brush bar works in the same direction as your motion, effectively “combing” the carpet fibers forward. This initial pass lifts surface-level dirt and debris into the suction path. Maintain consistent pressure—too light and the brush won’t engage properly with fibers; too heavy and you risk straining the motor.
Backward Stroke: Extracting Deeply Embedded Particles
The critical second step is pulling the vacuum backward over the same area. Now the brush bar rotates against your direction of travel, working through carpet fibers from the opposite angle. This reverse agitation dislodges particles that were driven deeper during the forward stroke. Many users skip this backward motion, leaving embedded dirt behind. For medium to high-pile carpets, repeat this push-pull sequence 2-3 times per section for thorough cleaning.
Overlapping Passes for Complete Coverage
After completing a push-pull cycle, shift your position slightly to the side, overlapping the previous pass by about 30%. This prevents missed strips of uncleaned carpet between passes. Work systematically room by room, maintaining slow, deliberate movements—rushing reduces the roller brush’s effectiveness by 60% according to vacuum performance studies.
Essential Maintenance to Prevent Roller Brush Failure

Hair and thread entanglement causes 90% of motorized cleaner head failures. Regular maintenance takes just minutes but significantly extends your roller brush’s lifespan and maintains peak performance.
Daily Hair Removal Protocol
After every 2-3 cleaning sessions, turn the motorized head upside down and inspect for hair, string, or carpet fibers wrapped around the roller bar. Use a seam ripper (included with most Dyson models) to carefully cut through tangled material without damaging the bristles. Start at one end of the brush bar and work your way across, removing all obstructions. Pay special attention to the ends where hair accumulates around the bearings.
Monthly Deep Cleaning Procedure
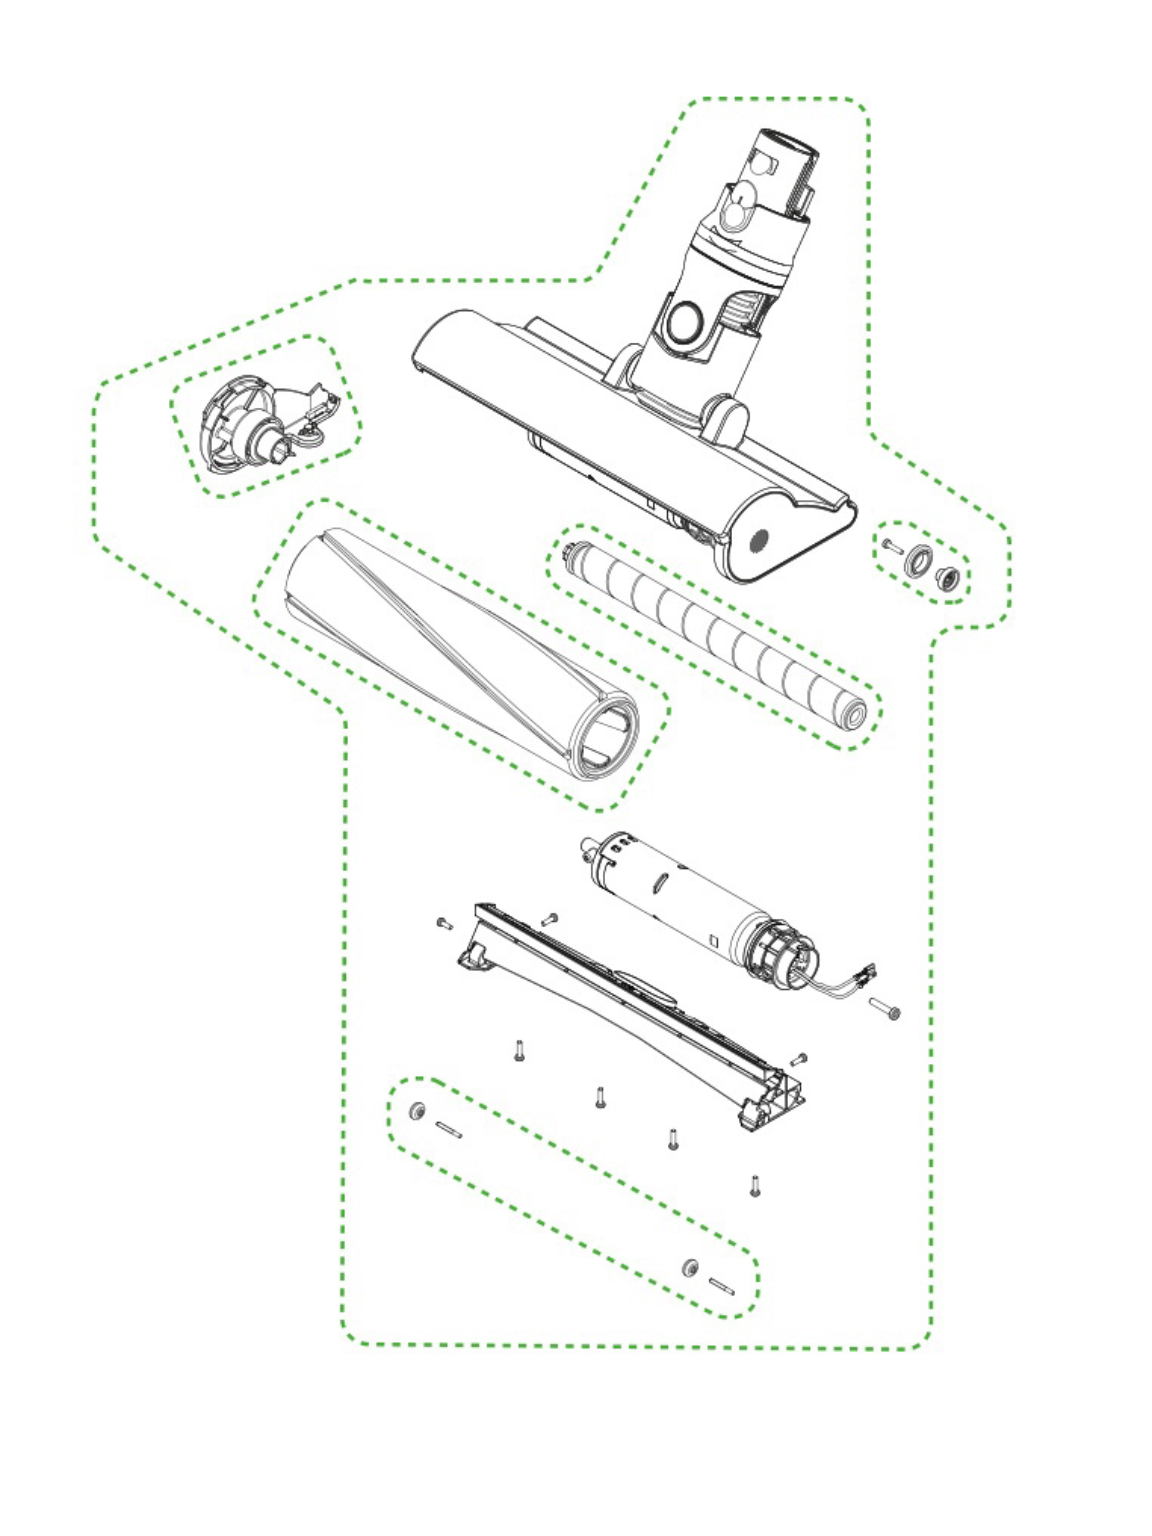
Once monthly, perform a more thorough cleaning by removing the roller brush entirely. Consult your specific model’s manual for removal instructions—most require pressing side clips to release the bar. With the brush removed, wipe both the roller and the interior channel with a slightly damp cloth to remove fine dust buildup. Check the axle for any deeply embedded threads and carefully cut them away with scissors. Before reinstalling, verify the roller spins freely by hand; if it catches or resists, continue cleaning until smooth.
Troubleshooting Common Roller Brush Problems
When issues arise, addressing them immediately prevents minor problems from becoming major repairs.
Why Your Brush Bar Stops Spinning Mid-Cleaning
If your roller brush suddenly stops during use, immediately power down and check for obstructions. Start with the visible ends of the brush bar—remove any hair wrapped around the bearings. Then inspect the drive belt area (visible when removing the brush bar) for debris. If the brush spins freely by hand when disconnected but not when powered on, the motor in the cleaner head may have overheated and needs cooling before restarting.
Restoring Suction When Cleaning Power Drops
Reduced suction during roller brush operation typically indicates a blockage in the airflow path. Check the bin first—empty when it reaches the MAX line. Then inspect the cyclone assembly for clogs. If these are clear, examine the wand connection points and the cleaner head housing for trapped debris. A blocked air path forces the roller motor to work harder, often causing it to stop spinning as a safety measure.
Addressing Unusual Grinding Noises Immediately
A grinding or scraping noise requires immediate attention—continue using the vacuum in this condition risks permanent damage. Power down completely, detach the cleaner head, and inspect the brush bar for foreign objects like coins, paper clips, or small toys. Rotate the brush manually while listening for irregular sounds that indicate internal damage. If the noise persists after clearing visible obstructions, stop using the attachment and contact Dyson support.
Surface-Specific Roller Brush Techniques for Optimal Results

Your approach should change based on flooring type to maximize effectiveness while protecting surfaces.
Medium and High-Pile Carpets: Full Power Engagement
This is where your roller brush shines. Use maximum suction power (Boost mode) and employ the full push-pull technique described earlier. The deep agitation lifts dirt from the base of carpet fibers where regular suction can’t reach. For heavily soiled areas, make additional passes with slower movements to ensure thorough cleaning.
Low-Pile Carpets and Rugs: Moderate Power Settings
On thinner carpets and area rugs, reduce suction power to prevent the roller brush from grabbing and damaging delicate fibers. Most Dyson models automatically adjust power based on floor type detection, but manual adjustment provides more control. Always test a small inconspicuous area first to ensure the brush doesn’t pull threads from woven rugs.
Hard Floors: Limited Use with Caution
While modern Dyson roller brushes typically deactivate the spinning mechanism on hard floors, you can still use them with proper technique. Set your vacuum to the lowest power setting to minimize scattering debris. Move slowly with deliberate strokes—rushing causes the roller brush to push dirt rather than capture it. For best results on hard surfaces, switch to a dedicated soft roller head designed specifically for hardwood and tile.
Preventing Common Roller Brush Damage During Storage
How you store your vacuum affects roller brush longevity almost as much as usage.
Proper Storage Position to Maintain Brush Shape
Always store your Dyson with the cleaner head elevated off the floor—not resting on the roller brush. Prolonged pressure distorts the brush bar shape, creating uneven cleaning performance. Use the wall dock or stand position recommended in your manual. If storing horizontally, place the vacuum on its side with the cleaner head suspended in air.
Environmental Factors That Affect Roller Brush Performance
Extreme temperatures and humidity impact roller brush components. Avoid storing your Dyson in unheated garages or damp basements where temperature fluctuations cause plastic components to warp. The ideal storage environment is between 50-80°F (10-27°C) with moderate humidity—conditions typically found in living spaces.
When to Replace Your Dyson Roller Brush
Even with perfect maintenance, roller brushes have a limited lifespan.
Signs Your Brush Bar Needs Replacement
Inspect your roller brush monthly for these warning signs: bristles worn down by more than 30%, visible bald spots where fibers have been pulled out, permanent bending or warping of the bar, or persistent wobbling during operation. Most Dyson roller brushes last 12-18 months with regular use—replace them proactively before performance degrades significantly.
Selecting the Correct Replacement for Your Model
Dyson offers different roller brush designs for specific models. Check your vacuum’s model number (typically on the bin or wand) before purchasing replacements. The V7, V8, V10, V11, and V15 each have compatible but distinct motorized cleaner heads. Using the wrong model may fit physically but won’t deliver optimal performance or could damage your vacuum.
Mastering your Dyson roller brush transforms it from a simple attachment into a powerful deep-cleaning system. By implementing these specific techniques and maintenance practices, you’ll extract more dirt from carpets, extend the life of your vacuum, and achieve noticeably cleaner floors with less effort. Remember the push-pull technique for carpets, clean the brush after every few uses, and match your approach to your specific flooring type—these simple adjustments deliver dramatically better results from the same machine.

