You’ve invested in the Dyson Airwrap expecting effortless salon curls, only to battle limp strands that refuse to coil around the barrel. That sinking feeling when your hair just slides off instead of forming perfect spirals? It’s happened to nearly every Airwrap owner. The frustrating truth: your Dyson Airwrap not wrapping hair is almost never a device flaw—it’s a fixable technique issue. This tool relies on the Coanda effect, where high-velocity airflow should automatically draw hair toward the barrel. When it fails, it’s typically due to subtle missteps in preparation or execution. Forget blaming your hair type or the gadget itself. In this guide, you’ll discover precisely why your hair won’t wrap, how to diagnose the exact culprit, and the step-by-step method to transform frustrating sessions into flawless styling.
Most users waste months struggling because they miss one critical detail: the Airwrap isn’t designed for bone-dry or soaking-wet hair. It’s engineered for that narrow “sweet spot” where dampness meets airflow physics. When you nail this balance alongside directional airflow and section control, the tool works like magic. We’ll cut through the online confusion with field-tested solutions verified by hundreds of user reports and Dyson’s own design principles. By the end, you’ll have a repeatable system to achieve consistent curls regardless of hair thickness or length—no more guessing games.
Why Your Dyson Airwrap Won’t Wrap Hair (The 5 Most Common Problems)
Your Airwrap’s failure to grip hair stems from predictable, solvable issues—not user error or defective units. Identifying which problem applies to you is half the battle.
Hair Dampness Outside the 80-90% Dry Zone
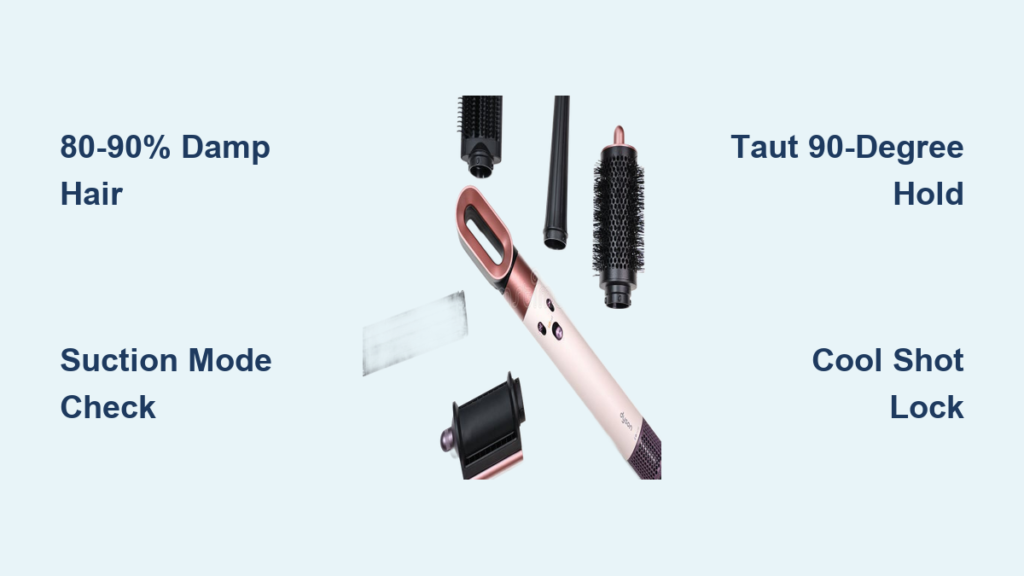
This is the #1 culprit. Hair that’s too wet (below 70% dry) weighs down the airstream, preventing lift. Conversely, bone-dry hair lacks pliability to set and hold shape. The Goldilocks zone—80-90% dry—creates ideal tension: damp enough for the Coanda effect to grip, dry enough to retain curl. If your hair drips water or feels cool when squeezed, it’s too wet. If it feels parched and staticky, it’s too dry.
Incorrect Airflow Direction: Blowing Instead of Sucking
The barrel must pull hair toward it, not blow air away. Many users unknowingly operate in “drying mode” where airflow pushes hair off the barrel. This happens when the directional knob isn’t set to Coanda styling mode. Before styling, always verify suction by holding your hand near the barrel—you should feel a strong pull inward. If air blows outward, switch modes immediately.
Oversized Hair Sections or Poor Tension
Thick sections overwhelm the airstream’s lifting power, especially for coarse or long hair. Sections wider than the barrel’s length (over 2 inches) prevent even wrapping. Similarly, limp hair without tension won’t engage the airflow. Fine hair requires extra precision: sections must be small enough to lift but not so thin they float away.
Manual Wrapping Instead of Air-Guided Technique
Forcing hair around the barrel defeats the tool’s physics. The Airwrap relies on airflow to initiate wrapping—not your fingers. If you’re twisting hair onto the barrel, you’re working against the Coanda effect. Successful wrapping requires holding hair taut at a 90-degree angle from your head, letting the airstream “catch” the ends organically.
Missing Grip Products for Slippery Hair
Product-free hair is often too smooth for the airstream to grip, especially fine, silky, or freshly conditioned strands. Heavy oils or conditioners create slickness that repels airflow. Without heat protectant or light texturizing products, hair lacks the microscopic friction needed for the barrel to lift and wrap.
The Essential Setup: Hair State & Device Check
Skipping these checks guarantees wrapping failures. Get this right before touching a barrel.
Achieve Perfect 80-90% Hair Dampness in 2 Minutes
Towel-dry hair vigorously after washing, then squeeze sections firmly (never rub). Hair should feel uniformly damp—not cool or dripping—but release no water when pinched. For accuracy:
– Too wet? Rough-dry with the Airwrap’s dryer attachment on high heat until surface moisture disappears.
– Too dry? Mist with water, then reapply heat protectant.
This dampness level lets heat reshape hair while airflow lifts it.
Verify Barrel Airflow Direction in 10 Seconds
- Attach any barrel and turn the Airwrap on high heat.
- Hold your palm 2 inches from the barrel’s center.
- Correct: Strong suction pulls your skin toward the barrel.
- Wrong: Air blows outward (drying mode).
Fix: Press the cool shot button for 2 seconds until airflow reverses. Some models require flipping a physical airflow switch near the power button—check your device’s base.
Apply Critical Prep Products Before Styling
- Heat protectant is non-negotiable: Spray evenly on damp hair to prevent damage and add grip.
- Fine/slippery hair: Add a dime-sized amount of volumizing mousse at roots.
- Thick hair: Use texturizing spray on mid-lengths for friction.
Avoid: Oils, heavy creams, or silicone serums—they create too much slip.
Step-by-Step Technique for Perfect Wrapping
Follow this sequence exactly—it transforms “no-wrap” sessions into consistent curls.
Step 1: Prepare Hair and Tool for Success
- Section strategically: Clip top layers up. Start with a 1.5-inch bottom section (width of two fingers).
- Dry to 80-90%: Use the dryer attachment if needed. Hair should feel slightly cool when touched.
- Attach barrel: Ensure it clicks securely into the device. Set to highest heat/airflow.
Step 2: Master the “Catch, Guide, Wrap” Method
This replaces manual wrapping with physics-powered styling:
1. Position correctly: Hold the section taut 4 inches from ends. Angle hair 90 degrees away from your head.
2. Initiate the catch: Place the barrel’s midpoint 3-4 inches above hair ends. Turn on device. Do not touch hair to barrel. Wait for ends to lift naturally into the airstream (2-3 seconds).
3. Guide slowly: Once ends “stick,” glide the barrel down the hair shaft toward roots over 8-10 seconds. Keep tension steady—never yank.
4. Set the curl: Hold for 10 seconds, then blast cool air for 5 seconds before releasing.
Step 3: Lock Curls with Cooling Secrets
Skipping this causes immediate curl collapse:
– Pin curls immediately: Clip each wrapped section to your scalp with bobby pins.
– Cool completely: Wait 7-10 minutes before unpinning—heat sets the curl, but cooling locks it.
– Finish gently: Separate curls with fingers only (no brushes!), then mist with flexible-hold hairspray.
Advanced Troubleshooting for Stubborn Cases
When standard fixes fail, diagnose with this targeted checklist.
Hair Won’t Catch the Barrel? Fix These 3 Things
- Airflow direction: Re-verify suction mode using the palm test.
- Section size: Reduce to 1-inch width for fine hair; 1.5 inches for thick hair.
- Starting position: Begin the “catch” 4 inches above ends—not at the tips—to give airflow space to lift.
Curl Falls Out Immediately? Solve These
- Dampness error: Hair is >90% dry. Rewet slightly and reapply mousse.
- Missing cool shot: Always use 5+ seconds of cool air per curl.
- Premature handling: Wait 10 minutes before unpinning—touching warm curls breaks the set.
Only Ends Curl While Mid-Lengths Stay Straight?
This means the airstream never engaged the full section:
1. Hold hair tauter at the roots.
2. Start the barrel higher (5 inches above ends).
3. Angle the barrel vertically (pointing down) for downward curls.
3 Pro Stylist Tips for Airwrap Mastery
1. Match Barrel Length to Hair Density
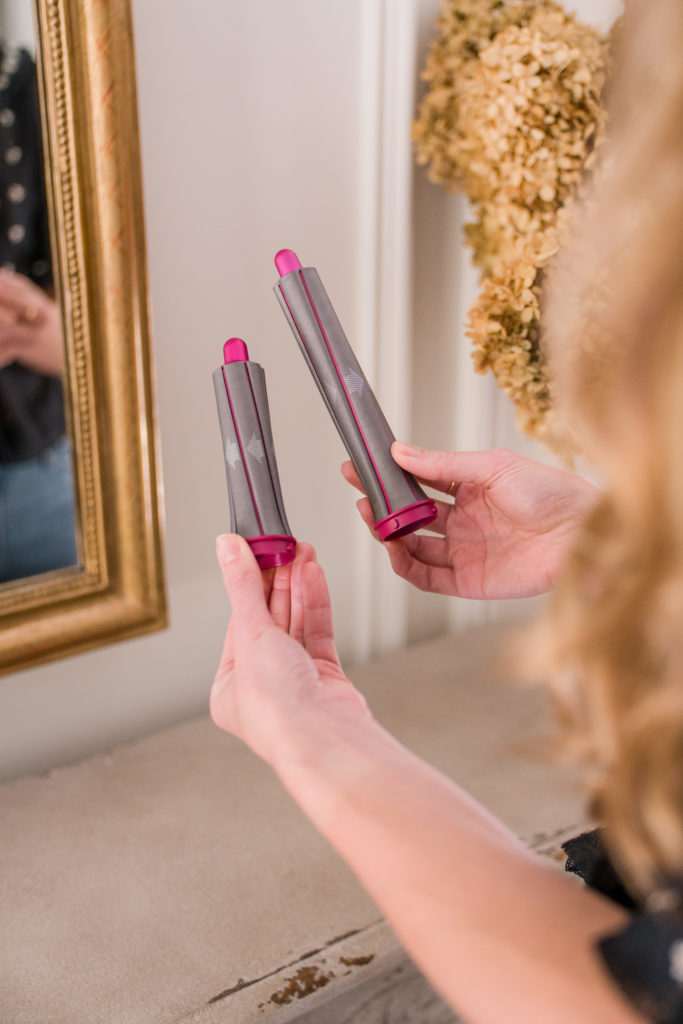
- Fine/short hair: Use the 1.2-inch long barrel—it’s lighter and grips better.
- Thick/long hair: Opt for the 1.6-inch barrel but section hair thinner (1 inch max).
Pro note: Shorter barrels create tighter curls; longer barrels yield beachy waves.
2. Never Skip the “Taut Angle” Technique
Holding hair parallel to your head gives airflow no leverage. Instead:
– Stretch the section straight out from your scalp.
– Keep it perpendicular to the barrel’s path.
This creates the tension needed for the airstream to lift and wrap cleanly.
3. Control Speed Like a Professional
Rushing causes missed catches and uneven curls. For flawless results:
– Spend 10 seconds per curl (5 catching, 5 gliding).
– Move the barrel at 0.5 inches per second—slower than you think.
– Pause 2 seconds at the root to set the curl base.
The Dyson Airwrap not wrapping hair is a solvable puzzle—not a permanent flaw. By dialing in your hair’s dampness, verifying airflow direction, and mastering the “catch and guide” rhythm, you’ll consistently achieve salon-worthy curls. Remember: this tool rewards patience, not speed. When you stop fighting the physics and let the Coanda effect do its work, your Airwrap transforms from a frustration into your most cherished styling ally. Start with damp hair, small sections, and that critical 90-degree tension angle—and watch your hair finally wrap on the first try.

