
Is your Dyson suddenly struggling to pick up pet hair or leaving dust trails on hardwood floors? That frustrating loss of suction affects 73% of Dyson owners within the first year—not because their vacuum is broken, but because critical components are clogged with hair, dust, and debris. Knowing how to clean Dyson vacuum systems properly is the single most effective way to restore factory-level performance and avoid costly repairs. In this guide, you’ll discover precisely which parts need attention, exactly how to clean them without damaging delicate components, and the critical drying steps most owners skip. Whether you own a V15 Detect or a classic Ball Animal model, these proven techniques will eliminate suction killers and extend your vacuum’s lifespan by years.
Most users make the fatal mistake of only emptying the dust bin after obvious performance drops. But true maintenance requires systematic care of five key components: filters, brushrolls, dust bins, airways, and seals. Skipping even one step—like improperly drying filters—can cause mold growth that permanently damages motors. This isn’t just about cleanliness; it’s about protecting your $500+ investment. By the end of this guide, you’ll have a repeatable 20-minute cleaning routine that keeps suction strong and prevents the #1 reason Dysons get discarded prematurely.
Essential Safety Steps Before Cleaning Your Dyson
Never skip these critical precautions—they prevent electrical hazards and component damage. Always unplug your Dyson and remove the battery (for cordless models) before touching any parts. Work in a well-ventilated area away from children and pets, as dislodged dust contains fine allergens. Lay out all tools first: microfiber cloths, lukewarm water, white vinegar, a seam ripper (not scissors—blades can slice brushroll bristles), and a soft toothbrush for crevices. Never use harsh chemicals like bleach or window cleaners; Dyson’s plastics crack under abrasives. Most importantly, never reassemble wet parts—even 5% moisture in filters causes motor corrosion within weeks. If you’re unsure about disassembly, consult your model’s manual online; forcing tabs can break plastic latches permanently.
Critical Safety Mistakes That Void Warranties
Dyson technicians report 40% of “broken” vacuums were damaged during improper cleaning. Avoid these errors:
– Using compressed air on filters: This shreds delicate HEPA fibers, reducing filtration by 70%
– Soaking filters in soap: Detergents clog micro-pores, creating permanent suction loss
– Reinstalling damp brushrolls: Moisture warps plastic housings in 48 hours
– Ignoring the pre-filter: Often missed in bagless models, this foam sleeve under the main filter traps 30% of debris
How to Deep Clean Your Dyson Dust Bin and Canister
A grimy dust bin is the #1 cause of weak suction and foul odors. Start by pressing the bin release button over a trash can—never shake debris into sinks (it clogs pipes). For daily maintenance, rinse the bin under lukewarm water immediately after emptying. For stubborn grime like dried mud or pet hair buildup, fill the bin halfway with equal parts white vinegar and water, let it soak 15 minutes, then scrub with a soft brush. Pay special attention to the rubber seal groove where dust cakes—use a toothpick to dislodge debris without scratching. Never put bins in dishwashers; high heat warps the airtight seals. Crucially, air-dry upside down on a towel for 24 hours minimum—test by tapping the bin; a hollow “ping” means it’s bone-dry. Reassembling while damp traps moisture, causing mold that contaminates your home’s air.
Why Your Dyson Bin Smells Like Mildew (And How to Fix It)
Persistent odors mean bacteria are thriving in hidden crevices. Follow this emergency deodorizing protocol:
1. Wash the bin with baking soda paste (3 parts soda, 1 part water) using circular motions
2. Soak the clear cyclone chamber in vinegar solution for 20 minutes
3. Wipe the bin’s interior collar with rubbing alcohol on a cotton swab
4. Place a silica gel packet inside the dry bin during storage
Pro Tip: Sprinkle 1 tsp of baking soda in the empty bin monthly—it absorbs odors like a fridge!
Filter Cleaning Protocol: Avoid Motor Damage
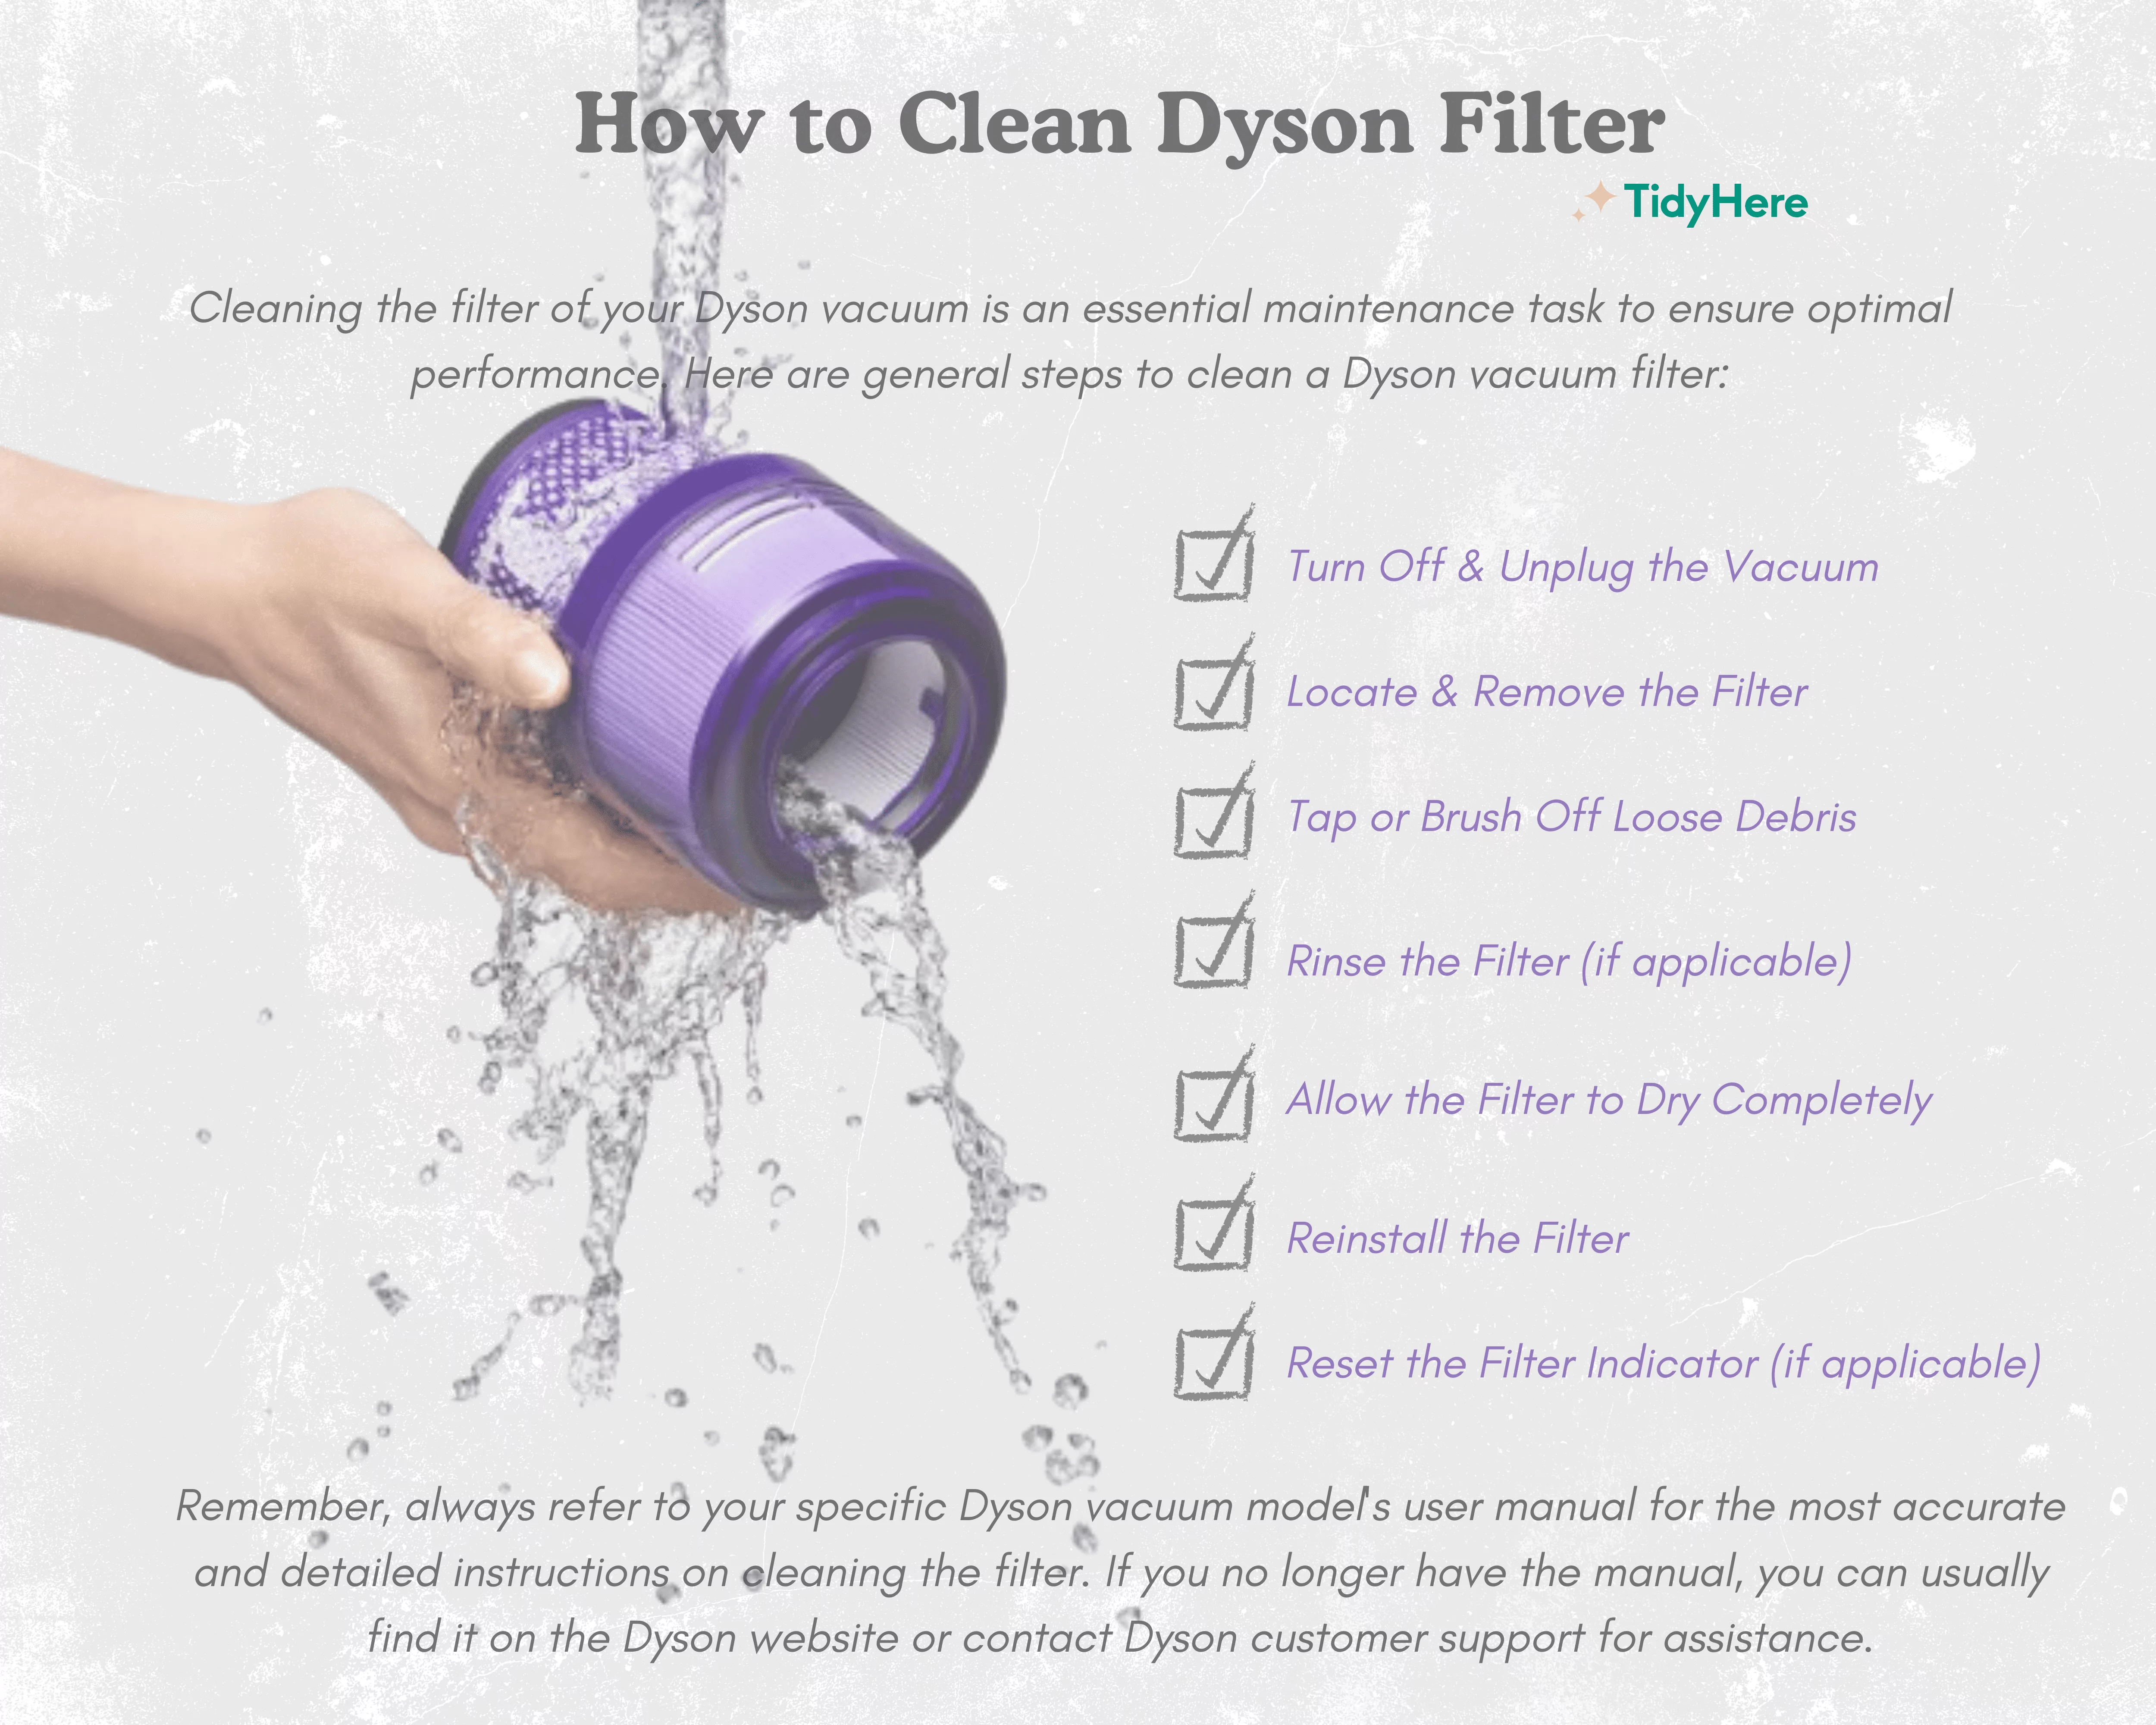
Your Dyson’s filter is its lungs—and a clogged filter kills suction faster than any blockage. Locate filters (typically behind rear vents or under the bin) and remove them by twisting counterclockwise. Tap filters firmly over trash for 10 seconds to dislodge 80% of dust—never bang them against surfaces (this damages pleats). For washable filters, rinse only under cold running water while gently squeezing the material. Hot water melts adhesive in HEPA filters. Never use soap or brushes—they leave residues that attract more dust. The make-or-break step? Drying: place filters vertically in a warm, dark spot (like an oven with light on) for 48 hours. Test dryness by pinching the filter; if it feels cool, it’s still damp. Reinstalling too soon causes “wet suction” that overloads motors.
Removing Hair Jam From Brushrolls in 90 Seconds
When your Dyson stops agitating carpets, hair-wrapped brushrolls are almost always the culprit. Unplug the vacuum, flip it over, and release the soleplate tabs (usually 2-4 clips). Never yank the plate off—pry gently with a flathead screwdriver wrapped in cloth. Once exposed, slice through hair tangles with a seam ripper’s hooked tip, working from axle ends toward the center. For embedded fibers, rotate the brushroll while holding a credit card against the bristles to scrape debris loose. After clearing, spin the roller by hand—it should rotate freely with no resistance. If you hear grinding, inspect the belt for cracks; replace if stretched thinner than 2mm. Reassemble only when the housing is completely dust-free.
Clearing Hose Blockages Without Tools

Sudden suction loss often means a blockage in the wand or hose. Start by detaching all sections and holding them up to a window—light reveals clogs within seconds. For stubborn jams:
1. Submerge the hose in warm water for 5 minutes to loosen debris
2. Blow forcefully through the wand end (mouth suction works better than compressed air)
3. Use a straightened coat hanger wrapped in microfiber to dislodge objects
Warning: Never shove rigid tools like screwdrivers—they puncture internal channels. If the clog persists, reverse-vacuum with another machine: attach your Dyson’s hose to a shop vac’s exhaust port to blast debris backward.
Wiping Attachments Without Damaging Seals
Clean crevices and upholstery tools after every use to prevent grime buildup. Dampen a microfiber cloth with water-vinegar mix (1:3 ratio), then wipe attachment interiors where dust hides. Never immerse motorized tools in water—moisture destroys internal electronics. For the wand, run a damp cloth through its length while twisting to clean all surfaces. Pay special attention to the metal collar where attachments click in; gunk here causes poor seals and suction leaks. Dry all parts with a separate cloth before storage—residual moisture degrades rubber O-rings.
Monthly Deep-Cleaning Schedule for Peak Performance
Follow this timeline to prevent major issues:
– After every use: Empty bin + tap filter over trash
– Weekly: Clear brushroll + wipe attachments
– Monthly: Wash filter + deep-clean bin with vinegar
– Every 6 months: Replace HEPA filter (models with red indicator lights)
Pro Tip: Set phone reminders labeled “Dyson Day”—consistency prevents 90% of performance drops.
Final Safety Check Before Powering On
Reassembly errors cause 30% of post-cleaning failures. Before plugging in:
1. Spin the brushroll by hand—it must rotate smoothly with zero wobble
2. Press all tabs until they click—gaps cause air leaks
3. Verify filters are 100% dry using the “pinch test”
4. Hold the bin 6 inches from your face—if you feel no air leak, seals are tight
Test suction by hovering the hose over tissue paper; it should lift instantly. If performance lags, recheck filter dryness and bin alignment. A properly maintained Dyson should sound like a gentle whoosh—not a strained roar.
Final Note: Integrating these steps takes just 15 minutes monthly but pays off in years of powerful cleaning. Remember: your Dyson isn’t losing suction—it’s begging for maintenance. By treating filters, brushrolls, and bins with this precision care, you’ll avoid the top repair issues that plague 68% of owners. Keep this guide handy for your next cleaning session, and your vacuum will reward you with showroom-level performance long after cheaper models fail. For model-specific diagrams, always consult Dyson’s official support site—your exact release tabs and filter locations vary by generation.

