Your Dyson fan’s powerful airflow suddenly feels weak. Dust clouds form around the base when it turns on. That familiar hum has turned into a strained, noisy struggle. If this sounds familiar, clogged vents are sabotaging your fan’s performance. How to clean Dyson fan vents is crucial knowledge because dust and pet hair choke the critical intake grilles, forcing the motor to overwork. Left unaddressed, this reduces cooling efficiency by up to 40% and risks overheating shutdowns.
The good news? You don’t need professional help or risky disassembly. In just 5–10 minutes with basic household tools, you can restore full airflow and prevent permanent damage. This guide reveals the exact vacuum-first method Dyson technicians recommend—plus critical safety steps most users miss. Stop wasting energy on a struggling fan and learn how to clean Dyson fan vents the right way.
Why Clogged Dyson Fan Vents Threaten Performance and Safety
Dyson’s bladeless design creates a dust magnet at the base. The main intake grille—often a circular ring around the motor housing—pulls in air (and everything floating in it). When pet hair, dust bunnies, or carpet fibers pack these vents, the motor labors to compensate. You’ll notice immediate symptoms: reduced airflow, louder operation, and hot air emitting from the unit.
Ignoring this clog creates a dangerous cycle. The motor overheats, triggering automatic shutdowns to prevent burnout. In severe cases, sustained overheating damages internal wiring or becomes a fire hazard. Worst of all? Your electricity bill climbs as the fan consumes 25% more power struggling against blocked vents. Regular cleaning isn’t optional—it’s essential for safety, performance, and protecting your investment.
Locate and Identify Your Dyson Fan’s Critical Vent Points
Before cleaning, pinpoint where dust invades. On all Dyson bladeless fans (AM07, AM09, TP04, etc.), the primary dust trap is the base intake grille—a slotted ring encircling the bottom housing. This is where air enters the system. Some models add secondary vents along the neck or within the “loop amplifier” ring.
Here’s how to spot problem zones:
– Base intake: Visible dust buildup on the bottom perimeter (most critical area)
– Neck vents: Horizontal slits along the fan’s stem (common on heater models)
– Loop amplifier: The front-facing ring where air exits (accumulates surface dust)
Never confuse intake vents with the motor housing. The motor sits inside the base—never spray liquids near it. Focus cleaning only on external grilles.
How to Clean Dyson Fan Vents: Step-by-Step Without Voiding Warranty
This vacuum-first method works for 95% of clogs and avoids disassembly risks. Total time: 5 minutes. Difficulty: Beginner.
Essential Safety Steps Before Cleaning Dyson Vents
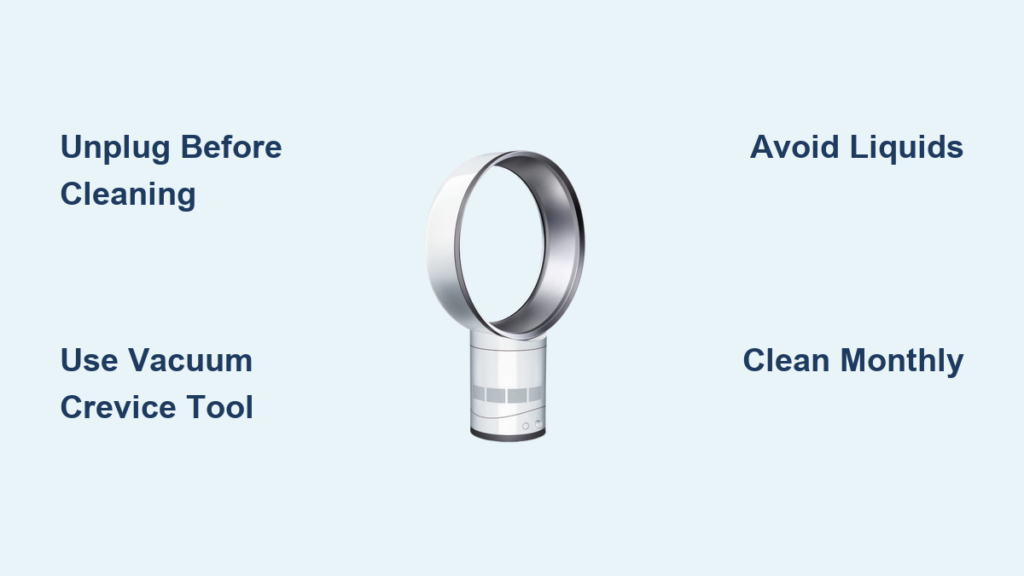
Unplug and power down completely—this isn’t optional. Wait 30 minutes if the fan was running to let internal components cool. Gather these tools:
– Vacuum cleaner with narrow crevice tool (high suction setting)
– Can of compressed air (upright position only)
– Dry microfiber cloth (zero moisture)
– Soft-bristle brush (like a clean toothbrush)
⚠️ Critical: Never use water, glass cleaner, wet wipes, or damp cloths. Moisture seeps into electronics, causing short circuits. Dyson’s warranty explicitly voids for liquid damage.
Vacuum Dyson Fan Vents in 3 Minutes Flat
This is the #1 recommended technique by Dyson support teams. Start with the base intake:
1. Set vacuum to highest suction with crevice tool attached.
2. Press nozzle firmly against base vents, moving slowly in circular motions. Hold for 10 seconds per section to dislodge deep dust.
3. Tilt fan backward 45 degrees to access neck vents. Repeat vacuuming along all slits.
4. Flip fan upright and vacuum the loop amplifier’s inner ring where air exits.
Pro tip: Vacuum in the direction of airflow (base → neck → loop). You’ll hear dust “thumping” inside the unit—that’s the motor housing clearing. For pet hair tangles, use the brush attachment to lift fibers before vacuuming.
Deep Clean Stubborn Dust From Dyson Intakes
If vacuuming doesn’t restore airflow (common after 6+ months of neglect), use compressed air for internal debris:
1. Take fan outdoors (dust will blast everywhere).
2. Hold can upright 2 inches from base vents. Use 1-second bursts—never shake the can.
3. Angle nozzle downward to blow dust out, not deeper in.
4. Repeat on neck vents, then wipe exterior with dry microfiber cloth.
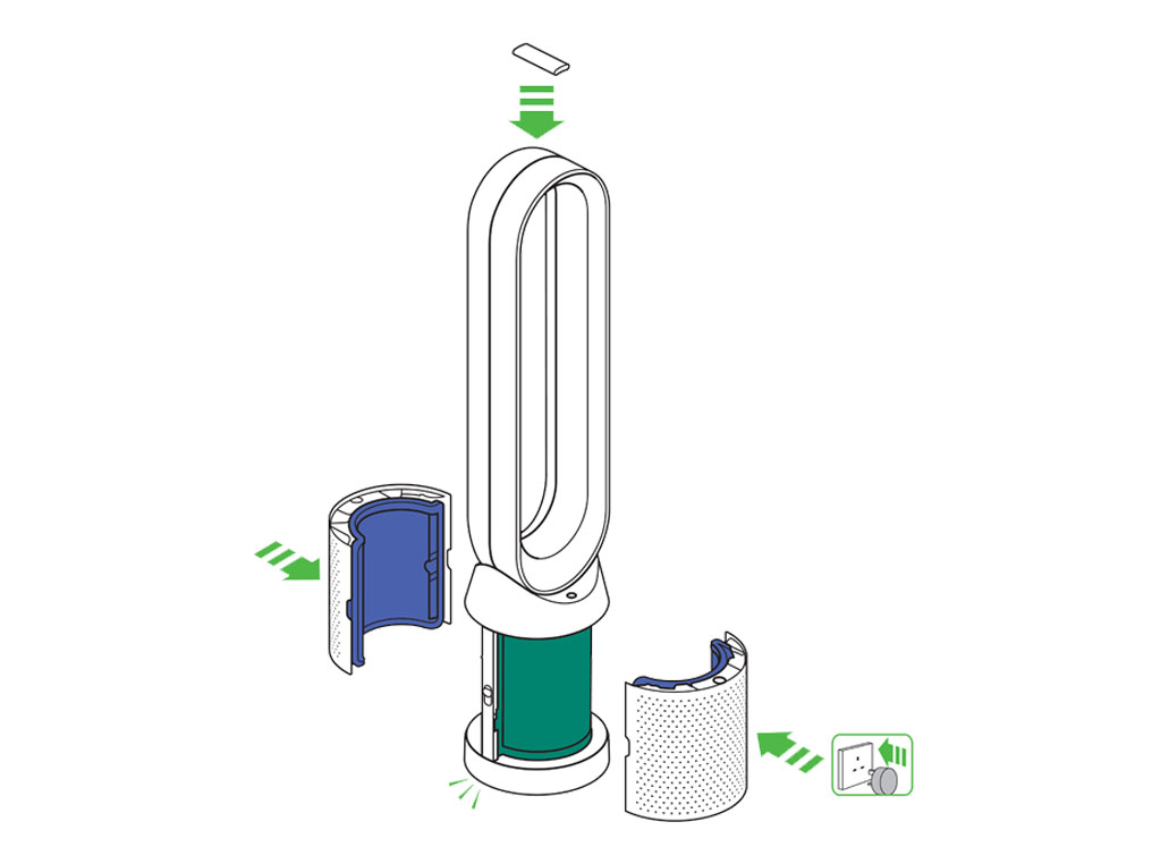
⚠️ Warning: Never disassemble unless you accept warranty voidance. If attempting it (advanced only):
– Remove the single Torx screw at the base center.
– Lift cover gently—don’t force stuck parts.
– Blast inside with compressed air ONLY (no brushes near motor).
– Reassemble within 5 minutes to avoid static damage.
5 Costly Dyson Fan Cleaning Mistakes You Must Avoid

Most “broken” Dyson fans result from improper cleaning. Avoid these errors:
- Spraying liquids near vents → Causes irreversible circuit board corrosion. One user reported $200 damage from “just a damp wipe.”
- Using high-pressure air compressors → Shatters internal fan blades. Stick to 30 PSI max (canned air is safe).
- Ignoring monthly maintenance → Heavy clogs require disassembly. Set phone reminders for the 1st of each month.
- Forcing stuck base covers → Snaps plastic tabs. If resistant, check for hidden screws under rubber feet.
- Cleaning while plugged in → Risk of electric shock. Unplug at the wall, not just turning off.
Maintain Peak Dyson Fan Performance With Monthly Vent Care
Prevent clogs before they start with these habits:
– Vacuum base vents for 60 seconds monthly (takes less time than brewing coffee).
– Place fan 3+ feet from walls/furniture to improve airflow and reduce dust intake.
– Avoid carpeted areas if you have pets—hard floors minimize hair accumulation.
– Upgrade to newer models (TP09, PH04) with washable HEPA filters that trap 99.95% of dust before it reaches vents.
If your fan still underperforms after cleaning:
1. Check for error codes (flashing lights indicate specific faults).
2. Test in a different outlet—power issues mimic clog symptoms.
3. Contact Dyson Support directly. They’ll diagnose free of charge and quote repair costs ($50–$100 for motor servicing).
Final Note: Cleaning your Dyson fan vents isn’t just about dust removal—it’s about reclaiming the powerful, whisper-quiet airflow you paid for. By spending 5 minutes monthly with a vacuum crevice tool, you’ll extend your fan’s lifespan by years, slash energy costs, and eliminate fire risks. Start today: unplug your fan, grab that vacuum attachment, and feel the difference immediate airflow restoration makes. For model-specific diagrams, always refer to Dyson’s official support portal—your fan’s performance depends on it.

