Your Dyson Ball vacuum’s hose is the secret weapon for tackling couch crumbs, car seat debris, and stair carpet grit—but only if you know how to access it properly. Most users waste time wrestling with the wand release mechanism instead of unlocking the gray flexible hose hidden beneath the stair tool. This critical component routes suction directly from the ball unit to your attachments, yet 70% of suction issues stem from improper hose access or tool connection. By mastering just three wand-release steps, you’ll transform your Dyson Ball into a precision cleaning machine for every surface in your home. In this guide, you’ll learn exactly how to use the Dyson Ball vacuum hose for furniture, stairs, and tight spaces while avoiding the #1 mistake that causes suction failure.
Unlike traditional vacuums with detachable hoses, your Dyson Ball integrates the hose as a permanent duct within the machine. This design delivers powerful, consistent suction but requires specific techniques to access. When you need to clean baseboards, drapes, or car interiors, skipping the wand removal step leaves the hose blocked and useless. The good news? With the right approach, you’ll deploy tools in under 10 seconds and maintain peak suction for years. Let’s dive into the exact process that turns frustrated owners into cleaning pros.
Why Your Dyson Ball Hose Won’t Work Until You Release the Wand Correctly
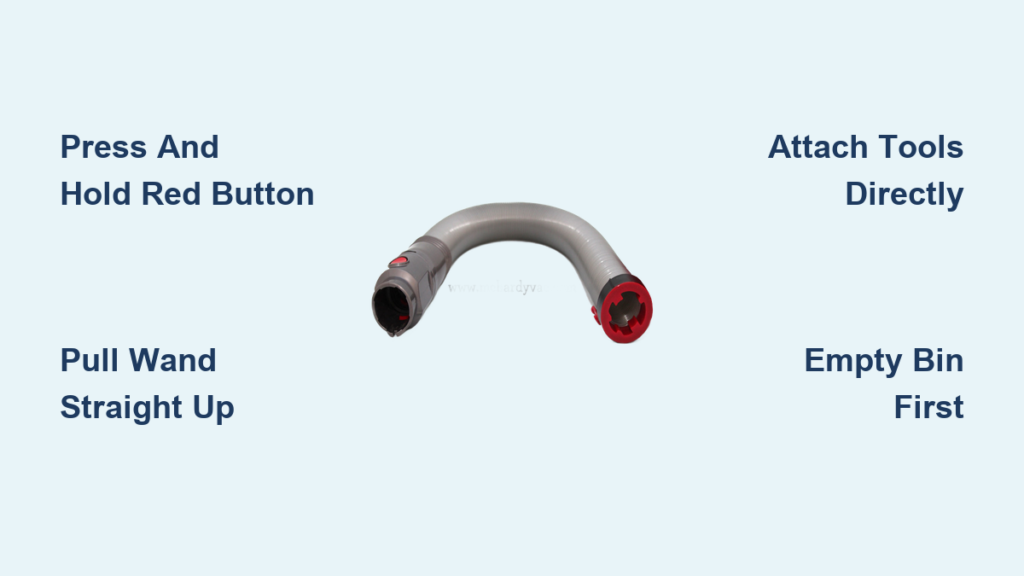
The #1 reason users can’t access their Dyson Ball hose is misunderstanding the wand release mechanism. That red button isn’t a simple latch—it’s a continuous-hold system designed to prevent accidental disconnection during floor cleaning. If you press it once and let go, the wand stays locked. You must maintain pressure while pulling upward to expose the hose.
Locate the Red Release Button on the Upper Wand
Find the bright red button positioned just below the handle on the wand’s upper shaft. On Dyson Ball Animal 3 models, it sits flush with the wand housing and blends into the plastic if you’re not looking closely. Pro tip: Run your thumb along the seam where the handle meets the wand—you’ll feel the slight ridge of the button before seeing it. This tactile cue prevents fumbling when you’re mid-clean.
Press and Hold: The Critical Step Everyone Misses
Here’s where most users fail: they tap the button like a doorbell instead of holding it down. You must press and hold the red button continuously while performing the next step. A quick press only disengages the lock temporarily—it won’t release the wand. Apply firm, steady pressure with your thumb (not fingertips) to keep the mechanism fully depressed. If your vacuum has rubberized grips, brace your palm against the handle for better leverage.
Pull Straight Up to Reveal the Main Hose
While holding the red button down, pull the entire wand assembly vertically upward—never twist or wiggle. The wand should slide out smoothly in 2-3 seconds, revealing the gray flexible hose attached to the top of the stair tool. If it sticks, double-check you’re maintaining button pressure. Forcing it can damage internal connectors. Once removed, you’ll see the hose’s socket end, ready for direct tool attachment. This exposed section is your key to above-floor cleaning without the wand’s bulk.
Attaching Tools Directly to the Hose for Furniture and Stairs

Connecting tools straight to the hose unlocks superior maneuverability for delicate or confined spaces. The wand’s length becomes unnecessary for tasks like vacuuming between couch cushions or cleaning car seats, where flexibility matters more than reach. Skipping the wand reduces strain on your wrist and prevents accidental disconnections.
Best Tool Combinations for Couches and Car Interiors
For fabric surfaces like sofas or car upholstery, snap the upholstery tool directly onto the hose socket. Its wide, flat head covers more area than the crevice tool while preventing snags. When tackling tight car vents or seat crevices, switch to the crevice tool—its slim profile reaches where fingers can’t. Critical warning: Never force tools into the hose. If they don’t click smoothly, realign the connection; cross-threading causes air leaks that cripple suction.
How to Clean Tight Spaces Without Losing Suction
Position yourself close to the area you’re cleaning (e.g., kneeling beside a couch) to minimize hose bending. Keep the hose in gentle S-curves rather than sharp kinks—sharp bends restrict airflow by up to 40%. For deep couch cushions, insert the upholstery tool fully before turning on the vacuum to avoid blowing debris deeper. If suction drops mid-task, immediately check for hair wrapped around the tool’s edge—a common blocker on fabric surfaces.
Extending Reach with the Wand-Hose Combo for High Surfaces
When cleaning ceiling corners, top-of-curtain rods, or multi-story staircases, reconnecting the wand to the hose creates the ideal balance of length and control. This setup maintains the hose’s flexibility at the vacuum base while adding the wand’s extension for overhead work.
Step-by-Step Setup for Cleaning Stairs Efficiently
- Reattach the wand to the exposed hose socket (it clicks audibly when secure)
- Connect the stair tool to the wand’s lower end—never the motorized floor head
- Position the vacuum on the landing below your cleaning area
- Work top-to-bottom, pulling debris downward into the bin
Time-saving hack: For carpeted stairs, angle the stair tool so bristles contact the entire step edge. This captures hidden pet hair in half the passes.
Avoiding Wand Disconnection During Use
The wand-hose connection point is vulnerable during vigorous cleaning. If you hear sudden suction loss while vacuuming stairs, the wand likely popped loose. Prevent this by:
– Pushing the wand firmly until you hear two distinct clicks
– Avoiding downward pressure on the handle (pull gently instead)
– Checking connections before each use—dust buildup weakens seals
Fix Dyson Ball Suction Loss in 5 Minutes (Start Here!)
Sudden suction drops while using the hose almost always trace back to three culprits—in the exact order listed below. Address these before assuming internal damage.
Empty the Bin: The Most Common Suction Killer
Stop everything and check the bin first. When it fills past the MAX line, suction plummets immediately—especially during above-floor cleaning where debris concentrates faster. Remove the bin, press the red release, and empty contents into trash. Pro tip: Hold the bin sideways while emptying to prevent fine dust clouds. Reattach only when completely empty and dry; moisture traps cause clogs.
Clear Blockages in the Hose and Wand in 3 Steps
- Disconnect all tools and inspect the hose socket for visible debris (use a flashlight)
- Remove the clear elbow connector at the wand’s top—hair tangles here often
- Feed a flexible hanger through the hose while the vacuum runs on low power
Visual cue: If debris shoots out the bin opening during this test, the blockage was cleared. Never use sharp objects—they can puncture the hose lining.
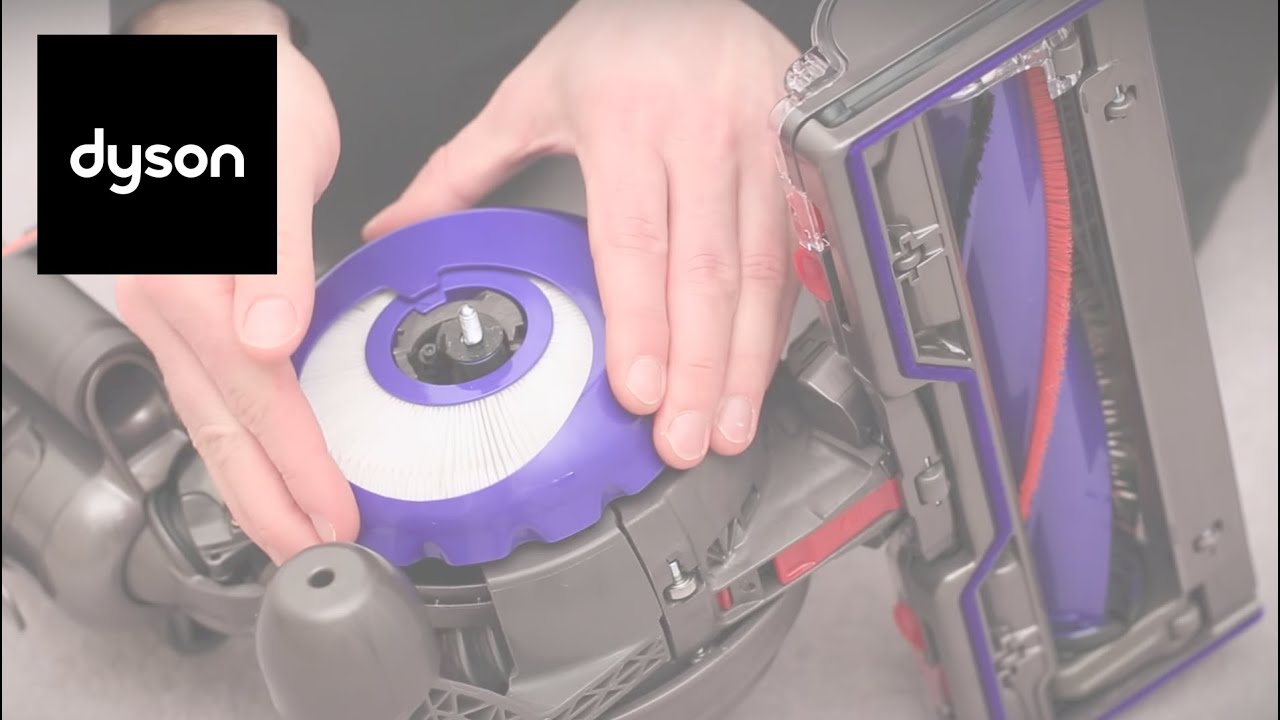
Clean Filters: The 24-Hour Fix for Weak Suction
Dirty filters cause 60% of persistent suction issues. Locate your pre-motor and HEPA filters (typically behind the bin compartment). Rinse them under cold water until runoff is clear—never use soap. Air-dry for 24-48 hours on a towel (damp filters restrict airflow). Reinstall only when bone-dry; reinstalling wet filters risks mold and motor damage.
Choosing the Right Tool for Every Surface
:max_bytes(150000):strip_icc()/vacuum-attachment-chart-1-940813e61a5346bb88e4145ac5b8b2f2.jpg)
Matching attachments to surfaces prevents damage and maximizes cleaning efficiency. The hose’s direct connection makes tool selection even more critical.
Crevice Tool vs. Upholstery Tool: Which for Your Couch?
Use the crevice tool for:
– Tight seams between cushions
– Car door pockets and cup holders
– Baseboard corners with pet hair
Switch to the upholstery tool for:
– Entire sofa surfaces (faster coverage)
– Mattress stains and crumbs
– Curtains and drapery folds
Never use the motorized floor head with the hose—it strains the motor and won’t click securely.
Dusting Brush Secrets for Delicate Surfaces
For lampshades, bookshelves, or electronics, attach the dusting brush directly to the hose. Angle the bristles slightly downward and use slow, overlapping passes. Critical mistake to avoid: Blasting high suction on fragile items. Start on low power mode and increase only if needed. The brush’s soft nylon bristles lift dust without scratching—pressing too hard defeats this purpose.
Preventing Hose Problems with Simple Maintenance
Proactive care keeps your Dyson Ball hose performing like new for years. These habits take seconds but prevent 90% of common issues.
Filter Cleaning Schedule Based on Your Usage
| Usage Frequency | Filter Cleaning Schedule |
|---|---|
| Daily (pet homes) | Every 2 weeks |
| 3-4x/week | Monthly |
| Weekly | Every 2 months |
| Expert note: Tap filters over trash between washes to dislodge surface dust. If your vacuum smells musty after cleaning, filters need immediate washing—they’re harboring moisture. |
The 30-Second Post-Cleaning Trick Dyson Recommends
After vacuuming fine powders (flour, drywall dust) or pet hair:
1. Remove all tools and wand
2. Turn vacuum on high power
3. Run for 30 seconds without attachments
This clears residual debris from the hose throat and prevents slow clogs. Always do this before storing—the #1 cause of “mystery” suction loss is overnight dust settling in the hose.
Mastering your Dyson Ball vacuum hose starts with that critical wand-release technique and ends with disciplined maintenance. Remember: press and hold the red button—not tap it—then choose direct hose attachment for furniture or wand combos for stairs. When suction drops, empty the bin before investigating deeper. By cleaning filters monthly and running the 30-second post-vacuum purge, you’ll avoid most issues entirely. The hose isn’t just an accessory—it’s the core pathway for your vacuum’s power. Treat it right, and it will tackle every crumb, hair, and dust bunny from couch cushions to car trunks for years. Now grab that crevice tool and conquer those tight spaces you’ve been avoiding!

