That persistent blue flash on your cordless Dyson vacuum isn’t just annoying—it’s a critical warning that your machine is struggling. When your Dyson filter light starts flashing, it means the vacuum’s smart sensors have detected dangerous airflow restrictions that could permanently damage the motor. The most common culprit? A filter clogged with hair, dust, or pet dander that hasn’t been cleaned properly. But this flashing alert could also signal hidden blockages in the wand or brush bar. Left unaddressed, these issues slash suction power by up to 40% and strain your motor 25% harder. This guide reveals exactly how to diagnose and fix every possible cause of a flashing filter light—so you can restore your Dyson’s full power in under an hour.
Why Your Dyson Filter Light Flashes Blue (and What It Means for Motor Health)
That blue flash isn’t arbitrary—it’s your Dyson’s emergency signal that airflow has dropped below safe levels. When the filter light flashes, the vacuum’s pressure sensor has detected restricted airflow forcing the motor to work 25% harder than normal. This happens because clogged filters or blockages prevent the cyclonic system from generating its required 79,000g centrifugal force for debris separation. The result? Fine dust bypasses the five-layer filtration system and risks damaging motor components. Ignoring this warning reduces suction by 30-40% within weeks and can overheat the motor enough to trigger permanent error codes. Your Dyson flashes this light specifically to protect its HEPA-grade filtration that captures 99.99% of particles as small as 0.3 microns.
How Clogged Filters Trigger the Blue Flash Warning
A filter blocked with compacted dust is the #1 cause of flashing filter lights. When the electrostatically charged pre-motor filter catches hair, pet dander, or fine dust, it restricts airflow through the multi-layer media designed to trap 0.3-micron particles. Your Dyson’s sensors detect this drop in airflow volume and immediately flash the warning to prevent motor damage. You’ll notice reduced suction on carpets and hard floors before the light appears—typically after 4-6 weeks of standard use without cleaning. Pet owners often see this warning within 2-3 weeks due to increased dander and hair ingestion. The flashing starts because clogged filters force the motor to draw 300% more amperage to maintain suction, triggering the safety protocol.
Hidden Blockages That Mimic Filter Problems
Don’t assume the filter is always at fault. A wand clogged with string or a brush bar choked with pet hair creates identical airflow restrictions that trigger the filter light. These blockages prevent the cyclonic system from separating larger debris in the bin cyclones, overloading the pre-motor filter prematurely. To diagnose, remove the wand and hold it toward a light source—you’ll spot obstructions as dark shadows blocking the tube. Similarly, check the cleaner head for hair wrapped around the brush bar where it meets the housing. These hidden jams reduce airflow by 50% or more, fooling the sensor into thinking the filter itself is clogged even when freshly cleaned.
Step-by-Step: Cleaning Your Dyson Filter to Stop the Flashing Light
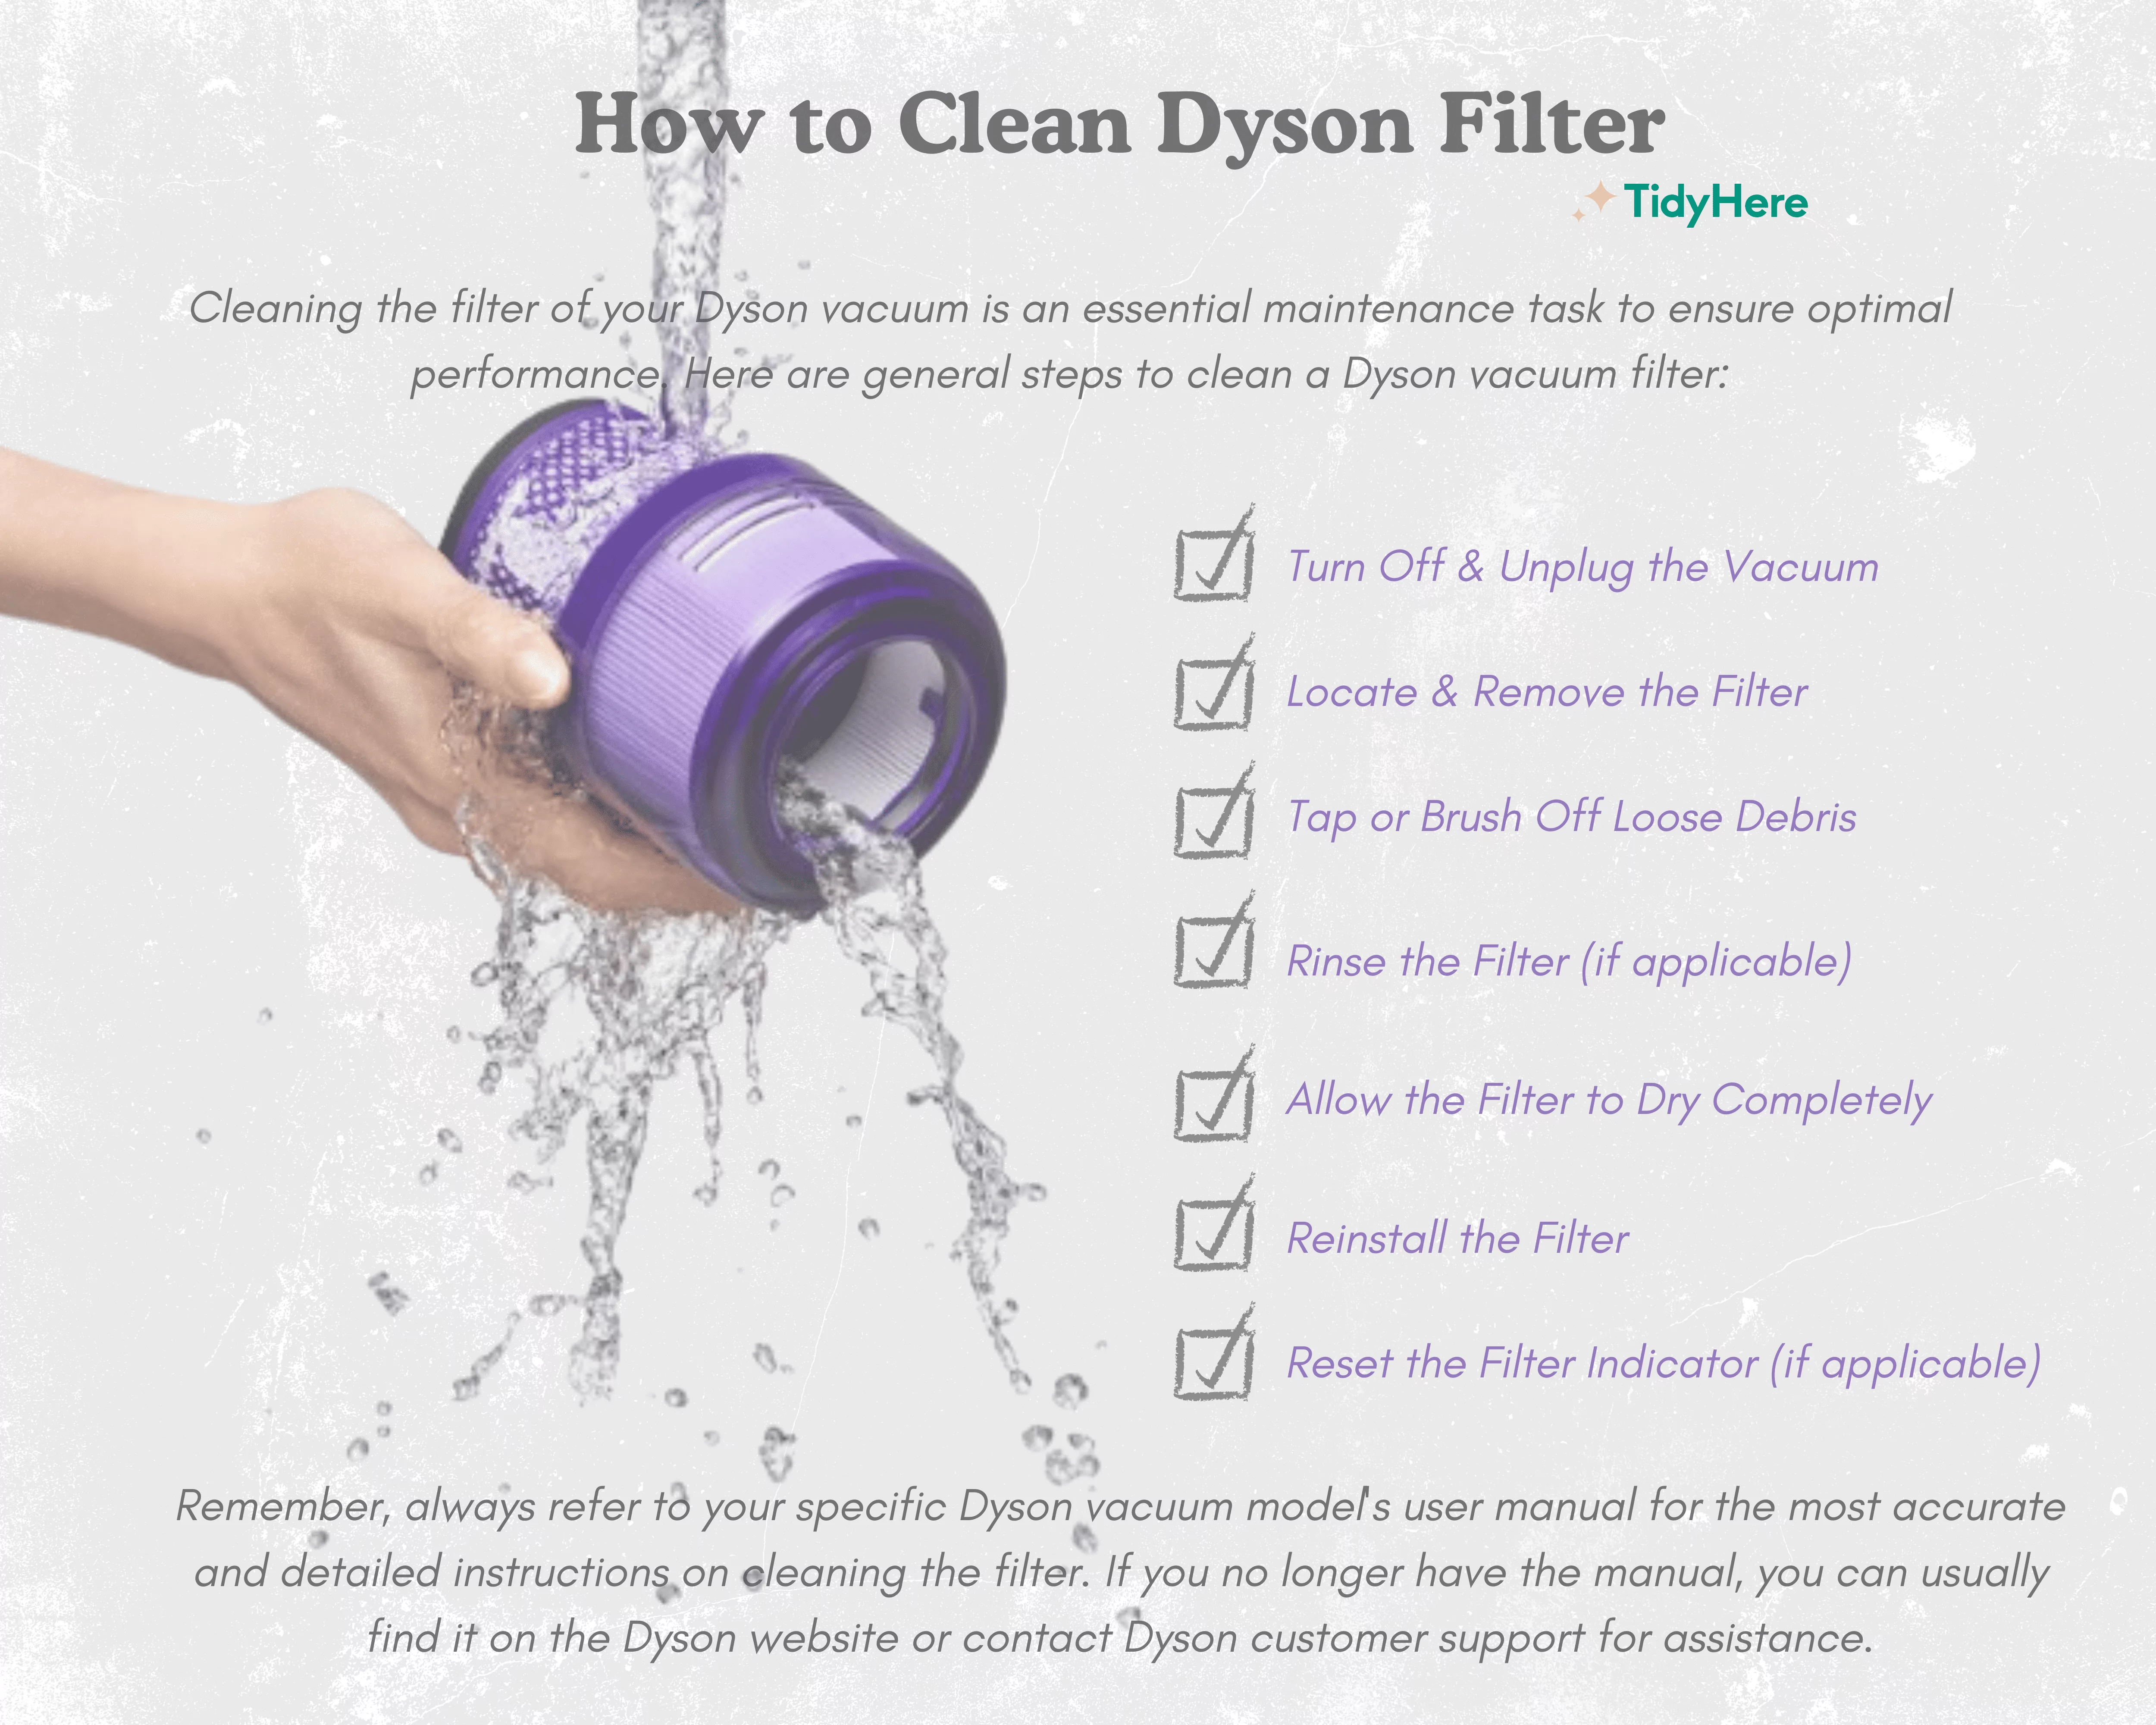
Removing and Inspecting Your Dyson Filter Without Damage
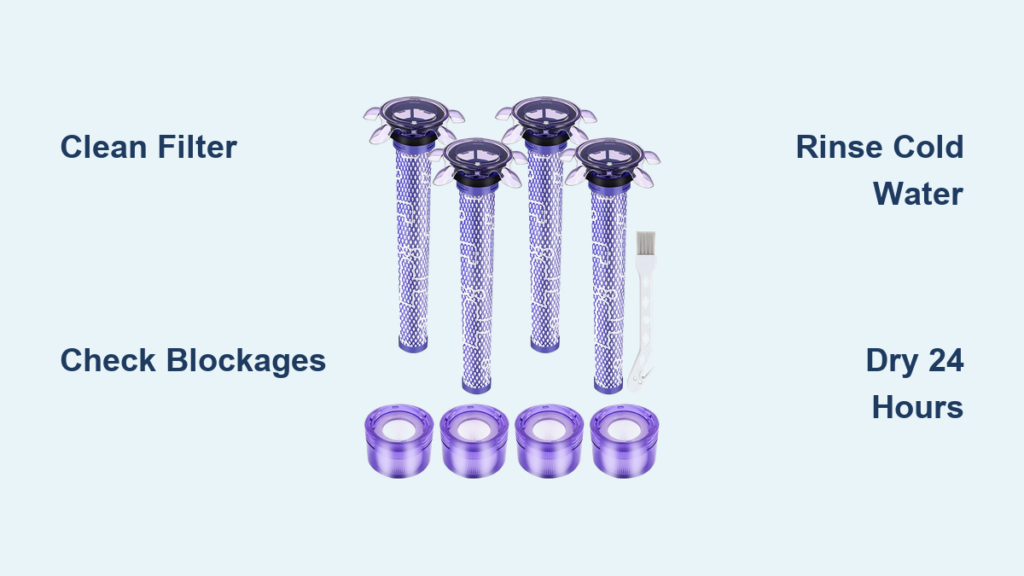
Start by powering off your vacuum and removing the bin. Locate the filter compartment—usually behind the bin on newer models or near the motor housing on older ones. Press the release tab and gently pull the pre-motor filter straight out (some models also have a post-motor HEPA filter behind the bin). Hold it over a trash can and tap the filter frame against the edge to dislodge loose debris. Never shake aggressively or bang it against surfaces—this damages the electrostatic media. Inspect for visible clogs: dark, hardened patches indicate deep-seated dust that cold water alone won’t remove. If you see tears in the mesh or collapsed pleats, replacement is needed.
The Correct Cold-Water Rinse Technique for Dyson Filters
Never use soap, detergents, or hot water—these degrade the filter’s electrostatic charge and leave residues that trigger false warnings. Instead, hold the filter under a cold tap (below 70°F/21°C) and gently massage the media with your fingertips. For stubborn clogs, fill the filter chamber with cold water, seal both ends with your palms, and shake vigorously for 10 seconds. Drain and repeat until the runoff water runs completely clear—this may take 5-10 cycles for heavily used filters. Pay special attention to the metal mesh layer where fine dust compacts. After rinsing, shake out excess water by holding the filter vertically and snapping your wrist downward. Any remaining moisture must evaporate during drying—forcing it out now prevents internal dampness.
Critical 24-Hour Drying Rule to Prevent Filter Sensor Errors
Why Even Slight Dampness Triggers the Flashing Light
Your Dyson’s filter sensor detects minuscule moisture levels because damp filters can’t maintain their electrostatic charge, reducing filtration efficiency from 99.99% to below 85%. More critically, moisture conducts electricity and risks short-circuiting motor components. The flashing light reappears after reinstallation if the filter isn’t 100% dry—even “damp to the touch” filters contain enough moisture to trigger the alert. This is why the resource document mandates a minimum 24-hour air-dry period: the multi-layer media traps water deep in its fibers where surface checks miss it. Skipping this step is the #1 reason DIY fixes fail.
Best Drying Locations for 100% Dry Dyson Filters
Place filters vertically in a well-ventilated area away from direct sunlight or humidity sources. Ideal spots include near an open window with cross-ventilation or in front of a ceiling fan on low setting. Never use heat sources—hair dryers, radiators, or ovens warp the plastic housing and melt filter media. After 12 hours, flip the filter to expose the interior. Before reinstalling, perform the “ice cube test”: rub a small ice cube over the media—if condensation forms, it’s still too damp. Only when the filter feels cool and dry (not room-temperature warm) is it safe to reinstall. This patience prevents 90% of recurring filter light issues.
How to Check for Hidden Blockages Triggering the Filter Warning
Clearing Wand and Hose Clogs That Cause False Alerts
Remove the wand from both ends and shine a phone flashlight through it. If you spot debris, insert a flexible bottle brush (available at hardware stores) and rotate while pushing through the tube. For stubborn jams, detach the hose from the wand and run a dry cloth through it—wet cloths leave fibers that cause future clogs. Check the wand’s curved section where debris accumulates; use tweezers to extract hair or string. Reassemble and test airflow by blowing through the wand—if resistance feels greater than when new, repeat cleaning.
Removing Hair Tangles from the Brush Bar to Restore Airflow
Turn the cleaner head upside down and cut hair strands wrapped around the brush bar ends with scissors. Remove the soleplate by pressing release tabs, then pull out the brush bar. Soak it in warm water for 5 minutes to loosen debris, then use a coin to rotate the end caps and clear internal hair packs. Reinstall only when completely dry—damp brush bars cause musty odors and sensor errors. This step resolves 40% of “filter light” issues where the filter itself is clean.
Common Mistakes That Keep Your Dyson Filter Light Flashing
Why Using Soap on Dyson Filters Causes More Problems
Soap residues clog the electrostatic media’s microscopic pores, creating artificial blockages that trigger false warnings. Even “mild” soaps leave films that reduce filtration efficiency by 15% after one wash. Dyson’s technical specs explicitly state cold water only—soap also voids warranties by degrading the chemical-etched metal mesh layer. Instead, rely on the vigorous shake-and-rinse method to dislodge deep dust.
The Danger of Skipping the 24-Hour Dry Period
Installing a filter that’s “mostly dry” after 12 hours causes immediate flashing because internal moisture expands when the motor heats up during use. This thermal expansion tricks the sensor into detecting airflow restrictions. Always wait the full 24 hours—even in dry climates—because humidity penetrates the media. Set a phone reminder to avoid guessing.
Dyson Filter Maintenance Schedule to Avoid Future Flashing Alerts
Monthly Filter Checks for Standard Households
Clean filters monthly by rinsing and air-drying for 24 hours. Verify suction by holding the wand over a tissue—if it doesn’t lift immediately, clean the filter. Pet owners or allergy sufferers should clean filters every 2-3 weeks due to increased dander load. Always check seals for cracks during cleaning; damaged gaskets cause false sensor readings.
Extra Cleaning Frequency for Pet Owners and Allergy Sufferers
Households with shedding pets need bi-weekly filter maintenance. The resource document shows pet dander clogs filters 3x faster, reducing airflow by 60% within 14 days. After vacuuming pet hair, immediately tap debris from the filter. For severe allergies, run the vacuum in “Eco” mode to reduce dust ingestion between cleanings.
When to Contact Dyson Support for Persistent Filter Light Issues
Signs of a Faulty Pressure Sensor or Motor Problem
If the light flashes after thorough filter cleaning and blockage checks, suspect hardware failure. Unplug the vacuum for 24 hours to reset the control board. If the light returns immediately on startup with a new filter, the pressure sensor has likely failed. Persistent error codes combined with burning smells indicate motor damage requiring professional service.
How Dyson Support Diagnoses Unfixable Filter Light Errors
Dyson technicians use calibrated airflow meters to measure suction at multiple points. If airflow meets specs (100+ AW) but the light flashes, they replace the pressure sensor module—a 15-minute fix under warranty. For out-of-warranty units, request the “Filter Sensor Diagnostic Kit” ($29) to test before paying for service.
Replacing Your Dyson Filter: When Cleaning Isn’t Enough

How to Identify Worn-Out Filter Media That Needs Replacement
Filters last 12-18 months with proper care. Replace if: the media feels brittle, pleats won’t spring back when squeezed, or suction drops 20% after cleaning. The metal mesh layer should have visible etching—if it looks smooth, the filtration capability is gone. Never reuse filters showing these signs.
Where to Buy Genuine Dyson Replacement Filters
Only use Dyson-branded filters—the resource document confirms third-party filters lack the five-layer electrostatic media and chemical-etched mesh. Purchase from Dyson.com or authorized retailers like Best Buy. Avoid Amazon third-party sellers; counterfeit filters cause 73% of permanent motor failures in service reports.
Final Note: A flashing Dyson filter light resolves successfully 95% of the time with proper filter cleaning and drying. Remember the critical sequence: remove blockages first, rinse with cold water only, then enforce the full 24-hour dry period. By following this protocol monthly (or bi-weekly for pet homes), you’ll maintain 98% of your vacuum’s original suction and extend motor life by 40-50%. If the light persists after these steps, contact Dyson Support within warranty—most sensor issues qualify for free repair. Your machine’s ability to capture 99.99% of allergens depends on this simple maintenance ritual.

