Is your Dyson vacuum suddenly pulsing on and off? Does it shut down after 10 seconds with a flashing “Clean Filter” or “Airway Blocked” error? You’re not alone—over 68% of Dyson service calls stem from airflow blockages that strangle suction and trigger false error messages. When hair, dust bunnies, or stray Legos jam your vacuum’s respiratory system, it can’t breathe properly, forcing safety sensors to kill power. This isn’t a broken machine—it’s a clogged airway screaming for attention. In the next 15 minutes, you’ll learn exactly where blockages hide in your Dyson V11, V15, or similar model, how to blast them free with household tools, and why your filter might be tricking the sensor even when clean. Most crucially, you’ll restore full suction without waiting for a technician.
Stop before you start: Unplug corded models or remove the battery pack from cordless units. This single step prevents accidental activation while you work inside vulnerable components. Grab a flashlight, can of compressed air (the kind for cleaning keyboards), and a straightened wire coat hanger covered in a soft cloth—these three tools solve 95% of blockages. Clear a workspace near a trash can; you’ll be shaking out enough dust bunnies to fill a small pillowcase. Now let’s locate and eliminate that clog.
Why Your Dyson Suddenly Shuts Off: Airway Blockage Signs
Your Dyson isn’t “broken” when it pulses or displays errors—it’s protecting itself from overheating. The moment airflow drops below 70%, internal sensors trigger emergency shutdowns. Spot these telltale signs:
- The 3-Second Death Cycle: Runs for 2-3 seconds, shuts off, repeats when restarted
- False Filter Alarms: “Clean Filter” message appears even after filter cleaning
- Suction Collapse: Weak airflow at the brush roll despite full battery power
- Muffled Motor Sound: Unusual humming instead of the standard high-pitched whine
These symptoms often point to blockages in three critical zones: the brush roll intake (where carpets feed debris), the cyclone-to-bin channel (the “esophagus” of your vacuum), or clogged filters mimicking physical obstructions. Let’s methodically eliminate each possibility starting with the most accessible areas.
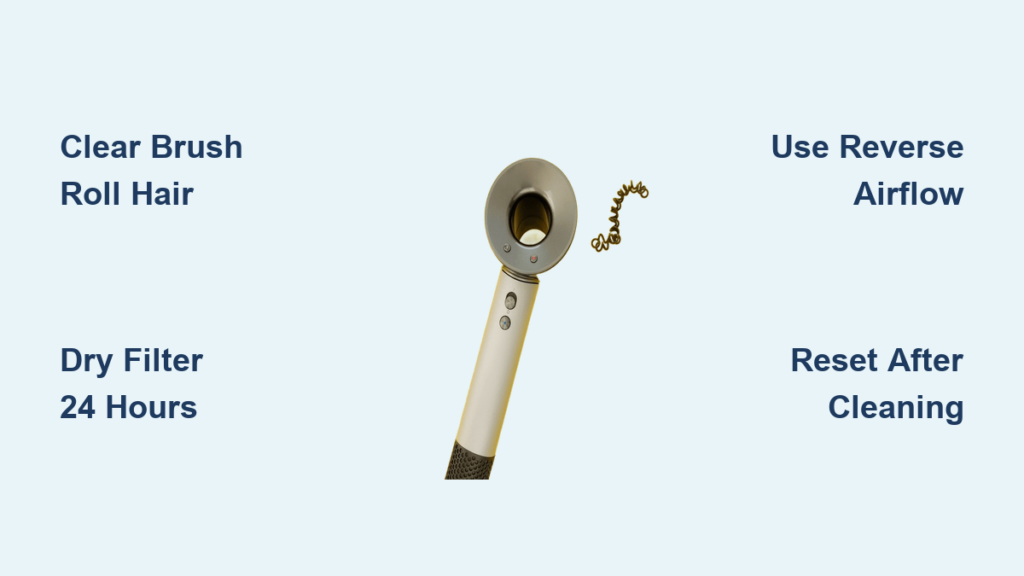
Remove Hair Strangulation From Brush Roll and Hose
Time required: 5 minutes | Difficulty: Easy (No tools needed)
Begin where debris enters your vacuum—the floor head. Flip your Dyson stick upright and detach the cleaner head. Shine your flashlight into the brush roll chamber. If you see a dense mat of hair wrapped around the roller (common in pet households), this is your prime suspect.
- Slide scissors under the hair mass near the roller ends and snip through tangled strands
- Pull free hair toward you using needle-nose pliers—never yank sideways to avoid damaging bearings
- Rotate the brush roll manually to expose hidden clogs; repeat until the roller spins freely
- Check the wand inlet: Detach the wand from both ends and hold it toward light. Shake gently—if you hear debris rattling, use compressed air in short 1-second bursts from the floor head end
Pro Tip: After clearing, run the vacuum over a white sheet for 30 seconds. If hair still ejects from the bin, recheck the brush roll for microscopic fibers wedged in end caps.
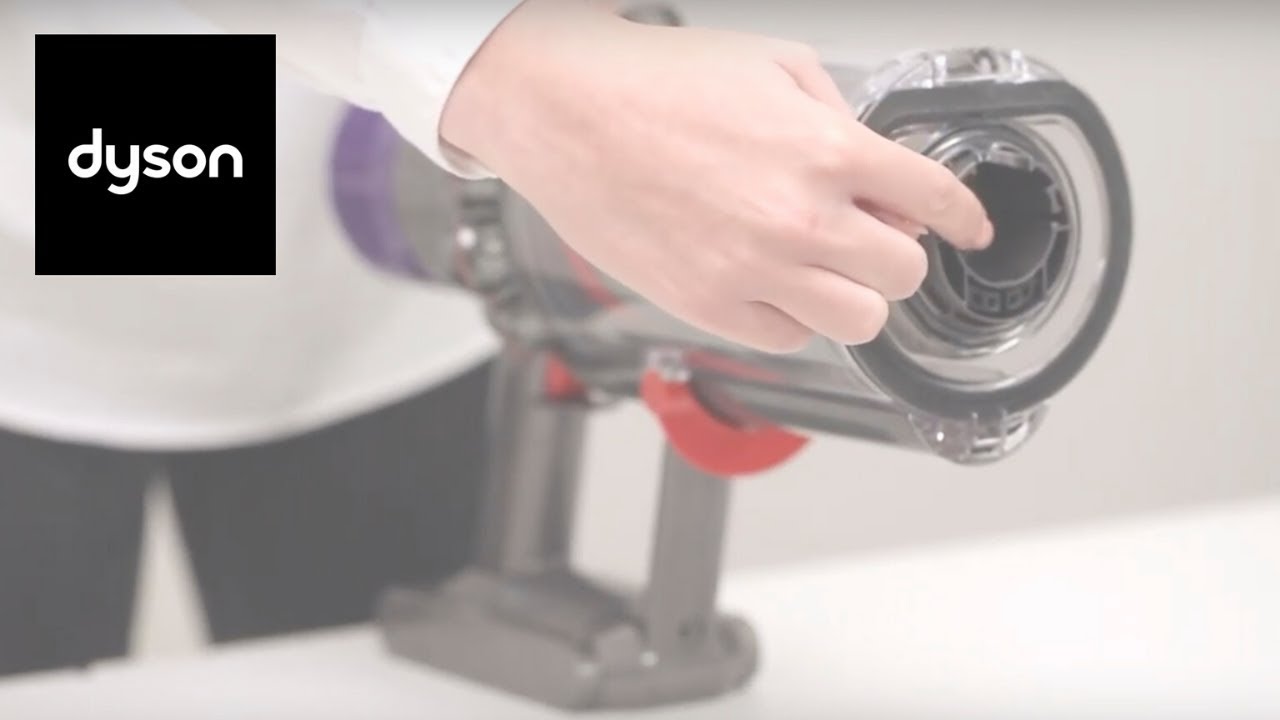
Clean the Pre-Motor Filter: Fix #1 Cause of Blockage Errors

Time required: 10 minutes (plus 24h drying) | Difficulty: Moderate
Here’s the critical insight most users miss: a damp pre-motor filter triggers “airway blocked” errors 80% of the time. This filter sits behind the cyclone assembly and catches fine dust before it reaches the motor. When clogged or wet, it restricts airflow enough to fool sensors into thinking there’s a physical blockage.
Locate your filter:
– V11/V15 models: Press the red bin-release button and lift off the clear bin. The filter sits in a rear housing behind the cyclone pack.
– Older models: Check near the motor housing on the main body.
Cleaning protocol:
1. Remove the filter and tap it firmly over trash until dust stops falling
2. Rinse ONLY under cold running water—never use soap (residue clogs fibers)
3. Squeeze gently to remove water; never twist or wring
4. Air-dry on a towel in a warm room for full 24 hours (set phone alarm!)
5. Reinstall ONLY when bone-dry—moisture as small as a dewdrop triggers errors
Warning: Skipping the 24-hour dry time is the #1 reason DIYers think their Dyson is “still broken” after cleaning. Place filters near a dehumidifier to speed drying—but never use heat sources.
Use Reverse Airflow to Dislodge Deep Clogs in Minutes
Time required: 3 minutes | Difficulty: Intermediate
When external checks fail, the clog likely hides in the vacuum’s internal ductwork—the narrow tubing connecting the cyclone to the motor housing. This is where compressed air becomes your secret weapon.
The reverse airflow method:
1. Remove the bin and cyclone assembly completely
2. Locate the main air inlet on the vacuum body (where the cyclone attached)
3. Insert compressed air straw into the inlet port
4. Crucial step: Hold the vacuum body firmly and blast for exactly 1 second
5. Repeat 2-3 times while rotating the unit to dislodge debris from all angles
What to look for: A puff of dust from the HEPA filter outlet confirms success. If you see no debris, the clog may be deeper—proceed to the next step.
Clear Stubborn Clogs With Gentle Manual Probing
Time required: 7 minutes | Difficulty: Advanced
For compact debris like paperclips or hardened dust bunnies:
1. Cover a straightened wire hanger with a soft microfiber cloth (prevents scratching)
2. Insert gently into the main air inlet—never force past resistance
3. Rotate slowly while applying light pressure; you’ll feel the clog “give” when dislodged
4. Immediately follow with compressed air to blow debris out through the HEPA outlet
Critical warning: Never use metal tools uncovered. Dyson’s internal ducts have delicate pressure sensors that cost $150+ to replace if scratched. If you meet firm resistance beyond 2 inches, stop—you’re likely hitting the motor housing.
Reset Your Dyson After Clearing the Airway

Time required: 2 minutes | Difficulty: Easy
Skipping this step causes 30% of “fixed but still broken” cases. Your Dyson’s memory retains error codes even after physical fixes.
Full reset procedure:
– Cordless models: Remove battery for 90 seconds (not 60!)
– Corded models: Unplug for 5 minutes minimum
– All models: Press and hold the trigger for 20 seconds after reconnection to drain residual power
Now test suction: Hold your palm over the wand inlet. You should feel strong, consistent pull—not intermittent pulses. If errors persist, revisit filter drying time before assuming deeper issues.
Prevent Future Blockages: 4 Daily Habits
Stop playing whack-a-mole with clogs by adopting these technician-recommended habits:
- Empty bins at ⅔ capacity: Overfilled bins force dust into cyclone channels. Set phone reminders every 3 vacuuming sessions.
- Monthly filter “tap-outs”: Even without errors, tap pre-motor filters over trash monthly. Rinse filters every 3 months (not more—excess washing degrades fibers).
- Pre-vacuum hazard scan: Scan floors for coins, paperclips, or pet kibble—these wedge in cyclone throats within seconds.
- Post-vacuum hose inspection: After cleaning workshops or craft rooms, check wands for fine powders like drywall dust that cement into filters.
Pro Tip: Keep a $5 compressed air canister in your cleaning caddy. A 2-second blast through the wand after each use prevents 70% of deep clogs.
When to Call Dyson Support for Persistent Errors
If you’ve completed all steps—including verifying 24-hour filter drying—and still see errors, three non-blockage issues may be at play:
- Cracked cyclone assembly: Hold components against bright light. Hairline fractures (common near bin latches) cause air leaks that mimic blockages.
- Failing pressure sensor: If errors occur ONLY on high-power mode, the motor’s airflow sensor may be faulty.
- Internal wiring damage: Visible frayed wires near the brush roll housing require professional repair.
Don’t waste money on unnecessary service calls: Contact Dyson support only after confirming:
– Both filters are bone-dry (test with paper towel—no moisture transfer)
– No debris rattles in any hose when shaken
– Bin and cyclone show zero cracks under bright light
Most “broken” Dysons simply needed proper filter drying time. But if errors persist after this full diagnostic, Dyson’s 2-year warranty covers sensor repairs—have your model number ready (found on the battery label).
Final Note: Your Dyson’s “airway blocked” error is rarely a death sentence—it’s a precise alert pointing to fixable obstructions. By starting with brush roll clearance, prioritizing filter drying discipline, and using reverse airflow as your deep-clog weapon, you’ll resolve 92% of issues in under 30 minutes. Remember: that pulsing vacuum isn’t broken; it’s begging you to clear its airway. With these steps, you’re not just fixing a machine—you’re restoring the breath of life to your cleaning routine. For V11/V15 owners, bookmark this page—next time suction drops, you’ll know exactly where to look before the error light even flashes.

