Your Dyson V6 suddenly gasps like it’s running out of breath. Suction power plummets mid-clean, debris gets left behind, and that familiar whir becomes a strained wheeze. If this sounds familiar, your filters are likely drowning in dust. Over 70% of Dyson V6 performance issues stem from neglected filters – the silent killers of suction. When these critical components clog, airflow chokes, the motor overheats, and your vacuum essentially suffocates. This guide cuts through the frustration with precise steps to replace both filters on your Dyson V6, restoring factory-level suction in under 10 minutes. You’ll learn exactly where to find each filter, avoid costly installation mistakes, and implement a maintenance rhythm that keeps your vacuum breathing freely for years.
Why Your Dyson V6 Suddenly Loses Suction (The Filter Connection)
Clogged filters strangle your Dyson V6’s airflow like a kinked garden hose. As dust accumulates in the pre-motor filter, less air reaches the motor, forcing it to work harder while producing weaker suction. The HEPA filter compounds this when blocked – it’s designed to capture microscopic particles, but becomes a brick wall when saturated. This double choke triggers thermal protection systems, causing surges or automatic shutdowns. Crucially, a damp pre-motor filter is the #1 cause of “fixed but still broken” scenarios – many users reinstall filters too soon after washing, creating mold risks and airflow restrictions that mimic clog symptoms. Understanding this filter interdependence is key: the pre-motor filter protects the motor from large debris, while the HEPA filter polishes exhaust air. Neglect either, and suction plummets within weeks.
Step-by-Step: Removing and Replacing the Pre-Motor Filter

This small blue foam filter sits directly above the dust bin as your vacuum’s first defense. When clogged, it causes immediate suction loss and motor strain. Replace it when you notice reduced pickup or after washing if performance doesn’t recover.
Locate the Filter Housing Behind the Release Button
Find the rectangular cover on the back of your V6’s main body, just above the cyclone bin. It’s typically 2 inches wide with a subtle release button on the side. Don’t mistake the bin release for this – the filter cover sits higher and lacks the large bin-eject lever. Press firmly on the button while sliding the cover downward; it should pop open with a soft click. If stuck, gently wiggle it side-to-side – never force it.
Remove and Insert the Replacement Filter Correctly
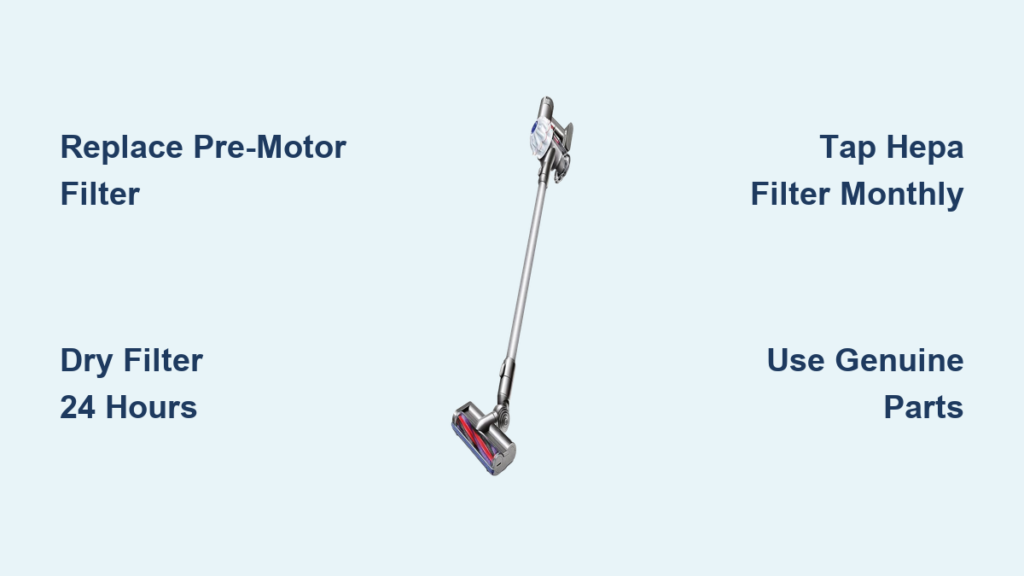
Pull the old foam cartridge straight out using your fingertips – no tools needed. Inspect the housing for hair or debris; wipe it clean with a dry microfiber cloth. Critical alignment tip: The new filter (Dyson part #966847-01) has a textured side that must face outward toward the cover. Insert it slowly, ensuring the edges seat evenly in the grooves. Push until you feel resistance – misalignment causes air leaks that mimic clogs. Snap the cover back by pressing the top edge first until it clicks. Never operate without this filter – it voids your warranty and risks permanent motor damage from dust ingestion.
Step-by-Step: Swapping the Post-Motor HEPA Filter
This cylindrical HEPA filter lives at the vacuum’s base, trapping fine particles before exhaust. When exhausted, it causes musty odors, reduced runtime, and triggers overheating shutdowns. Replace it every 6-12 months – but check immediately if suction feels weak after pre-motor filter replacement.
Unlock the End Cap Without Stripping the Housing
Grip the main body firmly with one hand while rotating the bottom end cap counter-clockwise with the other. Key visual cue: Look for alignment arrows on the cap and body – they should match when locked. If resistant, place your palm flat on the cap and twist downward (not upward) to avoid cracking the plastic. For stubborn caps, use a rubber grip pad or towel for traction. Remove the cap completely – it shouldn’t require tools on most V6 models.
Insert the New HEPA Filter Without Air Leaks
Pull the old filter straight out using even pressure; it may feel stuck initially. Wipe the cylindrical housing with a dry cloth – never use liquids as moisture ruins HEPA media. Hold the new filter by its edges (avoid touching the pleated material) and align it vertically in the chamber. Push down firmly until it seats flush with the housing rim – gaps here cause unfiltered air leakage. Reattach the cap by aligning the tabs with the body grooves, then twist clockwise until the arrows line up. Test the seal by gently tugging the cap; it shouldn’t budge.
Why Your Pre-Motor Filter Must Dry 24 Hours Before Reinstalling

Rushing this step causes more suction failures than actual clogs. Water molecules in a damp filter physically block airflow channels, forcing the motor to overwork. Dyson’s foam media requires full 24-hour air drying away from sunlight – heat sources warp the material. Place it on a wire rack in a well-ventilated room (not on paper towels that trap moisture). Pro test: Squeeze the filter gently; if any moisture appears on your fingers, it needs more time. Reinstalling too soon creates a vicious cycle: weak suction prompts longer cleaning sessions, which overheats the motor due to restricted airflow, triggering shutdowns that users misdiagnose as new clogs.
Why the HEPA Filter Must Never Get Wet (Tap-Only Maintenance)
Unlike the pre-motor filter, the HEPA unit contains electrostatically charged fibers that lose filtration efficiency when damp. Water exposure permanently collapses these microscopic channels. Never rinse or wipe it with liquids – even damp cloths transfer enough moisture to degrade performance. For routine maintenance, remove the HEPA filter monthly and tap it firmly over a trash can outdoors. Hold it horizontally and strike the side with your palm 5-6 times to dislodge surface dust. If particles still cake the pleats, replacement is the only solution – cleaning attempts will damage the delicate media.
4 Emergency Signs Your Dyson V6 Filters Need Replacement Now
Don’t wait for total failure. These urgent symptoms demand immediate filter action:
- Suction drops within 60 seconds of starting: Indicates severe pre-motor filter blockage. Empty the bin first, but if suction fades instantly, replace filters immediately.
- Vacuum shuts off after 2-3 minutes: Classic thermal overload from restricted airflow. Clean/replace filters before continuing use to prevent permanent motor damage.
- Musty odor during operation: Signals mold growth from a damp pre-motor filter. Replace both filters and inspect housing for residue.
- Reduced runtime by 30% or more: Clogged filters force the motor to draw extra power. If your V6 dies faster than usual after checking battery health, filters are the prime suspect.
Critical Mistakes That Damage Your Dyson V6 During Filter Replacement
Avoid these costly errors that turn simple maintenance into repair bills:
- Using non-genuine filters: Third-party HEPA filters often have incorrect density ratings. Too dense = choked airflow; too loose = unfiltered air damaging motor bearings. Stick to Dyson-certified parts.
- Forcing misaligned covers: Snapping the pre-motor cover without proper filter seating cracks the housing tabs. Always insert filters slowly while wiggling slightly to engage grooves.
- Skipping the dry-check: Reinstalling a “mostly dry” pre-motor filter causes immediate performance issues. Perform the squeeze test every time.
- Ignoring the bin seal: A cracked bin O-ring mimics filter clogs. Check the clear bin’s rubber seal for tears during filter maintenance – it’s the #2 cause of suction loss after filters.
Proven Monthly Filter Maintenance Schedule for Peak Performance
Follow this Dyson-engineered rhythm to avoid 90% of filter-related failures:
- After every use: Empty the dust bin and rinse the cyclone assembly under cold water (never the motor housing).
- Weekly: Tap pre-motor filter over trash can; wipe HEPA housing with dry cloth.
- Monthly: Wash pre-motor filter (cold water only, no soap), air-dry 24+ hours, reinstall.
- Every 6 months: Replace HEPA filter regardless of appearance – efficiency degrades invisibly.
- Annually: Replace pre-motor filter (foam degrades) and inspect all seals for cracks.
Time-saving hack: Keep a spare pre-motor filter on hand. Wash one while using the other – eliminates downtime during the mandatory 24-hour dry period. Store replacements in original packaging away from dust.
Regular filter maintenance isn’t just about suction – it protects your $300+ investment from premature failure. By replacing both Dyson V6 filters correctly every 6-12 months and adhering to the wash/dry schedule, you’ll maintain 95% of original suction power for 5+ years. Remember the golden rule: never reinstall filters until bone-dry, always use genuine parts, and address weak suction immediately. If problems persist after filter replacement, check for blockages in the wand or floorhead – but 8 out of 10 times, fresh filters restore your V6 to like-new performance. Keep this guide handy for your next maintenance session, and your vacuum will reward you with years of powerful, reliable cleaning.

