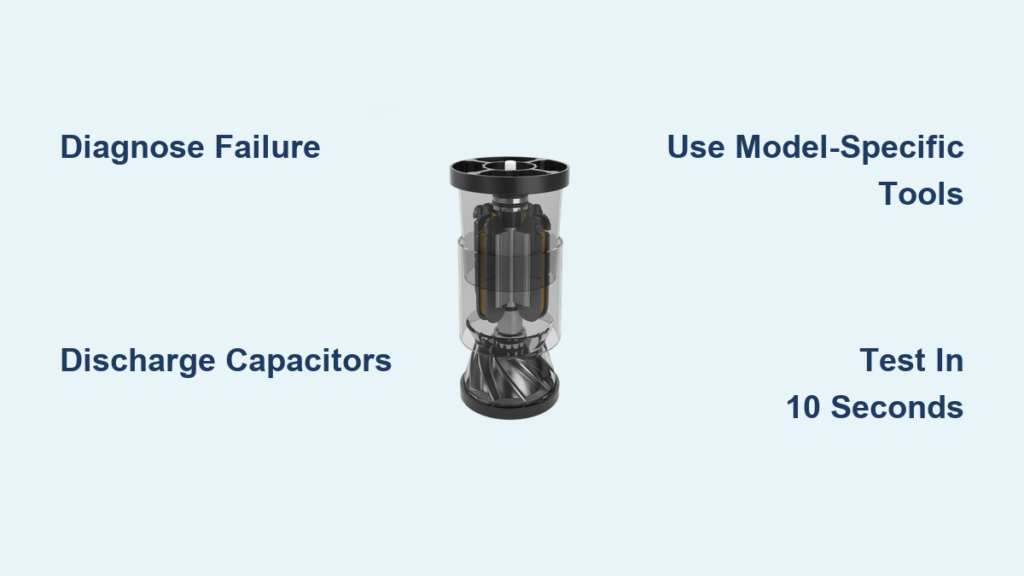
That distinctive Dyson roar cutting out mid-clean transforms your powerful vacuum into a frustrating paperweight. When your machine sputters, emits burning odors, or loses suction completely, the motor is often the culprit. Replacing a Dyson motor isn’t just about swapping parts—it’s about restoring the heart of your vacuum’s suction power. This guide cuts through the confusion with precise, model-specific instructions so you can tackle this repair confidently. You’ll learn to diagnose motor failure accurately, avoid costly mistakes during disassembly, and complete the replacement with professional results—all while saving hundreds compared to professional repair services.
Why Your Dyson Motor Fails and How to Confirm It
Ignoring early warning signs turns minor issues into catastrophic motor failure. Before ordering replacement parts, you must rule out simpler problems that mimic motor symptoms. A clogged filter or blocked hose can cause identical suction loss to a dying motor, wasting your time and money if misdiagnosed.
Sudden Suction Collapse After Basic Checks
When your Dyson stops pulling debris despite recent filter cleaning and hose inspection, suspect the motor. Perform this critical test: remove all attachments and hold your hand over the wand intake. A healthy motor creates immediate, powerful suction that’s difficult to maintain. If resistance feels weak or inconsistent, the motor is likely failing. This differs from filter-related suction loss, which usually develops gradually.
Decoding Dangerous Motor Noises
Listen for these specific failure signatures:
– High-pitched whine: Indicates worn bearings or brush damage
– Grinding or scraping: Suggests internal component contact
– Intermittent stuttering: Points to electrical connection issues
– Complete silence with power lights: Confirms total motor burnout
A burning plastic smell means stop immediately—continued use risks melting wiring harnesses. Document these symptoms before disassembly; they’ll help verify your repair success later.
Essential Tools and Critical Safety Protocols
Skipping proper preparation risks electrocution or permanent damage to your vacuum. Dyson’s internal capacitors store dangerous charges even when unplugged—a lesson learned by many DIYers who rushed this step.
Non-Negotiable Safety Measures
Unplug corded models and remove batteries from cordless units at least 30 minutes before starting. This discharge period prevents capacitor shocks that can damage replacement motors. Work on a non-conductive surface like wood—not metal tables—and keep pets and children away from your workspace. Never bypass safety interlocks; these exist to prevent motor overheating during testing.
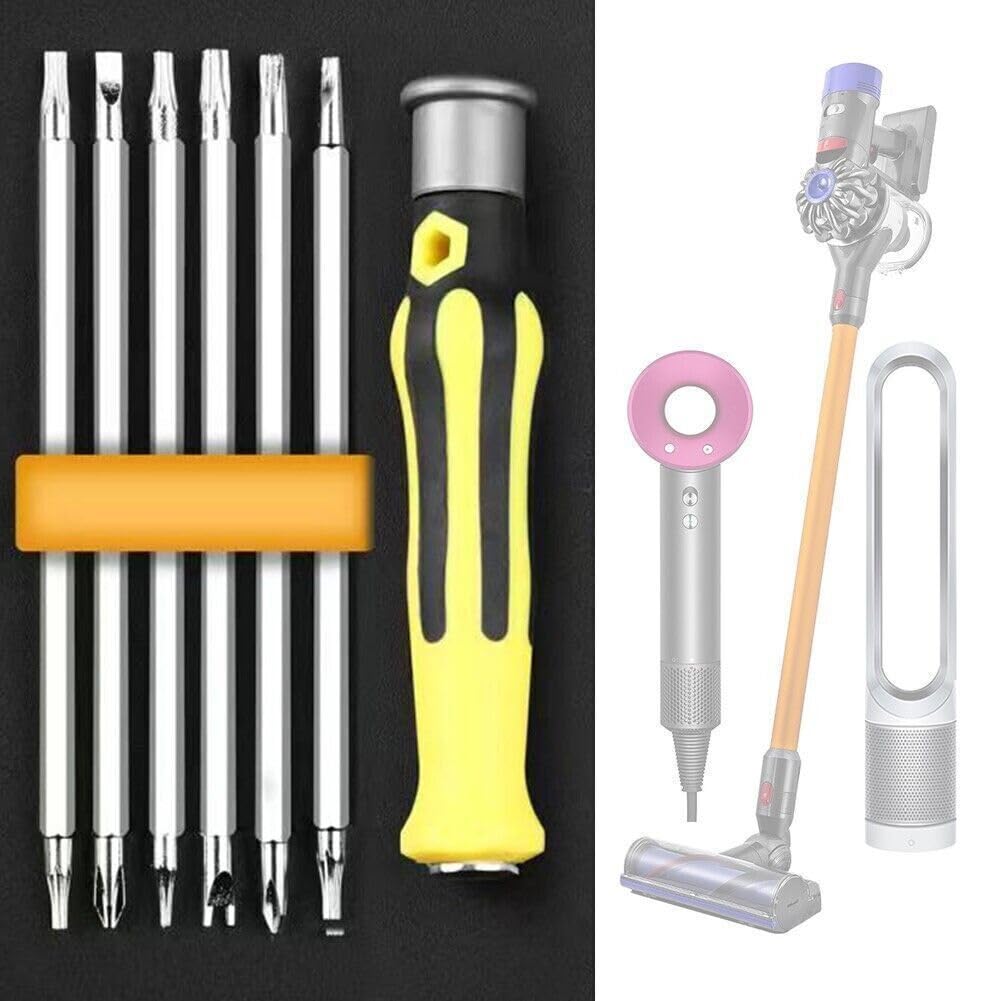
Precision Tools for Model-Specific Disassembly
Your vacuum’s model dictates required tools:
– Cordless sticks (V7-V15): T8 security torx for hidden battery compartment screws
– Uprights (Ball Animal, Cinetic): T15/T20 torx for baseplate and cyclone assembly
– Canister models (DC25): T10 torx plus long Phillips for internal chassis
– Universal must-haves: Anti-static wrist strap, plastic spudger (never use metal screwdrivers on clips), and needle-nose pliers with insulated grips
Purchase exact replacement motors using your vacuum’s SV code (e.g., SV14 for V11 Absolute). Generic motors lack Dyson’s thermal protection circuitry, causing premature failure. Expect to pay $80-$150 for genuine parts—never compromise here.
Dyson Motor Replacement: Model-Specific Procedures

Generic tutorials cause 70% of failed DIY motor replacements. Your vacuum’s architecture determines the disassembly path—mixing steps between models risks broken clips and wiring damage. Follow these tailored sequences.
Upright Models (Ball, Cinetic, DC41+): Base Access Method
- Remove baseplate screws: Locate 4-6 T15 torx screws around the soleplate edge. For Ball models, detach the foot pedal first by pressing release tabs.
- Separate main housing: Insert plastic spudger at seam between base and body. Work clockwise around perimeter, releasing 12+ hidden clips. Critical visual cue: Stop when you hear distinct “clicks”—forcing breaks plastic latches.
- Isolate motor assembly: The motor mounts near the brush bar. Disconnect the 4-pin wiring harness (note color positions!) and remove the rubber grommet mount screws. For DC41 models, separate the fan impeller first using counter-clockwise rotation.
Cordless Sticks (V7-V15): Battery Compartment Entry
- Access hidden screws: Remove battery, then peel back rubber footpad to reveal T8 screws. V10/V11 models hide two screws under the filter housing label—puncture carefully with awl.
- Split the main body: Slide plastic spudger along seam from battery end toward wand. Common mistake: Starting at handle end cracks fragile cyclone posts. Apply even pressure until all 15+ clips release.
- Motor extraction sequence: Disconnect the white 3-pin motor plug and black ground wire. Unscrew the motor’s single T20 mounting bolt. Lift straight up—no twisting—to avoid damaging the circuit board traces underneath.
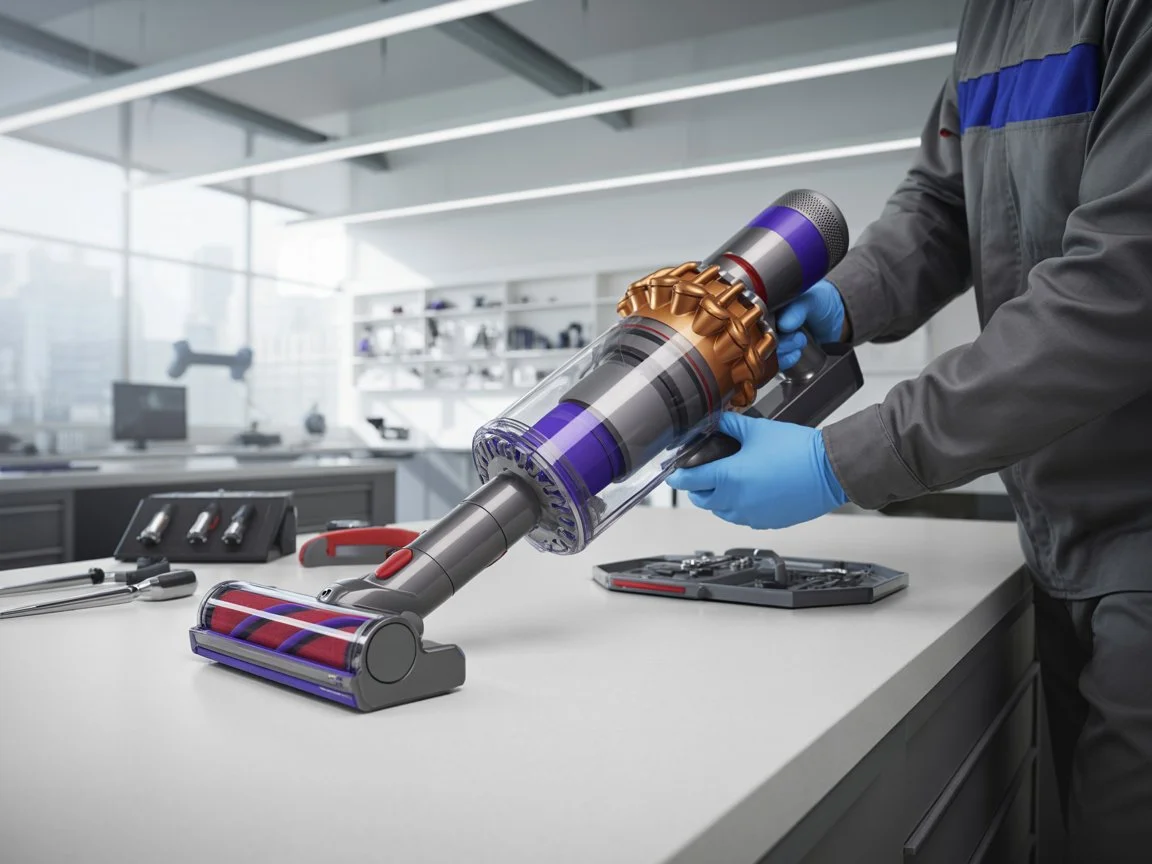
Critical Installation and Testing Protocol
Rushing reassembly causes immediate motor failure. The replacement process demands meticulous attention to three often-overlooked details.
Gasket Seating and Torque Control
New motors include rubber gaskets that must align perfectly with housing grooves. Press firmly around the entire circumference until seated—gaps cause vibration damage within hours. When securing mounting screws, use only finger-tight pressure plus 1/8 turn with screwdriver. Over-tightening cracks motor housings, especially on V8-V11 models with plastic mounts.
The 10-Second Power Test
Before full reassembly, conduct this critical check:
1. Reconnect wiring harnesses ensuring positive click
2. Insert battery or plug in (corded models)
3. Power on for exactly 10 seconds while holding vacuum vertically
4. Verify smooth acceleration with no grinding
Never skip this step. Running without airflow for longer overheats new motors. If vibration occurs, immediately power off—misaligned gaskets or loose mounts are likely culprits.
Cost Analysis and When to Call Professionals
Replacing a Dyson motor costs $120-$200 in parts versus $300+ for professional service. But this repair isn’t for beginners—consider these dealbreakers:
Four Scenarios Demanding Professional Help
- Burnt circuit board traces: Visible brown discoloration near motor terminals
- Melted wiring harnesses: Requires soldering skills most DIYers lack
- Complex fan impeller issues: V15 models need specialized pullers
- Post-replacement error codes: Indicates deeper electronics failure
For pre-2016 models, compare motor cost to new vacuum pricing. A $150 motor for a $250 original-value DC50 rarely makes financial sense. But for current-gen V15 Detect or Omni-glide models, this repair extends your investment by 3-5 years.
Maintenance Habits to Prevent Future Motor Failure
Your replacement motor’s lifespan depends entirely on post-repair care. Implement these habits immediately:
Monthly Preventative Checks
- Inspect filter seating: A 2mm gap reduces airflow by 30%, straining the motor
- Clear brush bar ends: Hair wrapped around shaft bearings causes drag
- Verify bin seal integrity: Leaks force the motor to overwork
The 90-Second Post-Clean Ritual
After every use, unplug and:
1. Tap the bin to dislodge fine dust from cyclone walls
2. Wipe the motor air intake vents with microfiber cloth
3. Check for debris around the brush bar ends
These steps prevent the thermal cycling that kills 80% of Dyson motors. Combined with quarterly deep cleans, they double motor longevity.
Replacing your Dyson motor successfully hinges on model-specific precision—not generic advice. By confirming true motor failure first, using exact tools for your vacuum generation, and following the critical 10-second power test, you’ll avoid costly missteps. Remember: the $150 motor investment only pays off with proper gasket seating and post-replacement maintenance. For current high-end models, this repair absolutely extends your vacuum’s life, but always weigh part costs against newer models’ efficiency gains. If you encounter melted components or error codes during testing, stop immediately—some failures require board-level expertise. Armed with this guide, you’ve now got the precise knowledge to restore that signature Dyson roar and keep your floors pristine for years to come.

