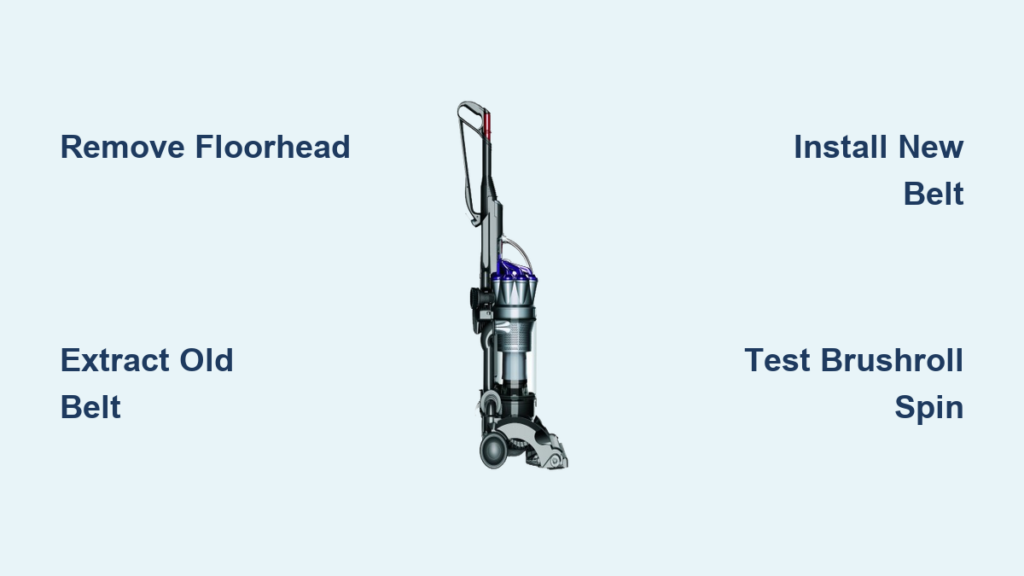
Your Dyson DC17 suddenly loses suction power while cleaning carpets. The brushroll stops spinning, leaving pet hair and debris untouched on your floors. You hear a high-pitched squeal or complete silence from the floorhead where there should be energetic bristle action. If this sounds familiar, you’re likely dealing with a broken drive belt—the most common failure point in your DC17’s cleaning system. Replacing the belt on your Dyson DC17 is a straightforward DIY repair that takes less than 30 minutes with basic tools, saving you $100+ in service fees. This step-by-step guide shows you exactly how to replace the belt on your Dyson DC17 without damaging components or voiding any remaining warranty coverage.
Identifying Belt Failure Before You Start
Before grabbing your screwdriver, confirm your DC17 actually needs a new belt rather than another issue. Look for these telltale signs that pinpoint belt failure:
- The brushroll makes a loud squealing or screeching noise during operation
- You notice visible fraying, cracking, or complete breakage when inspecting the belt
- The vacuum runs but the brushroll doesn’t spin (check through the air intake window)
- Burning rubber smell during use—this indicates a slipping or overheating belt
Critical distinction: A clogged brushroll can mimic belt failure symptoms. Before replacing the belt, remove any hair or string wrapped around the brushroll ends. If the brushroll still won’t spin freely after clearing obstructions, proceed with belt replacement. If you recently replaced the belt and it’s already failing, check for improper installation or a misaligned brushroll causing premature wear.
Essential Tools and Parts for DC17 Belt Replacement
Gather these specific items before beginning your repair to avoid mid-process frustration:
- Correct replacement belt: Dyson DC17 requires part number 904324-01 (or compatible aftermarket version). Standard vacuum belts won’t fit properly.
- Phillips #2 screwdriver: Precision is key—using the wrong size can strip screw heads.
- Small flat-head screwdriver: For prying and belt positioning (wrap tip with tape to prevent scratching)
- Needle-nose pliers: Helpful for manipulating the belt into position
- Soft cloth or towel: Protects your DC17’s housing from scratches
- Small container: For holding screws securely during disassembly
Pro tip: Purchase two replacement belts. Install one immediately and keep the second as an emergency spare in your cleaning closet. Belts typically last 6-12 months with regular use, so having a backup prevents future cleaning emergencies.
Step-by-Step DC17 Floorhead Disassembly Process
Removing the DC17 Floor Tool from the Wand System
Unlike newer Dyson models, the DC17 requires complete floorhead removal for belt access. Locate the release button on the front of the wand where it connects to the floor tool. Press firmly while simultaneously pulling the wand upward. If the connection feels stuck, rotate the floorhead slightly while pressing the release—years of use can cause minor binding. Once detached, place the floorhead on your protected work surface with the brushroll facing up.
Opening the DC17 Brushroll Housing Correctly
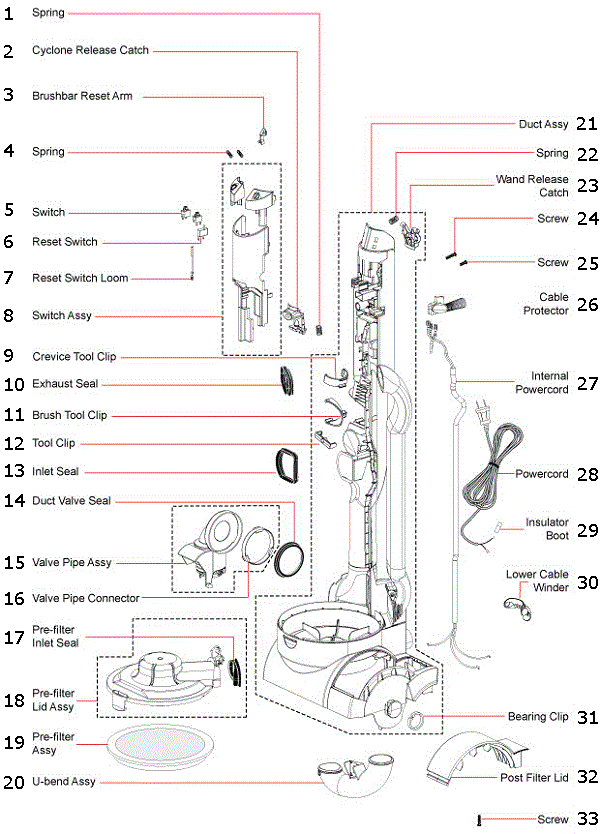
The DC17’s floorhead contains six critical screws securing the bottom plate. Begin by removing the two screws at the front edge near the roller guard. Next, remove the two side screws—these are often hidden beneath rubber bumpers that you’ll need to gently pry off with your flat-head screwdriver. Finally, remove the two rear screws near the electrical contacts. Keep screws organized by position as they vary slightly in length. Lift the bottom plate straight up; don’t force it if resistance occurs—double-check that all screws are removed first.
Common mistake: Forcing the plate can crack the plastic housing. If stuck, insert your flat-head screwdriver along the seam and gently twist to separate the clips without damaging them.
Removing the Old Belt Without Damaging Components
Extracting the Brushroll Safely
With the housing open, locate the brushroll ends secured in plastic end caps. Press the release tab on the left side cap while gently pulling the brushroll toward you. The right side features a spring-loaded tensioner—compress this slightly while sliding the brushroll free. Set the brushroll aside on a clean surface with the belt still attached to avoid losing orientation.
Belt Removal Technique That Prevents Motor Damage
The old belt typically remains looped around the brushroll. Carefully stretch it off the roller, then focus on the motor pulley. Instead of prying the belt off the pulley (which can damage the motor shaft), rotate the pulley while simultaneously lifting the belt edge with your fingernail. Work your way around the pulley until the belt releases completely. Inspect the motor pulley for excessive wear—minor rubber residue is normal, but deep grooves indicate potential motor issues requiring professional service.
Critical check: Examine the motor pulley for any debris caught between the rubber surface and metal core. Use compressed air to clear any dust that could cause belt slippage after replacement.
Installing the New DC17 Belt Like a Professional

Proper Belt Placement on the Brushroll
Begin by stretching the new belt over the brushroll—this requires more force than you might expect. Start at one end and work your way around while rotating the brushroll. The belt should sit in the center groove of the brushroll, not riding up on the edges. A properly seated belt won’t slip off when you rotate the brushroll by hand.
Aligning the Belt with the Motor Pulley Correctly
This step determines your repair’s success. Position the brushroll back into the housing with the belt end facing the motor. Use needle-nose pliers to grip the belt edge and stretch it toward the motor pulley. As you approach the pulley, rotate it slightly to create a “lead-in” angle for the belt. The key technique: roll the belt onto the pulley rather than stretching it directly over—this mimics how factory equipment installs belts without excessive force.
Expert tip: Apply a tiny drop of silicone lubricant (not WD-40!) to the motor pulley to help the new belt seat properly. Wipe away any excess immediately to prevent attracting dust.
Testing Belt Tension Before Reassembly
Before closing the housing, verify proper tension by attempting to twist the belt 90 degrees with your fingers. It should resist twisting but not be immovable. The DC17’s belt requires specific tension—too loose causes slippage, too tight strains the motor. Manually rotate the brushroll 10 full turns to ensure the belt tracks straight without walking to one side. Listen for any unusual resistance that might indicate misalignment.
Reassembling Your DC17 Floorhead Without Costly Mistakes
Securing the Bottom Plate Properly
Alignment is critical when reinstalling the bottom plate. Begin by positioning the front edge first, then gently press the sides into place. Hand-tighten all screws before using your screwdriver to avoid cross-threading. Tighten screws in a star pattern—front-left, rear-right, front-right, rear-left—to distribute pressure evenly across the housing. Final tightening should be firm but stop when you feel resistance; over-tightening cracks the plastic housing on 30% of DIY repairs.
Reconnecting Electrical Components Safely
The DC17 floorhead contains electrical contacts that power the brushroll motor. Before reattaching the floorhead to the wand, inspect both contact points for corrosion or debris. Clean with a cotton swab dipped in isopropyl alcohol if needed. When reconnecting, align the floorhead properly before pressing—the DC17 uses a keyed connection that only fits one way. Forcing misaligned connections damages the electrical contacts.
Testing Your Repaired DC17 Vacuum Thoroughly
Initial Power-On Safety Check
Plug in your DC17 and turn it on while holding the floorhead slightly elevated. Watch through the air intake window for proper brushroll rotation—1-2 seconds of hesitation is normal as the belt engages. Listen for smooth operation; a properly installed belt should produce only the standard motor hum without squealing. Run for 30 seconds to ensure no overheating occurs.
Carpet Performance Validation
Test on a medium-pile carpet with visible debris. The brushroll should aggressively pull hair and particles into the vacuum channel. If performance seems weak, immediately power off and check for:
* Belt riding off-center on pulley
* Brushroll end caps not fully seated
* Hair缠绕 around brushroll bearings
Warning: Never operate the DC17 without the belt installed—the motor will spin at unsafe speeds and burn out within minutes.
Preventing Future Belt Failures on Your DC17
Extend your new belt’s lifespan with these maintenance practices:
* Clean brushroll ends weekly to prevent hair buildup that strains the belt
* Avoid vacuuming thick rugs that can jam the brushroll
* Store your DC17 upright to prevent belt deformation from constant pressure
* Replace belts every 9-12 months as preventative maintenance
Final pro tip: Keep a replacement belt (904324-01) and small screwdriver in your cleaning caddy. When you hear the first squeak of belt wear, you’ll be ready to perform this 15-minute fix before minor wear becomes major cleaning disruption.
By mastering this DC17 belt replacement process, you’ve eliminated one of the most common reasons for professional service calls. Your vacuum now operates at factory performance levels, saving you money while extending your appliance’s lifespan. Regular belt maintenance ensures your Dyson DC17 continues delivering the powerful deep-cleaning performance that made it a household favorite for over a decade.

