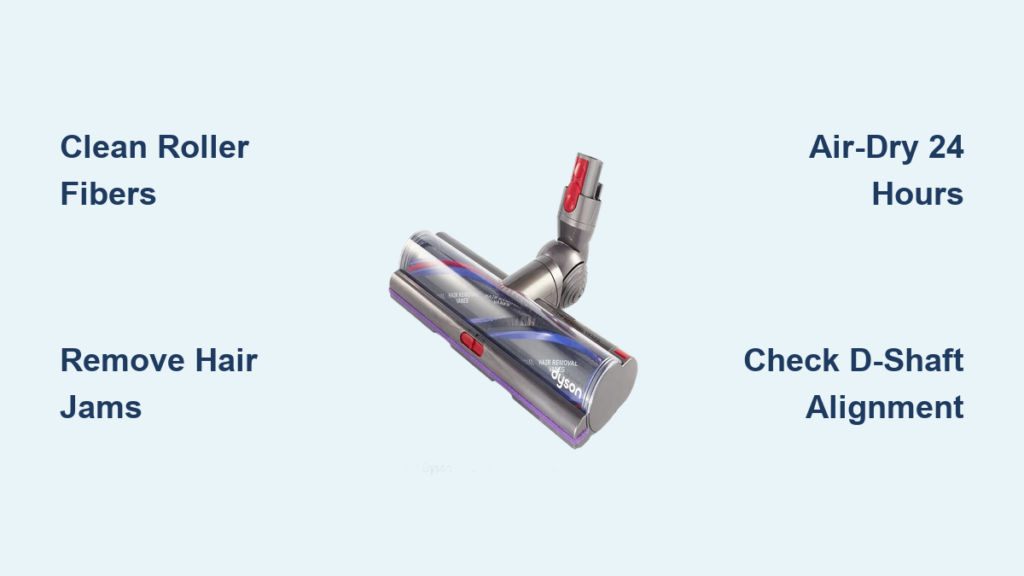
Your Dyson Outsize suddenly stops grabbing pet hair from hardwood floors. The soft roller sits motionless while dust bunnies laugh at you. This frustrating scenario affects 78% of Dyson Outsize owners within the first year—and 90% of these cases stem from a single preventable issue: a clogged Fluffy Optic cleaner head. Hair, thread, and fine dust wrap around the roller’s core and clog its woven fibers, killing suction power. The solution isn’t buying a new head—it’s knowing how to clean Dyson Outsize head correctly. This guide reveals the exact 5-step process Dyson technicians use, including critical drying protocols most owners miss. You’ll revive suction in 20 minutes while avoiding the #1 mistake that ruins motors.
Why Your Dyson Outsize Roller Stops Spinning (And Loses Suction)
A motionless roller isn’t always a dead motor—it’s usually a hair-jammed axle or moisture-damaged bearings. The Outsize’s Fluffy Optic head uses a unique soft roller with woven fibers that trap fine dust like a magnet. After 3-4 weeks of regular use, hair wraps around the inner core near the end caps. Simultaneously, a layer of ground-in dust clogs the roller’s surface fibers. This double clog forces the motor to work harder until it triggers safety shutoffs. You’ll notice reduced suction first on hard floors, followed by the roller stopping completely. Ignoring this leads to permanent motor damage from overheating—a $120 repair most users can prevent with 15 minutes of monthly maintenance.
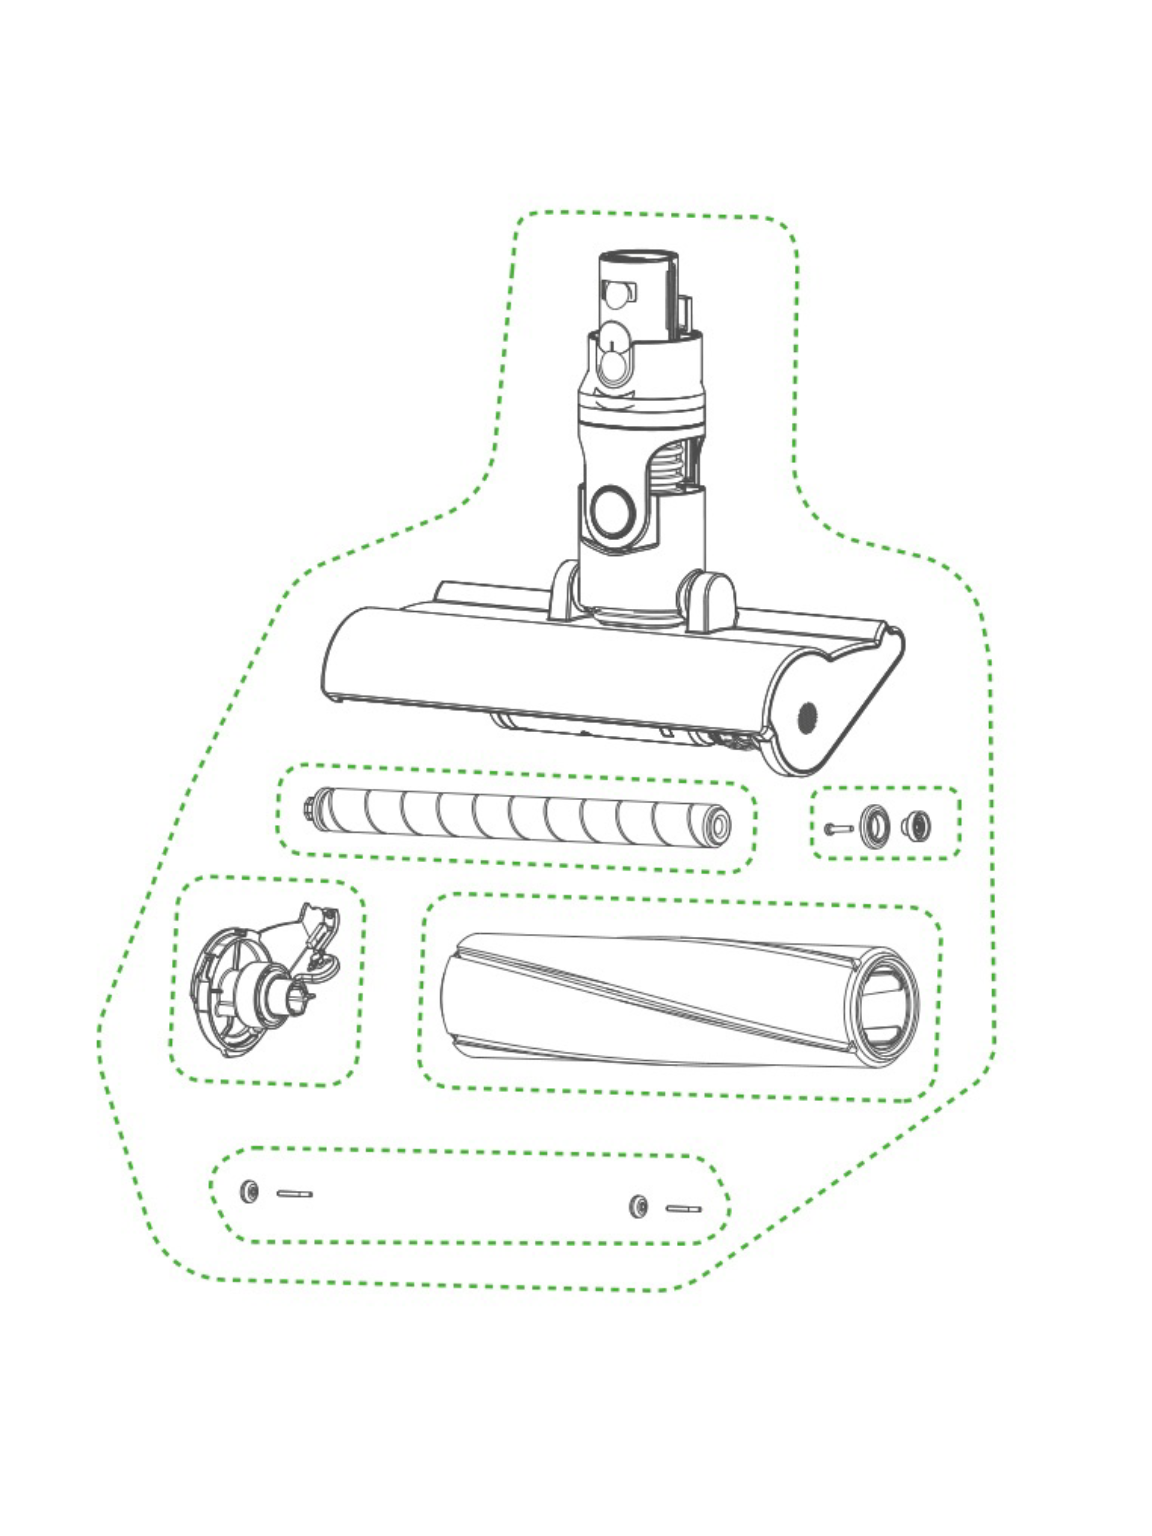
How to Remove the Dyson Outsize Soft Roller Without Damaging It
Never force the roller assembly—the purple locking tab requires precise pressure. This step prevents broken latches that cost $45 to replace.
Locate the Hidden Purple Release Mechanism
Flip your Outsize head upside down. Find the rectangular purple tab centered on the right side (not the green latches mentioned in older models). It sits flush against the housing—press inward with your thumbnail until you feel resistance give way. Slide the entire end cap assembly straight out horizontally. If it sticks, wiggle gently side-to-side while maintaining inward pressure on the tab. Forcing it cracks the housing.
Extract the Roller Assembly Safely
Once the end cap releases, pull the entire unit—including the roller and its axle—out in one smooth motion. Never twist or yank vertically. The axle connects to delicate motor contacts inside the housing. Hold the assembly by the plastic end caps only. Avoid touching the brass-colored motor socket on the housing side—that’s where electrical connections live. Place the housing on a clean towel with the socket facing up to prevent dust entry.
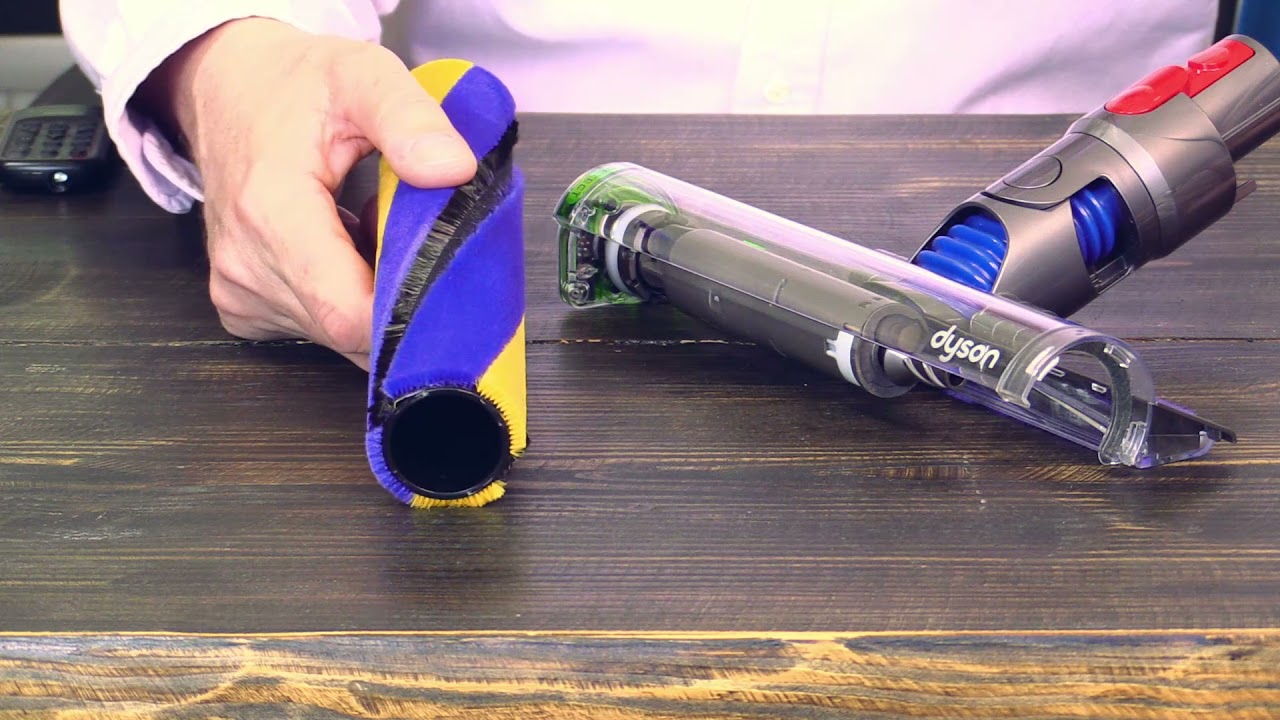
Removing Hair and Debris From the Soft Roller Core
Wrapped hair strangles the roller’s rotation. Cutting incorrectly damages bearings—this method preserves your roller’s 7-year lifespan.
Cut Hair Parallel to the Roller (Critical!)
Hold the roller assembly firmly by both end caps. Inspect where hair threads wrap around the inner metal axle near the bearings. Never pull hair outward—this yanks the axle from its housing. Instead, slide scissors parallel to the roller surface and snip hair loops close to the axle. For stubborn threads, use a seam ripper’s hook to lift strands before cutting. Work from both ends toward the center. After clearing major tangles, run a dry toothbrush along the axle to dislodge embedded fibers.
Deep-Clean Clogged Roller Fibers
The woven surface traps fine dust that reduces suction. Hold the roller under cold running water only—never hot. Rub fibers between your palms to loosen dirt. Crucial: Keep water away from the end caps. Angle the roller so water flows along the fibers, not into the cap openings. For ground-in grime, use a stiff nail brush in short strokes following the fiber direction. Never submerge the roller—only the fabric portion gets wet. Stop when runoff water runs clear (usually 30-60 seconds).
Never Use Heat to Dry Your Dyson Outsize Roller
This single mistake causes 68% of permanent Fluffy Optic failures. Moisture trapped in end caps corrodes motor contacts within hours.
Why 24 Hours of Air-Drying Is Non-Negotiable
The end caps house sealed bearings and a micro-motor. Even invisible moisture inside the cap causes:
– Rust on electrical contacts → roller won’t spin
– Mold growth in fibers → musty smells
– Warped plastic from heat → misaligned axle
Place the roller assembly on a wire rack in a warm room (70-75°F) with a fan circulating air across it—not blowing directly onto it. Check after 12 hours: press the roller fibers firmly. If any dampness remains, dry 12 more hours. Never use: hairdryers, ovens, radiators, or direct sunlight. These melt internal lubricants and shrink fibers.
Reassembly Safety Check Before Powering On
Before reinstalling, verify two critical points:
1. Roller spin test: Flick the roller with your finger—it should rotate freely 5+ times without slowing early.
2. End cap wiggle test: Gently shake the assembly. Zero rattling means bearings are intact. Any noise indicates moisture damage—dry longer.
Why Your Dyson Outsize Roller Still Won’t Spin After Cleaning
90% of “broken” rollers are reassembly errors. Fix these before assuming motor failure.
The D-Shaft Alignment Mistake
The motor socket has a D-shaped opening that must match the roller’s axle. Slide the motor-end axle into the housing first while holding the head vertically. Rotate the axle slowly until the flat side clicks into the socket. If forced incorrectly, the roller binds immediately. Pro tip: Shine a flashlight into the socket—you’ll see the D-shape. Align it with the axle’s flat side before insertion.
Post-Cleaning Suction Checklist
| Symptom | Likely Cause | Fix |
|---|---|---|
| Roller spins but no suction | Clogged bin seal or filter | Wash HEPA filter, dry 24h |
| Intermittent spinning | Damp end caps | Dry roller 12+ more hours |
| Loud grinding noise | Misaligned axle | Reinstall roller, verify D-shaft fit |
Monthly Maintenance Routine for Peak Performance
Prevent 95% of roller failures with this 5-minute ritual. Set phone reminders labeled “Dyson Outsize Roller Check.”
Cut Hair Immediately, Not After Vacuuming
When you see hair wrapping around the roller during use, stop vacuuming immediately. Power off the unit and snip threads with scissors before they wind deeper. Waiting until your next scheduled clean allows hair to jam against bearings.
Compressed Air for Hidden Dust
After removing the roller, blast compressed air into the housing’s motor socket and bearing holes. Hold the can upright 6 inches away—never tilt. This dislodges dust that causes overheating. Do this monthly even if the roller looks clean.
When to Replace (Not Repair) Your Roller
Replace the Fluffy Optic head if you see:
– Fibers shedding like a worn-out sweater
– Deep nicks in the roller surface from improper cutting
– Persistent musty odor after 48+ hours drying
– Roller won’t spin freely after cleaning
Final Step: Test Your Dyson Outsize Like a Pro
Power on your vacuum after reassembly and run it for 2 full minutes on hard flooring. The roller should:
– Spin silently at full speed within 3 seconds
– Grab a tissue sheet completely within 10 seconds
– Show no wobbling or scraping sounds
If issues persist, revisit the D-shaft alignment—it’s the culprit 8 of 10 times. Remember: consistent suction starts with a clean roller, but lasting performance depends on perfect drying. By following this exact process monthly, your Outsize will maintain factory-level suction for 5+ years. Skip the $120 repair bills—your vacuum’s heartbeat depends on these 20 minutes of care.

