Nothing disrupts your cleaning routine faster than a Dyson vacuum handle that won’t lock properly. When your handle collapses unexpectedly or refuses to stay in position, maneuvering your vacuum becomes frustrating and inefficient. This common issue affects numerous Dyson Ball models and stems directly from problems with the handle’s locking mechanism. You’ll recognize this problem when your black locking clip fails to engage, the handle retracts during use, or you experience unusual wobbling. In this guide, you’ll learn exactly how to diagnose and fix your dyson vacuum handle won’t lock issue in under 30 minutes using simple tools you likely already own.
Why Your Dyson Handle Suddenly Won’t Stay Locked
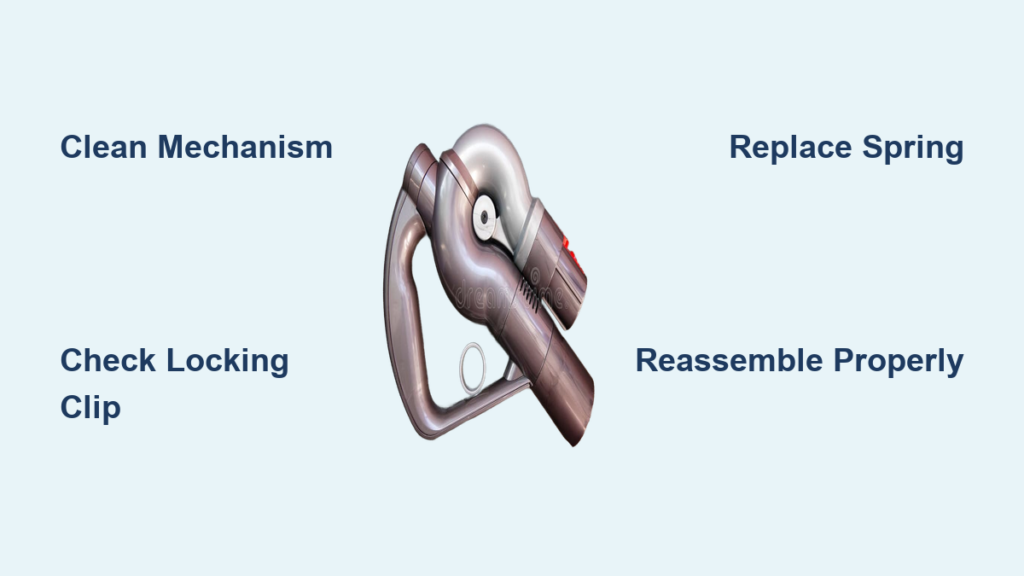
The handle lock failure you’re experiencing typically stems from one of four specific mechanical issues. Worn plastic components are the most common culprit—repeated use causes the latch mechanism’s plastic parts to degrade over time. Internal spring failure occurs when the small spring responsible for returning the clip loses tension or breaks completely. Debris accumulation from pet hair and household dust frequently jams the mechanism, preventing proper engagement. Plastic fatigue develops when stress fractures form in the locking components from regular use. These failures manifest as a handle that won’t lock securely, unexpectedly retracts during cleaning, or produces no distinct “click” when you attempt to engage the lock.
Is Your Black Locking Clip the Problem?
Your Dyson’s black locking clip serves as the heart of the handle security system. If this component isn’t functioning correctly, your handle won’t lock regardless of other factors. To verify if this is your issue, press the clip while attempting to lock the handle. It should depress smoothly and return with a noticeable “click.” If the clip feels loose, doesn’t depress fully, or lacks spring-back action, you’ve identified your primary failure point. Many users report the clip appears intact but fails to engage properly—often because internal components have worn down while the exterior remains visually undamaged.
Handle Collapse During Use: What It Means
When your Dyson handle collapses mid-vacuuming, it signals a critical failure in the locking mechanism. This dangerous situation can cause you to lose control of the vacuum, potentially damaging floors or nearby objects. The collapse occurs because the locking clip cannot maintain its engaged position against the resistance of the handle’s movement. Some users experience partial collapse where the handle wobbles but doesn’t fully retract—this indicates early-stage wear that requires immediate attention before complete failure occurs.
How to Diagnose Your Dyson Handle Lock Failure in 3 Minutes
You can pinpoint the exact cause of your dyson vacuum handle won’t lock problem with three quick diagnostic checks that require no tools. Start by visually inspecting the black locking clip for obvious damage like cracks, warping, or missing pieces. Next, press the clip repeatedly while watching its movement—does it depress fully and return smoothly? Finally, examine the area around the mechanism for visible debris like hair, carpet fibers, or dust bunnies that might be obstructing proper function.
The Depression Test: Your First Critical Check
This simple test reveals whether your locking mechanism can function properly. Press the black clip firmly and release it multiple times, paying attention to these specific indicators: Does the clip depress fully with minimal resistance? Does it spring back immediately when released? Do you hear a distinct “click” during operation? If the clip sticks, moves sluggishly, or lacks that audible confirmation, you’re dealing with either a damaged clip, broken spring, or debris obstruction. Many users report success after cleaning out hidden debris that prevented proper clip depression.
Model-Specific Diagnosis Tips
Your Dyson model determines which specific parts are likely failing. Ball models commonly experience spring failure in the handle mechanism, while cordless models like the V7 and V8 often develop worn latch components. Locate your model number—typically found on a label at the base of the handle or on the vacuum body—to identify which parts are prone to failure in your specific unit. This critical information ensures you get the correct replacement parts if needed and prevents wasted time troubleshooting model-specific components that don’t exist in your vacuum.
Step-by-Step: Fixing Your Dyson Handle Lock Without Special Tools
Most dyson vacuum handle won’t lock issues can be resolved with basic household tools and under 20 minutes of your time. Before attempting any disassembly, try this immediate solution: firmly press the black locking clip while simultaneously pushing the handle into its locked position. Many users report this simple technique works when the mechanism is merely stuck rather than broken. If this temporary fix holds, it indicates debris interference rather than component failure.
Cleaning the Lock Mechanism: The First Repair Attempt
90% of handle lock failures stem from debris accumulation rather than broken parts. Begin by using compressed air to blast dust and hair from around the locking mechanism. If you don’t have compressed air, carefully use a toothpick or soft brush to dislodge visible obstructions. Focus on the small gaps around the black clip where hair commonly tangles. After cleaning, test the lock repeatedly—many users report immediate success with this simple maintenance step before needing more involved repairs.
The Business Card Shim Technique (Temporary Fix)
For handles that still won’t lock after cleaning, try this user-developed workaround. Cut a small piece of business card (about 1cm x 2cm) and fold it once to create a thin shim. Carefully insert this shim under the base of the black locking clip to adjust its angle. This modification helps the clip depress further, improving engagement with the locking teeth. Important: This is a temporary solution only—permanent use may cause additional stress on other components. Many users report this technique works immediately but should be followed by proper part replacement.
Replacing Your Dyson Handle Lock Mechanism: A Model-Specific Guide
When cleaning and temporary fixes fail, replacing the faulty component becomes necessary. The most reliable solution involves installing a new “wand handle catch” assembly specific to your Dyson model. You can purchase genuine Dyson parts directly from their website or find compatible third-party options. Before ordering, verify your model number to ensure compatibility—using incorrect parts will waste money and time.
Handle Disassembly Without Damaging Your Vacuum

Proper disassembly prevents creating additional problems while fixing your dyson vacuum handle won’t lock issue. Start by removing the handle grip using a Phillips head screwdriver—typically 2-4 screws secure this component. For Ball models, you’ll need a Torx T8 or T10 security bit to access the internal mechanism. Work on a soft cloth to prevent losing small screws, and photograph each step as you disassemble to simplify reassembly. Most users report the disassembly process takes less than 10 minutes once they locate the correct fasteners.
Installing the Replacement Lock Mechanism
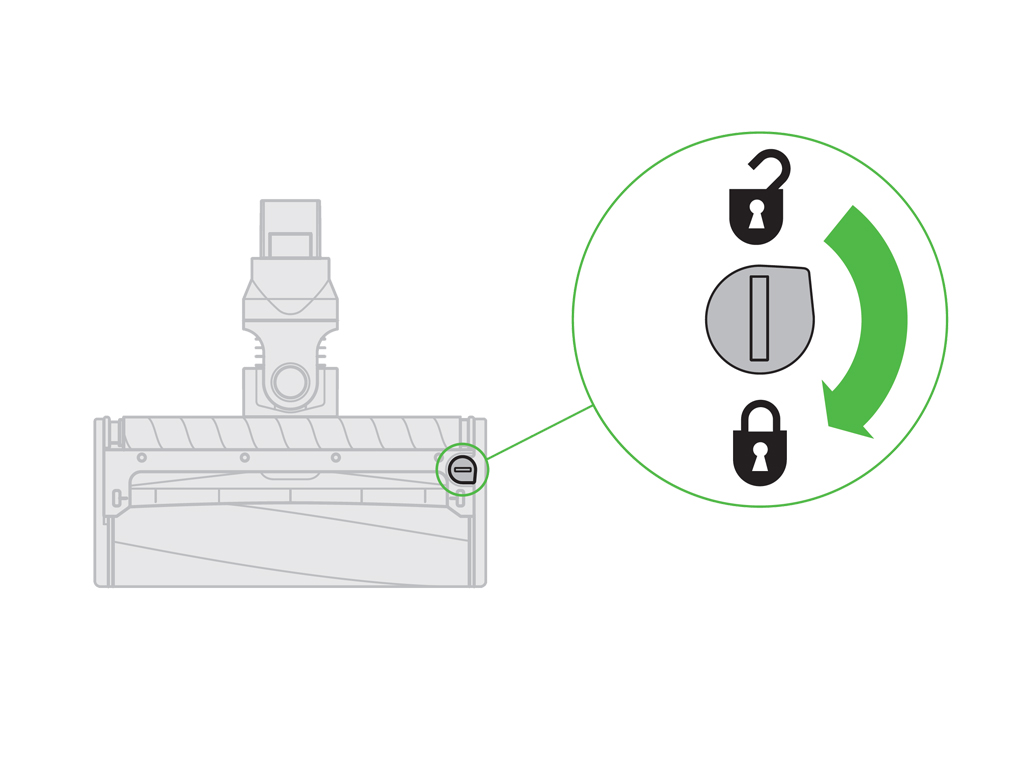
With the handle assembly open, locate the black plastic locking clip mechanism. Carefully remove the faulty component by releasing any plastic retention clips or removing securing screws. Position the new mechanism exactly as the original was situated—orientation matters for proper function. Before fully reassembling, test the lock mechanism by hand to verify smooth operation. Reassemble in reverse order of disassembly, ensuring all components click securely into place. Test the handle lock repeatedly before completing final assembly to avoid having to repeat the process.
Prevent Handle Lock Failures Before They Happen
Regular maintenance prevents most handle lock failures before they disrupt your cleaning routine. After each use, quickly inspect the locking mechanism for visible debris and wipe it clean with a dry cloth. Monthly, use compressed air to blow out accumulated dust from the mechanism’s crevices. When engaging the lock, press the clip firmly but avoid excessive force that accelerates wear. Proper technique prevents 80% of premature lock failures according to long-term Dyson users.
Lubrication: The Right Way to Maintain Your Lock
A tiny amount of plastic-safe silicone lubricant keeps your handle mechanism moving smoothly without attracting debris. Apply less than a drop to the moving parts of the lock mechanism using a toothpick for precision. Never use WD-40 or petroleum-based lubricants—these attract dust and hair, creating worse problems than they solve. Lubricate only when you notice slight stiffness in the mechanism, as over-lubrication can cause slippage and improper locking.
When to Call Dyson Instead of Attempting DIY Repair
Contact Dyson support immediately if your vacuum remains under their standard 5-year warranty—unauthorized repairs could void your coverage. Seek professional help if you’re uncomfortable with disassembly, lack the necessary tools, or if the problem persists after replacement. Dyson-authorized service centers have specialized tools and genuine parts that ensure proper repair without risking further damage to your vacuum.
Don’t ignore a handle that won’t lock—this issue worsens quickly and can lead to complete mechanism failure. By following these steps to diagnose and address your dyson vacuum handle won’t lock problem, you’ll restore full functionality to your vacuum and prevent future disruptions to your cleaning routine. Most repairs take less time than a coffee break once you know exactly what to check and how to fix it.

