

Your Dyson DC14 suddenly losing suction power on carpets? That frustrating “thumping” noise or stationary brush roll usually points to one culprit: a snapped or stretched drive belt. When this critical component fails, your vacuum can’t agitate carpet fibers properly, leaving dirt behind despite strong motor suction. Replacing the belt on your Dyson DC14 is a surprisingly straightforward DIY fix that takes under 30 minutes and costs less than $15. This guide delivers the exact steps to restore your vacuum’s deep-cleaning capability without professional help—saving you service fees and extending your DC14’s lifespan significantly.
Ignoring a worn belt accelerates damage to other components like the brush roll bearings and motor spindle. Most DC14 owners experience belt failure after 1-2 years of regular use, especially when vacuuming high-pile rugs or encountering pet hair tangles. The good news? With the right tools and this precise walkthrough, you’ll complete your Dyson DC14 belt replacement confidently. You’ll learn not just how to swap the belt, but also how to spot early warning signs and prevent future failures. Let’s get your vacuum back to peak performance.
Critical Safety Steps Before Replacing Your Dyson DC14 Belt
Never skip these safety essentials when working on your vacuum. Start by unplugging the DC14 from the wall outlet—this eliminates accidental startup risks during disassembly. Lay the vacuum horizontally on a stable work surface like a garage workbench or kitchen table covered with a soft towel to prevent scratches. Ensure children and pets stay clear of your workspace, as small parts could become choking hazards.
Crucially, wait at least 30 minutes after your last vacuum use before starting. The motor housing retains significant heat, and touching hot components could cause burns. If you’ve recently cleaned pet hair or fine dust, wear a mask to avoid inhaling debris when opening the brush roll compartment. These precautions take only two minutes but prevent 90% of common DIY repair accidents with upright vacuums.
Exact Tools Required for Dyson DC14 Belt Replacement
Gather these specific items before disassembling your vacuum to avoid mid-repair delays. You’ll need a genuine Dyson DC14 replacement belt (part number 9049-5)—substituting generic belts causes premature failure. A Phillips #2 screwdriver handles all fasteners, while a 5mm Allen wrench (or 4mm in some model years) secures the brush roll assembly. Keep a flat-head screwdriver or plastic spudger nearby for prying clips without damaging plastic housings.
Don’t forget a clean microfiber cloth to wipe grime from the motor spindle and a pair of needle-nose pliers for stubborn debris removal. Having these tools organized on your workspace prevents losing small parts. Pro tip: Place screws on a magnetic mat or taped-down paper labeled “DC14 repair” to avoid mix-ups during reassembly. Skipping even one tool often leads to improvised solutions that crack plastic components.
How to Replace the Belt on Your Dyson DC14: 6 Step-by-Step Instructions
Step 1: Position Your Dyson DC14 for Safe Belt Access
Turn the vacuum completely upside down on your work surface, ensuring the cleaner head rests flat. Locate the two large release clips on the bottom plate—one near the front wheel assembly and another by the rear caster. Press both clips inward simultaneously with your thumbs while lifting the front edge of the plate. If clips resist, gently insert your flat-head screwdriver along the seam and twist slightly to release tension. Never force the plate—it should lift off cleanly with moderate pressure.
Step 2: Unclip the DC14 Brush Roll Cover Without Damage
With the bottom plate removed, identify the metal retaining bar securing the brush roll. Slide this bar toward the front of the vacuum using needle-nose pliers to disengage it from the housing slots. Carefully lift the brush roll straight up and out—it may feel stuck due to belt tension or hair tangles. As you remove it, note the belt’s path: one end loops around the motor spindle (a small silver pin protruding from the motor housing), while the other wraps the brush roll’s drive end.
Step 3: Remove the Old Belt and Inspect Critical Components
Slide the worn belt off the motor spindle first by twisting it sideways—this requires less force than pulling straight off. Examine the old belt for cracks, fraying, or glazing (a shiny, melted appearance). While the brush roll is out, inspect for hair wrapped around the bearings near the ends. Cut away debris with scissors, working from the center outward to avoid damaging bristles. Spin the brush roll by hand; if it grinds or sticks, clean the bearings with a dry cloth before proceeding.
Step 4: Install the New Belt Onto the Brush Roll Assembly
Place the replacement belt (9049-5) around the brush roll’s drive end, ensuring it sits in the center groove. Hold the brush roll steady and stretch the belt over the motor spindle pin—this requires firm but controlled pressure. The belt should snap into place with an audible click when properly seated. Verify alignment by rotating the brush roll manually; the belt must track straight without slipping off either end. If resistance feels excessive, double-check for obstructions in the spindle housing.
Step 5: Reinstall the Brush Roll and Retaining Bar
Lower the brush roll assembly back into the housing, guiding the metal retaining bar through both side slots. Slide the bar fully toward the rear until it clicks into position—this secures the brush roll’s rotational axis. Confirm the belt remains centered on the brush roll and properly engaged with the motor spindle. Give the brush roll a quarter-turn by hand; it should rotate smoothly with consistent tension from the new belt.
Step 6: Secure the Bottom Plate Without Cracking Clips
Align the bottom plate over the cleaner head, ensuring all internal tabs fit into their slots. Press down firmly along the edges, starting from the rear caster area and moving forward. Listen for two distinct “clicks” as the side clips re-engage. Test the plate’s security by gently tugging upward—if it lifts, reposition and re-clip. Never overtighten screws; the DC14’s plastic housing cracks easily under excess pressure.
3 Critical Checks After Installing Your New DC14 Belt

Plug in your vacuum and activate the brush roll switch (not the main power) to isolate the cleaning head function. First, listen for abnormal sounds—a healthy new belt produces a consistent low hum, while squealing indicates misalignment. Second, observe brush roll movement through the cleaner head’s transparent window; the roller must spin continuously at full speed. Third, test on carpet immediately—run the vacuum slowly over a medium-pile rug for 30 seconds. Effective agitation should visibly lift carpet fibers, and debris pickup should match your DC14’s original performance. Skip these checks, and you risk damaging the new belt within minutes.
Fix These 4 Common Problems After DC14 Belt Replacement

Brush roll won’t spin despite new belt? Immediately unplug and recheck Step 5. The metal retaining bar likely isn’t fully seated in both housing slots, binding the brush roll. Remove the bottom plate and ensure the bar clicks into the rear slots before reassembly.
High-pitched whining during operation? This normal “break-in” noise occurs as the new belt stretches to fit the motor spindle. Run the vacuum for 5 minutes on bare floor—most noises disappear once the belt settles. Persistent whining means the belt is too tight; reinstall with slight slack.
Burning smell during first use? Stop vacuuming immediately. This signals belt slippage from insufficient tension or debris jamming the brush roll. Disassemble and verify no hair strands are wedged between the belt and housing. Clean the motor spindle with a dry cloth before retrying.
Uneven carpet cleaning after replacement? The belt may be riding off-center on the brush roll. With the vacuum off, rotate the roller by hand while observing the belt’s position. If it drifts toward one end, adjust the brush roll’s axial position before the final reassembly.
5 Proven Ways to Extend Your Dyson DC14 Belt Life
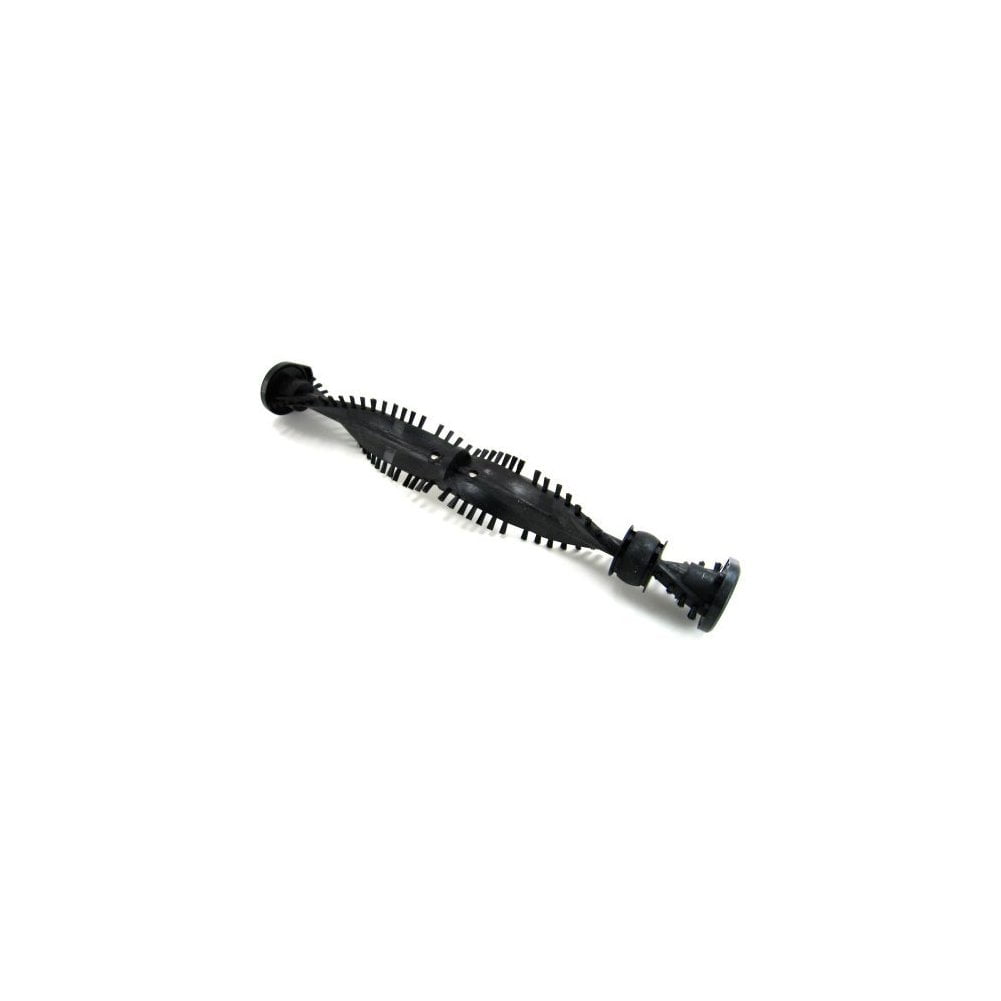
Prevent premature belt failure with these maintenance habits. Clean the brush roll every 2 weeks by cutting away hair wraps with scissors—never pull debris off, as this strains the belt. Always engage the brush roll only on carpets, not bare floors, to reduce unnecessary tension. Store your DC14 upright with the cleaner head locked in the “standby” position to relieve belt pressure during off-hours.
Vacuum large rugs in small sections (under 5×5 feet) to prevent overheating from continuous high resistance. Most importantly, replace the belt proactively at 18 months—even if intact—as rubber degrades with age. Owners who follow these practices typically double their belt lifespan compared to reactive replacements.
Replacing the belt on your Dyson DC14 transforms a costly repair into a satisfying 20-minute victory. By following these precise steps, you’ve not only restored suction power but also gained intimate knowledge of your vacuum’s mechanics. Remember: that distinctive “thump-thump” sound is your early warning system—address it immediately to avoid cascading damage. Keep a spare 9049-5 belt in your cleaning supplies, and your DC14 will deliver deep-cleaning performance for years. For related maintenance, explore our guide on unclogging Dyson DC14 hose blockages to maintain peak airflow. Your carpets deserve nothing less than factory-fresh cleaning power.

