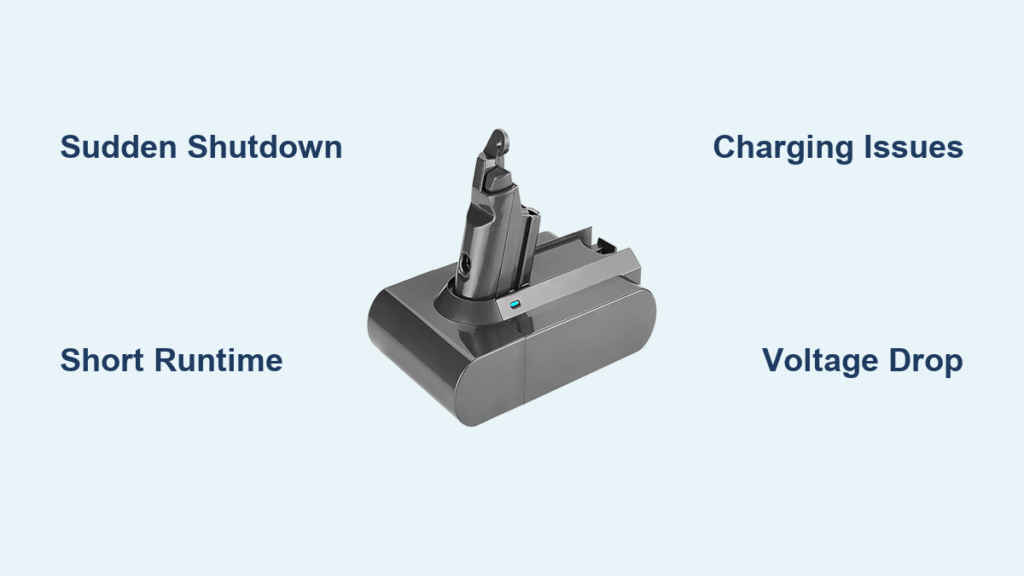
You’re halfway through vacuuming your living room when suddenly—nothing. Your Dyson cordless vacuum shuts off completely, even though the battery indicator showed you had plenty of power left. You plug it in, but it either won’t charge at all or dies minutes after being “fully charged.” If this sounds familiar, you’re likely dealing with a dead or dying Dyson battery—the most common failure point in cordless Dyson vacuums after 2-3 years of use.
Unlike traditional corded vacuums, your Dyson’s performance lives and dies with its lithium-ion battery. When this critical component fails, it doesn’t just reduce runtime—it can completely disable your entire vacuum system. The good news? Battery failure follows predictable patterns that you can identify before replacing your entire unit.
This guide will help you definitively determine whether your Dyson battery is dead, distinguish battery issues from other common problems, and give you actionable steps to confirm the diagnosis—plus what to do next if your battery has indeed reached the end of its life.
Why Your Dyson Suddenly Shuts Down Mid-Cleaning
A dead Dyson battery often announces itself with dramatic power loss during operation. If your vacuum works perfectly until reaching approximately 50-70% charge, then abruptly shuts off despite showing remaining power, this is a classic sign of battery failure. Unlike a simple low-battery warning, a dead battery causes instantaneous power loss with no gradual decline.
This happens because failing lithium-ion cells can’t maintain consistent voltage under load. As the vacuum motor demands power, the weakened cells collapse, triggering an automatic safety shutdown. You might notice the vacuum briefly working again after a minute of rest, only to die once more when you resume cleaning—a frustrating cycle that confirms battery issues rather than motor problems.
The 5-Minute Runtime Test That Confirms Battery Death
Perform this simple test to verify your battery’s condition: Fully charge your Dyson, then time how long it runs on maximum power mode before shutting down. A healthy battery should deliver at least 50% of its original advertised runtime (typically 15-30 minutes on max power depending on model). If your vacuum dies in 5 minutes or less, your battery has likely failed.
Watch for inconsistent motor performance during this test. A dying battery often causes the motor to surge and slow erratically as it struggles to draw consistent power. The suction might feel strong one moment, then weak the next—a telltale sign that the battery can’t deliver steady current. If you notice this pulsating effect alongside drastically reduced runtime, your battery is almost certainly dead.
Is It Really the Battery or Just a Simple Fix?
Before concluding your battery is dead, rule out simpler issues that mimic battery failure. Start by checking for clogs in the wand, brush bar, or bin. A significant blockage forces the motor to work harder, draining power rapidly and triggering premature shutdowns. Remove all attachments and inspect each component thoroughly—many users mistakenly replace batteries when a simple unclogging would have solved the problem.
Next, clean your Dyson’s filters. A clogged filter restricts airflow, making the motor work harder and drain power faster. Remove both pre-motor and post-motor filters (if your model has them), rinse under cool water, and allow 24 hours to dry completely before reinserting. This maintenance step alone resolves “battery issues” for many users who haven’t cleaned their filters in months.
The Charging Behavior That Confirms a Dead Dyson Battery
A dead Dyson battery often exhibits abnormal charging patterns. If your vacuum shows a full charge in an unusually short time (under 30 minutes), yet dies immediately when you start cleaning, this indicates the battery isn’t actually holding charge—it’s just tricking the indicator system. Lithium-ion batteries that have failed internally may complete the “charging” process rapidly because they can’t accept additional power.
Try this diagnostic test: After your Dyson indicates a full charge, unplug it for 5 minutes, then plug it in again. If the charger immediately shows “full” without having actually charged, your battery has likely failed. Another red flag: the charger light never turns green despite hours connected to power, yet the vacuum works briefly when unplugged—a sign the battery isn’t accepting charge properly.
Why Your Dyson Shows Full Charge but Dies Immediately
This frustrating scenario—where your Dyson indicates 100% charge but powers off within seconds of use—points directly to a dead battery. The vacuum’s battery management system (BMS) measures voltage to determine charge level, but a failing battery pack may show normal voltage when idle yet collapse under load.
Perform the 60-second charge test: When your Dyson dies during use, immediately plug it in for exactly 60 seconds, then unplug and try to restart. If it works again briefly (even for just 30 seconds of cleaning), this confirms battery failure—the minimal charge sustained the voltage long enough for temporary operation. This is a definitive diagnostic for a dead battery that can’t maintain power during use.
Dyson Battery Life Expectancy: When to Expect Failure
Most Dyson lithium-ion batteries last 3-4 years under normal usage—approximately 500-1,000 full charge cycles. If your vacuum is 2+ years old and you use it regularly, battery failure becomes increasingly likely. Users commonly report runtime dropping from 20+ minutes to just 5 minutes between charges as batteries approach end-of-life.
Understand that battery degradation is normal and progressive. You’ll typically notice gradual runtime reduction over months before complete failure. If your Dyson suddenly dies within its first year, check warranty coverage—Dyson offers a 2-year limited warranty on batteries. However, if your vacuum is 3+ years old with regular use, battery replacement is expected maintenance rather than a defect.
The Voltage Check Method for Battery Health

For a technical confirmation, you can check your Dyson battery’s voltage with a multimeter. First, fully charge the battery, then disconnect it from the vacuum (if removable). Set your multimeter to DC voltage and touch the probes to the battery terminals. A healthy Dyson battery should read approximately 25.2V when fully charged.
Now, turn on your Dyson and measure the voltage again under load. If the reading drops below 21V immediately, your battery cells have degraded significantly. A working battery maintains stable voltage during use—typically between 21-25V depending on charge level. A voltage that plummets under minimal load confirms the battery can no longer deliver sufficient power.
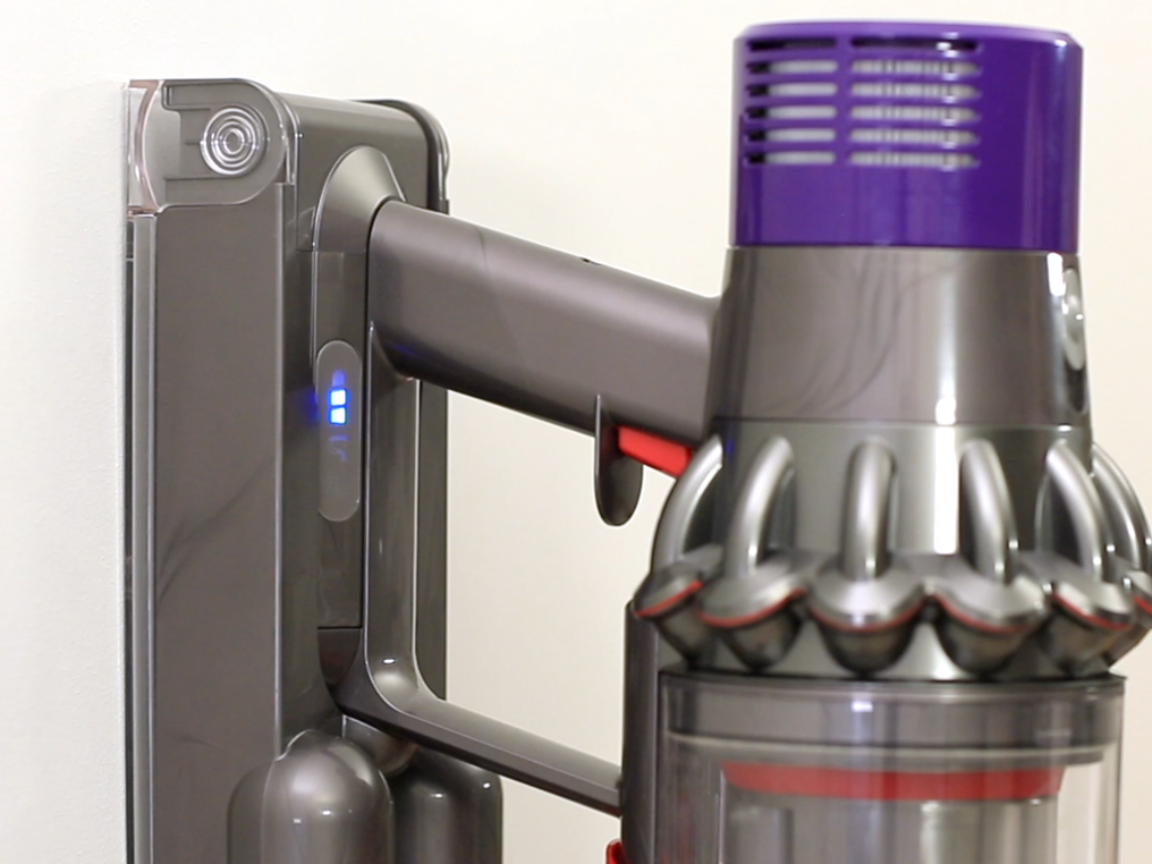
How to Interpret Dyson’s LED Error Patterns
Your Dyson communicates battery issues through specific LED patterns. While models vary, common failure indicators include:
- Rapid flashing of all battery lights: Indicates a communication error between battery and vacuum
- Single light flashing repeatedly: Often signals a failed battery cell
- No lights illuminating when power button pressed: Complete battery failure or connection issue
- Inconsistent light patterns: Points to failing battery management system
Consult your specific model’s manual for exact LED codes, but generally, any irregular flashing pattern (beyond the standard low-battery warning) indicates battery problems rather than normal operation. These visual diagnostics provide immediate confirmation without tools.
Genuine vs. Third-Party Replacement Batteries: What’s Best?
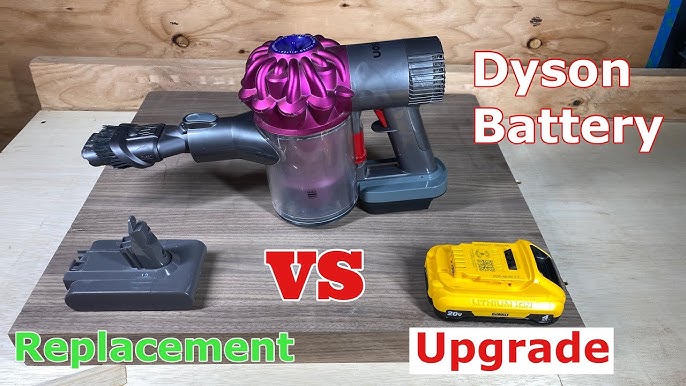
When replacing your dead Dyson battery, you face a choice: Official Dyson batteries ($90-$150) or third-party alternatives ($40-$80). Genuine batteries offer guaranteed compatibility and typically come with a 1-2 year warranty, but cost significantly more. High-quality third-party options can work well but vary in reliability—look for brands with 4+ star reviews specifically mentioning your Dyson model.
Avoid the cheapest options, as poorly made batteries may lack proper safety features or communicate incorrectly with Dyson’s proprietary system. Check that any third-party battery specifies compatibility with your exact model number (found on the original battery). For most users, the genuine Dyson battery provides peace of mind despite the higher cost.
The Charging Habits That Double Battery Life
Maximize your new battery’s lifespan with proper charging habits. Never store your Dyson with a completely drained battery—lithium-ion cells degrade faster when left at 0% charge. Instead, maintain a 40-60% charge for long-term storage. After regular use, charge your vacuum promptly rather than leaving it partially discharged for days.
Most importantly, avoid leaving your Dyson on the charger continuously. While modern batteries have protection against overcharging, constant “trickle charging” stresses the cells over time. Unplug your vacuum once fully charged, and consider using a timer plug if you tend to leave it charging overnight. These simple habits can extend your battery’s useful life by 12-18 months.
Temperature Settings That Prevent Premature Failure
Extreme temperatures are your Dyson battery’s worst enemy. Never store or charge your vacuum where temperatures exceed 104°F (40°C) or drop below 32°F (0°C). High heat accelerates chemical degradation inside the battery, while cold temperatures temporarily reduce capacity and can cause permanent damage if charged while frozen.
Store your Dyson in a climate-controlled space—never in a hot garage, car trunk, or near heating vents. If you’ve used your vacuum in a cold environment, allow it to return to room temperature (at least 1 hour) before charging. Operating within the ideal temperature range of 50-77°F (10-25°C) significantly extends battery lifespan and prevents sudden failures.
If your Dyson battery has failed, replacing it properly maintained will restore your vacuum to near-new performance. By recognizing the definitive signs of battery death and implementing proper care for your replacement, you’ll maximize your investment and keep your home spotless without unexpected power failures. Remember: battery replacement is normal maintenance for cordless vacuums—don’t mistake inevitable wear for a product defect.

