Is your Dyson V7 suddenly dying after just a few minutes of cleaning? That frustrating moment when your cordless vacuum cuts out mid-task is often a sign your battery needs replacement. Knowing how to install a Dyson V7 battery properly can save you hundreds of dollars in unnecessary repairs or premature vacuum replacement. This guide delivers the exact steps you need to replace your battery safely and effectively—no technical expertise required. By the end of this article, you’ll confidently remove your old battery and install a new one in under 15 minutes, restoring your vacuum’s full cleaning power.
Dyson V7 batteries typically last 2-4 years with regular use, but many owners face premature failure due to improper charging habits or manufacturing defects. When your vacuum won’t hold a charge beyond a few minutes or fails to power on despite a full charge, battery replacement becomes essential. The good news is that installing a new Dyson V7 battery is one of the simplest maintenance tasks you can perform on your vacuum—far easier than many owners anticipate. Understanding how to install a Dyson V7 battery correctly ensures you maximize your vacuum’s performance while avoiding common installation mistakes that could damage your machine.
Critical Safety Steps Before Installing Your Dyson V7 Battery
Before touching any components, following these safety precautions prevents electrical damage and personal injury. Never skip these steps—your Dyson’s sophisticated electronics demand proper handling.
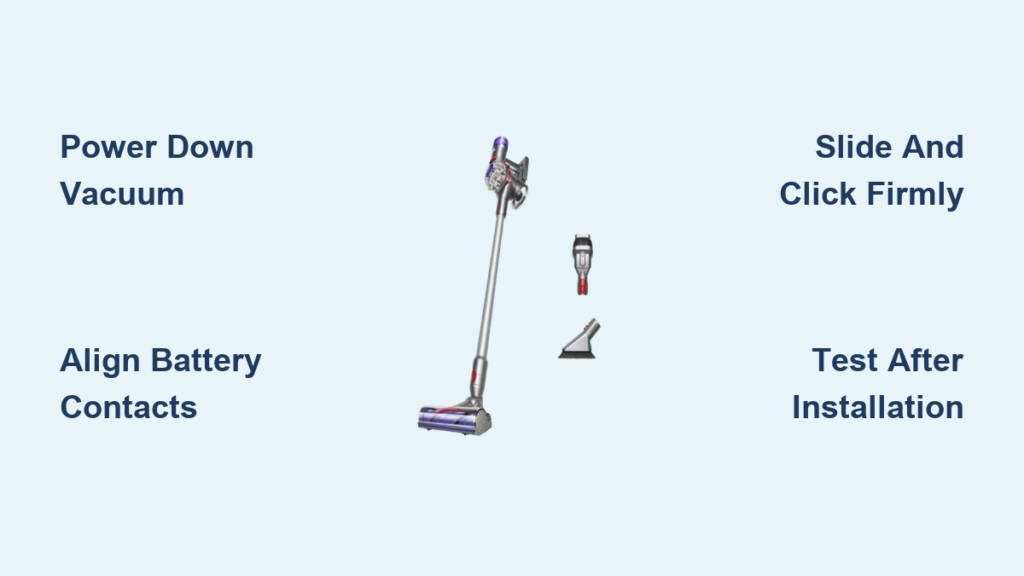
Power Down and Disconnect Properly
Ensure your vacuum is completely powered off using the trigger button—don’t just let it time out. Unplug the charger from both the wall outlet and the vacuum’s charging port. Working on a connected vacuum risks short-circuiting sensitive components. Wait at least 10 minutes after unplugging to allow residual electricity to dissipate, especially if the vacuum was recently in use. This cooling period prevents accidental activation during battery replacement.
Verify Battery and Workspace Safety
Confirm you have the correct replacement battery model (966734-01 or equivalent for V7 models). Using incompatible batteries creates fire hazards and voids your warranty. Work on a clean, dry surface away from metal objects that could cause shorts. Keep your hands completely dry—moisture combined with electrical contacts can permanently damage your vacuum’s circuitry. If you wear glasses, consider removing them temporarily as the small release mechanism could scratch lenses during installation.
Essential Tools for Dyson V7 Battery Replacement
Having the right equipment makes battery installation faster and prevents damage to your vacuum’s components. Don’t attempt this repair without these specific items.
Must-Have Replacement Components
Purchase only genuine Dyson replacement batteries or reputable third-party options explicitly labeled for V7 models. Counterfeit batteries often lack proper circuit protection and can overheat. The correct battery model number (typically 96674-01) must match your specific V7 variant—check your original battery’s label before ordering. Keep the original packaging as you’ll need to return defective batteries for warranty claims.
Required Installation Tools
Use a PH1 precision Phillips screwdriver—not a standard size—to avoid stripping the small screws securing internal components if you encounter resistance. Have a magnetic parts tray ready to prevent losing tiny screws. A microfiber cloth prevents scratching the vacuum’s housing during handling. Keep a pair of anti-static wrist straps nearby if working in dry environments to prevent static discharge damaging electronic components.
How to Remove and Install Your Dyson V7 Battery in 4 Steps
This precise sequence ensures proper electrical contact and prevents damage to delicate connectors. Rushing through these steps causes most installation failures.
Step 1: Properly Removing the Old Battery

Locate the rectangular battery pack on the handle—it’s the only component that slides vertically. Press the release button firmly with your thumb while simultaneously sliding the battery downward toward the motorhead (not away from the vacuum). Apply steady pressure for 3-5 seconds before sliding—cheap knockoff batteries often require extra force to release. If resistance persists, check for debris blocking the release mechanism rather than forcing it. Never pry with tools as this damages the connector pins.
Step 2: Preparing the New Battery for Installation
Remove protective tabs from the new battery’s terminals—many replacements ship with insulating stickers. Clean both the battery contacts and vacuum’s receiver ports with a dry microfiber cloth; visible corrosion requires gentle rubbing with a pencil eraser. Align the battery’s gold contacts with the vacuum’s receiver grooves before attempting insertion—misalignment causes 90% of “battery not working” issues after replacement. Hold the new battery at a 15-degree angle during initial insertion to guide the contacts properly.
Step 3: Correct Installation Technique for Secure Connection

Slide the battery upward into position with firm, even pressure until you hear a definitive double-click. The first click engages the mechanical latch; the second confirms electrical contact. Stop immediately if you feel resistance—forcing causes bent pins that require professional repair. Verify proper seating by checking for even gaps around the battery perimeter; any visible space indicates incomplete installation. Gently tug downward on the battery—it shouldn’t move more than 1-2mm if correctly installed.
Step 4: Immediate Post-Installation Verification
Press the power trigger for 3 seconds—don’t just tap it—to activate the new battery’s circuitry. Watch for the LED indicator to illuminate steadily (flashing indicates connection issues). Run the vacuum at full power for 30 seconds to confirm consistent performance. If power cuts out immediately, remove and reseat the battery—most issues resolve with proper contact alignment. Never proceed to charging until you verify basic functionality.
Troubleshooting Common Dyson V7 Battery Installation Problems

Even with perfect technique, these frequent issues can prevent proper operation. Address them systematically before assuming battery failure.
Battery Won’t Click Into Place Despite Proper Alignment
Check for manufacturing defects in the replacement battery’s latch mechanism—some third-party batteries have misaligned catches. Try cooling both components in the refrigerator for 10 minutes (not freezer) as thermal expansion sometimes causes tight fits. Apply minimal silicone-based lubricant to the battery rails if repeatedly removing/installing for testing—never use oil-based products near electronics.
Vacuum Powers On But Immediately Shuts Down
This indicates poor electrical contact. Remove the battery and inspect both sets of contacts for bent pins—use needle-nose pliers to gently straighten any that appear misaligned. Clean contacts with isopropyl alcohol and cotton swab, then dry completely before reinstallation. Verify the battery’s internal fuse hasn’t blown by checking for continuity with a multimeter if you have technical expertise.
Maximizing Your New Dyson V7 Battery’s Lifespan
Proper maintenance after installation doubles your battery’s usable life. These often-overlooked practices make the difference between 18 months and 4 years of reliable service.
Optimal Charging Practices for Longevity
Always charge your new battery for a full 4.5 hours during the first three cycles, even if the indicator shows 100%. This calibrates the charge sensor for accurate future readings. Never store the vacuum fully charged—maintain 30-70% charge during prolonged storage periods. Unplug immediately when the charger light turns solid blue; trickle charging degrades lithium-ion cells faster than normal use.
Environmental Factors That Impact Battery Performance
Store and charge your vacuum between 50-77°F (10-25°C)—extreme temperatures permanently reduce capacity. Avoid charging on soft surfaces like beds or sofas that block ventilation. After deep cleaning sessions, let the vacuum cool for 20 minutes before charging to prevent heat buildup that accelerates battery degradation.
Replacing your Dyson V7 battery properly restores like-new performance to your cordless vacuum, but the real value comes from installing it correctly the first time. By following these precise steps—especially the critical alignment techniques and post-installation verification—you avoid the most common pitfalls that leave owners thinking they’ve purchased a defective battery. Remember that proper battery care after installation determines whether your replacement lasts 18 months or 4 years. If you encounter persistent issues after careful reinstallation, contact Dyson support with your original purchase receipt—many batteries carry 2-year warranties that cover premature failure. With your newly installed battery functioning perfectly, you’ll enjoy uninterrupted cleaning sessions that make maintaining your home effortless once again.

