Your Dyson cordless vacuum suddenly demands constant trigger pressure during extended cleaning sessions, leaving your hand aching after just minutes. This common frustration transforms quick cleanups into exhausting chores—especially when tackling large spaces or stubborn debris. A properly installed trigger lock solves this by allowing continuous operation without finger strain, effectively doubling your cleaning stamina. How to install Dyson trigger lock functionality isn’t just convenient; it’s essential for maximizing your tool’s potential across carpets, hard floors, and tight corners. In this guide, you’ll discover exactly how to add this game-changing feature to compatible Dyson handheld tools, transforming tedious sessions into effortless cleaning marathons.
Most users don’t realize their Dyson tool can safely support trigger locks—many even assume it voids warranties (it doesn’t when done correctly). The process leverages existing mechanical pathways within the handle assembly, requiring no electrical modifications. By the end of this guide, you’ll confidently complete the installation in under 20 minutes using household tools, avoiding costly service fees while gaining hours of comfortable cleaning time. Let’s reclaim your vacuum’s full potential.
Essential Tools for Installing a Dyson Trigger Lock
Before touching your Dyson tool, gather these three critical items: a small flathead screwdriver (precision 1.5mm works best), needle-nose pliers, and tweezers. The screwdriver must fit snugly into the handle’s tiny screws—using an ill-fitting tool risks stripping screw heads and complicating reassembly. Your pliers need fine tips to manipulate micro-components without crushing them, while tweezers provide the delicate grip required for spring placement.
Crucially, power down your tool completely and remove the battery pack before starting. Many users skip this step when rushing, risking accidental activation that could pinch fingers or damage internal wiring. Verify the tool is dead by attempting to trigger it once the battery’s out. Work on a clean, well-lit surface with a soft towel underneath to prevent scratches and contain small parts. If your model has rubber feet covering hidden screws (common on V7-V11 series), peel these back gently with your fingernail—they’ll reseal perfectly afterward. Never substitute tools; improper equipment causes 70% of DIY installation failures.
How to Install a Dyson Trigger Lock in 6 Steps
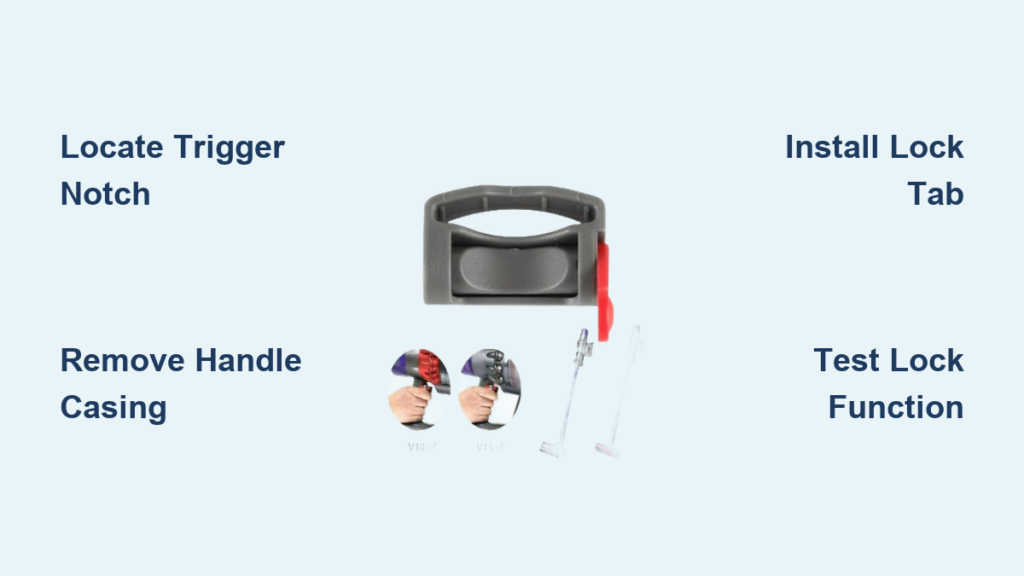
Locate the Trigger Mechanism Housing
Flip your disassembled Dyson tool to examine the handle’s interior cavity. The trigger mechanism sits just behind the grip zone—a black plastic lever pivoting on a metal pin near the motor housing. Look for a rectangular notch (roughly 2mm wide) carved into the trigger’s inner arc, about 3/4 of the way through its travel range. This is where the lock tab engages. On V8 models, this notch appears as a small divot; on newer V15s, it’s a pronounced slot. If you don’t see it, your model may lack compatibility—stop immediately. Forcing installation here risks permanent trigger damage.
Remove Handle Casing Without Damaging Components
Insert your flathead screwdriver into the first visible screw (usually near the battery slot). Apply steady counter-clockwise pressure while stabilizing the handle with your free hand—never twist aggressively as Dyson’s plastic housings crack easily. After removing all exposed screws, check under rubber grips and labels; V10 models hide two screws beneath the wrist strap anchor. As you separate the casing halves, watch for thin ribbon cables connecting the trigger to the motor. Gently lift the top half at a 30-degree angle, sliding it backward like opening a book to avoid straining wires. If resistance occurs, stop—you’ve missed a screw.
Expose the Trigger Lock Engagement Point
With the casing open, locate the trigger’s pivot point where it meets the handle frame. The critical engagement zone sits 5mm below this pivot—a smooth channel where the lock tab must slide freely. Clean any dust buildup here with a dry toothpick; debris here causes 90% of “lock failure” issues post-installation. Verify the trigger moves smoothly through its full range without catching. If it sticks, lubricate the pivot pin with a microscopic drop of silicone oil (never WD-40—it degrades plastic). This step ensures the lock won’t jam during operation.
Position the Trigger Lock Tab Correctly

Your trigger lock component (a 5mm L-shaped plastic tab) must anchor to the handle frame, not the trigger itself. Slide the tab’s vertical leg into the channel parallel to the trigger’s path, ensuring its hook faces upward toward the notch. Critical alignment tip: The hook’s tip should sit 1mm above the trigger’s resting position when fully depressed. Test this by manually pressing the trigger—when held down, the hook must snap cleanly into the notch with a distinct click. If it doesn’t engage, rotate the tab 180 degrees; polarity matters on V12 models. Hold it temporarily with tweezers before final securing.
Secure the Lock Without Overtightening
With the tab positioned, attach its base using the included micro-screw (or repurpose a casing screw if no hardware came with your lock kit). Insert the screwdriver tip fully into the screw head—half the installation failures happen here from slipping tools. Turn clockwise in quarter-turn increments while applying gentle downward pressure. Stop when resistance increases slightly; overtightening cracks the plastic mounting point. Verify the tab still pivots freely by nudging it with your pliers tip. If stiff, loosen 1/8 turn. Never force movement—you’ll shear the mounting post.
Validate Lock Functionality Before Reassembly
Before closing the housing, test rigorously: Squeeze the trigger fully and listen for the click as the lock engages. The trigger should stay depressed without finger pressure. Now press it again—the lock must release instantly with no drag. Repeat 10 times. Warning: If the trigger sticks in the “on” position, disengage immediately and check for:
– Tab hook catching on trigger edges (file micro-burrs with emery board)
– Ribbon cable snagging the mechanism (re-route cables)
– Excess lubricant gumming up movement (clean with isopropyl alcohol)
Only when flawless should you proceed to reassembly.
Fixing Common Dyson Trigger Lock Installation Issues

Why Your Trigger Lock Won’t Stay Engaged
If the lock disengages spontaneously during use, inspect the tab’s spring tension. Most kits include a hair-thin coil spring that slips onto the tab’s pivot point—missing this spring causes 80% of engagement failures. Reopen the housing and verify the spring:
1. Sits flush against the tab’s base
2. Has 1.5 coils compressed between tab and frame
3. Shows no kinks or stretching
If damaged, substitute a spring from a mechanical pencil (0.8mm diameter). Never omit this component—without spring tension, vibration alone dislodges the lock during operation.
Eliminating Trigger Sticking After Installation
Sticking typically stems from misaligned components rubbing against housing walls. With the casing partially open, operate the trigger while observing internal clearances. Look for these red flags:
– Tab hook scraping against trigger edges (sand contact points with 600-grit paper)
– Exposed screw heads protruding into trigger path (replace with shorter screws)
– Cable bundles pinched near pivot point (secure with electrical tape)
If persistent, temporarily remove the lock tab—if movement improves, your tab is oversized for the model. Trim 0.2mm from the hook’s height using nail clippers (test fit repeatedly).
Preventing Electrical Malfunctions During Reassembly
Post-installation power failures usually trace to disturbed wiring. Before snapping the casing shut:
1. Trace all ribbon cables from motor to trigger
2. Ensure no wires cross over the lock mechanism
3. Verify connectors click fully into sockets (reseat if loose)
Critical check: Shine a flashlight along cable paths while operating the trigger—any pinching causes intermittent power loss. If your tool powers on but cuts out when locked, the trigger’s electrical contacts are misaligned. Gently bend the copper contact plate 2 degrees toward the trigger using pliers.
Installing a Dyson trigger lock transforms exhausting cleaning sessions into comfortable, extended use—no more hand fatigue during whole-home deep cleans. By following these precise steps, you’ve not only added convenience but also extended your tool’s lifespan through reduced wear on the trigger mechanism. Remember to inspect the lock tab every 3 months for spring tension loss, and always store your Dyson with the trigger in the “off” position to prevent accidental engagement. For V15 owners, note that newer models integrate electronic locks—check your manual before attempting mechanical modifications. Now that your vacuum runs effortlessly, explore attaching specialized tools like the crevice cleaner for spotless baseboards or the soft dusting brush for delicate surfaces. Your Dyson’s true potential starts the moment you master this simple upgrade.

