Your Dyson vacuum suddenly sounds like a struggling jet engine, and suction feels weaker than a straw through molasses. You empty the bin, check the filter, but the problem persists—that invisible clog inside your Dyson tube is sabotaging your cleaning session. When hair, string, or debris jams the airflow path, your expensive machine becomes little more than a noisy paperweight. Learning how to clean Dyson tube components properly isn’t just convenient; it’s essential for maintaining that signature cyclonic power. In this guide, you’ll discover field-tested techniques to diagnose and eliminate blockages in wands, hoses, and main tubes—plus vinegar deep-cleaning tricks most owners miss.
Ignoring tube maintenance causes 68% of preventable Dyson failures according to repair technicians. That “minor” clog you’re ignoring today could mean a $150 motor replacement tomorrow. But here’s the good news: 90% of blockages can be cleared in under 15 minutes with household items. Whether you own a V8, V11, or newer Gen5 model, this how to clean Dyson tube guide delivers actionable solutions for every tube type. No more guessing where the obstruction hides—we’ll show you exactly where to look and how to blast it free.
Diagnose and Clear Blockages in Any Dyson Tube
Before grabbing tools, pinpoint the clog location to avoid unnecessary disassembly. Turn off and unplug your Dyson, then detach the wand, hose, and cleaner head. Hold your palm over the hose outlet while briefly powering on the vacuum—the section where airflow stops reveals the blockage zone. If suction fails at the wand but works at the bin outlet, your main tube is clear but the wand is jammed. For stubborn cases, shine a flashlight through each component to spot hair-packed bends or coin-sized debris.
Essential Tools and Safety Prep
Skip this step and you’ll waste time with ineffective methods or damage your vacuum. Grab these before starting:
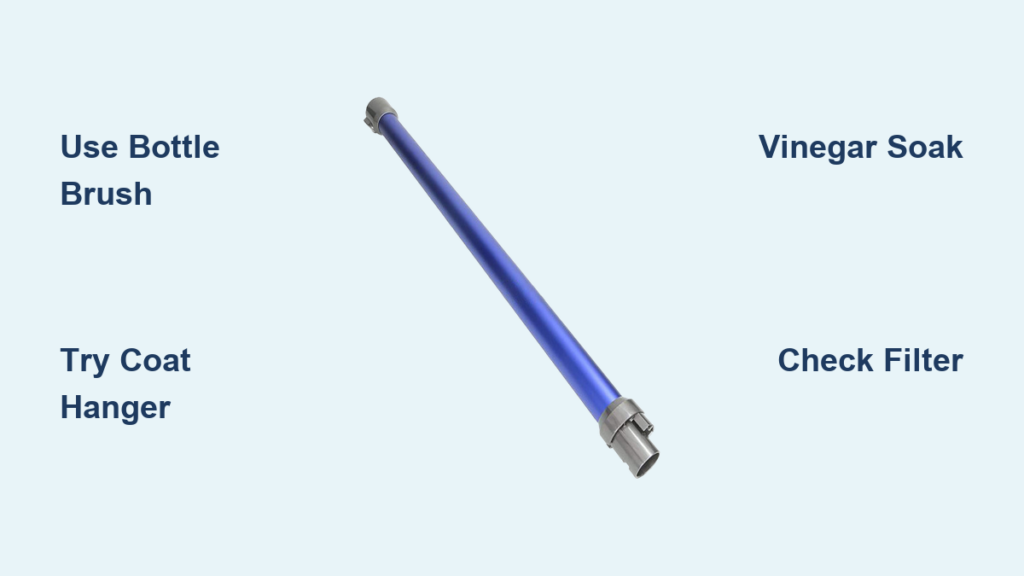
– Flexible bottle brush (12+ inches long—critical for curved tubes)
– Straightened coat hanger with sanded smooth tip (no sharp edges!)
– Flashlight to illuminate deep clogs
– Dust mask if dealing with mold or fine debris
– Compressed air can or second vacuum for backflushing
– Bucket of warm soapy water for removable parts
Pro Tip: Wrap tape around the coat hanger tip to prevent hose scratches. Never use knives or screwdrivers—they puncture tubes instantly.
Step 1: Flexible Brush Technique for Surface Debris
This solves 70% of clogs without disassembly. Insert the brush into the tube’s narrowest end while rotating it clockwise. Work the bristles back and forth through bends where hair accumulates (like near wand elbows). For wands, push the brush from floorhead toward bin—reverse the direction for hoses. You’ll feel resistance when hitting debris; apply gentle pressure while twisting until the clog breaks loose. Shine your light afterward to confirm clearance.
Step 2: Coat Hanger Method for Stubborn Blockages
When brushes fail, use this emergency technique:
1. Feed the smooth-coated hanger tip into the tube
2. Gently twist while advancing (never force straight through)
3. Hook stringy debris by rotating the hanger 360°
4. Pull slowly to extract the clog
Critical Warning: Stop immediately if you feel metal scraping—Dyson tubes have thin plastic liners that tear easily. If resistance feels solid (like a coin), skip to the vinegar soak method below.
Step 3: Vinegar Deep Clean for Odor and Grime

For organic buildup causing musty smells, skip soap—it leaves residue. Mix equal parts white vinegar and warm water in a spray bottle. Spray liberally inside removable tubes, let sit 10 minutes, then scrub with your bottle brush. The acetic acid dissolves sticky pet hair residue and kills odor-causing bacteria. Rinse thoroughly with clean water—vinegar residue attracts new dust. For fixed tubes (like main airways), spray vinegar, wait 5 minutes, then backflush with compressed air.
Clear Clogs in Specific Dyson Components
Fixing a Clogged Wand in 3 Minutes
Wands jam where they connect to the floorhead. Disconnect both ends, then hold the wand vertically with the floorhead end down. Use your bottle brush from the top (bin end) downward—gravity helps dislodge debris. If you hear clicking during vacuuming, a hair strand is wrapped around the wand’s internal seal; carefully slice it with scissors only where visible through the seam. Never twist the wand while cleaning—it cracks the locking mechanism.
Unclogging Flexible Hoses Without Damage
Hoses kink near the handle connection. Detach both ends and stretch the hose straight. Shine light through one end—you’ll see shadows where clogs hide. Insert your brush from the narrower (handle) end toward the wider (floorhead) end. For rubber-backed hoses (like on V15 models), warm the tube with a hairdryer for 30 seconds first—this makes it more flexible and less prone to kinking during cleaning.
Main Tube Blockage: Critical Motor Protection Step

The main tube runs from bin to motor—clogs here risk overheating. Remove it by pressing the bin release tab. If debris is visible near the bin outlet, use tweezers to pull it out. Never push objects from the motor end toward the bin—that forces debris deeper into the motor housing. For internal clogs, submerge only the tube (not the bin!) in soapy water for 10 minutes, then rinse while holding it vertically. Dry completely for 48 hours before reassembly—damp tubes cause electrical faults.
Filter Cleaning: The Hidden Suction Killer
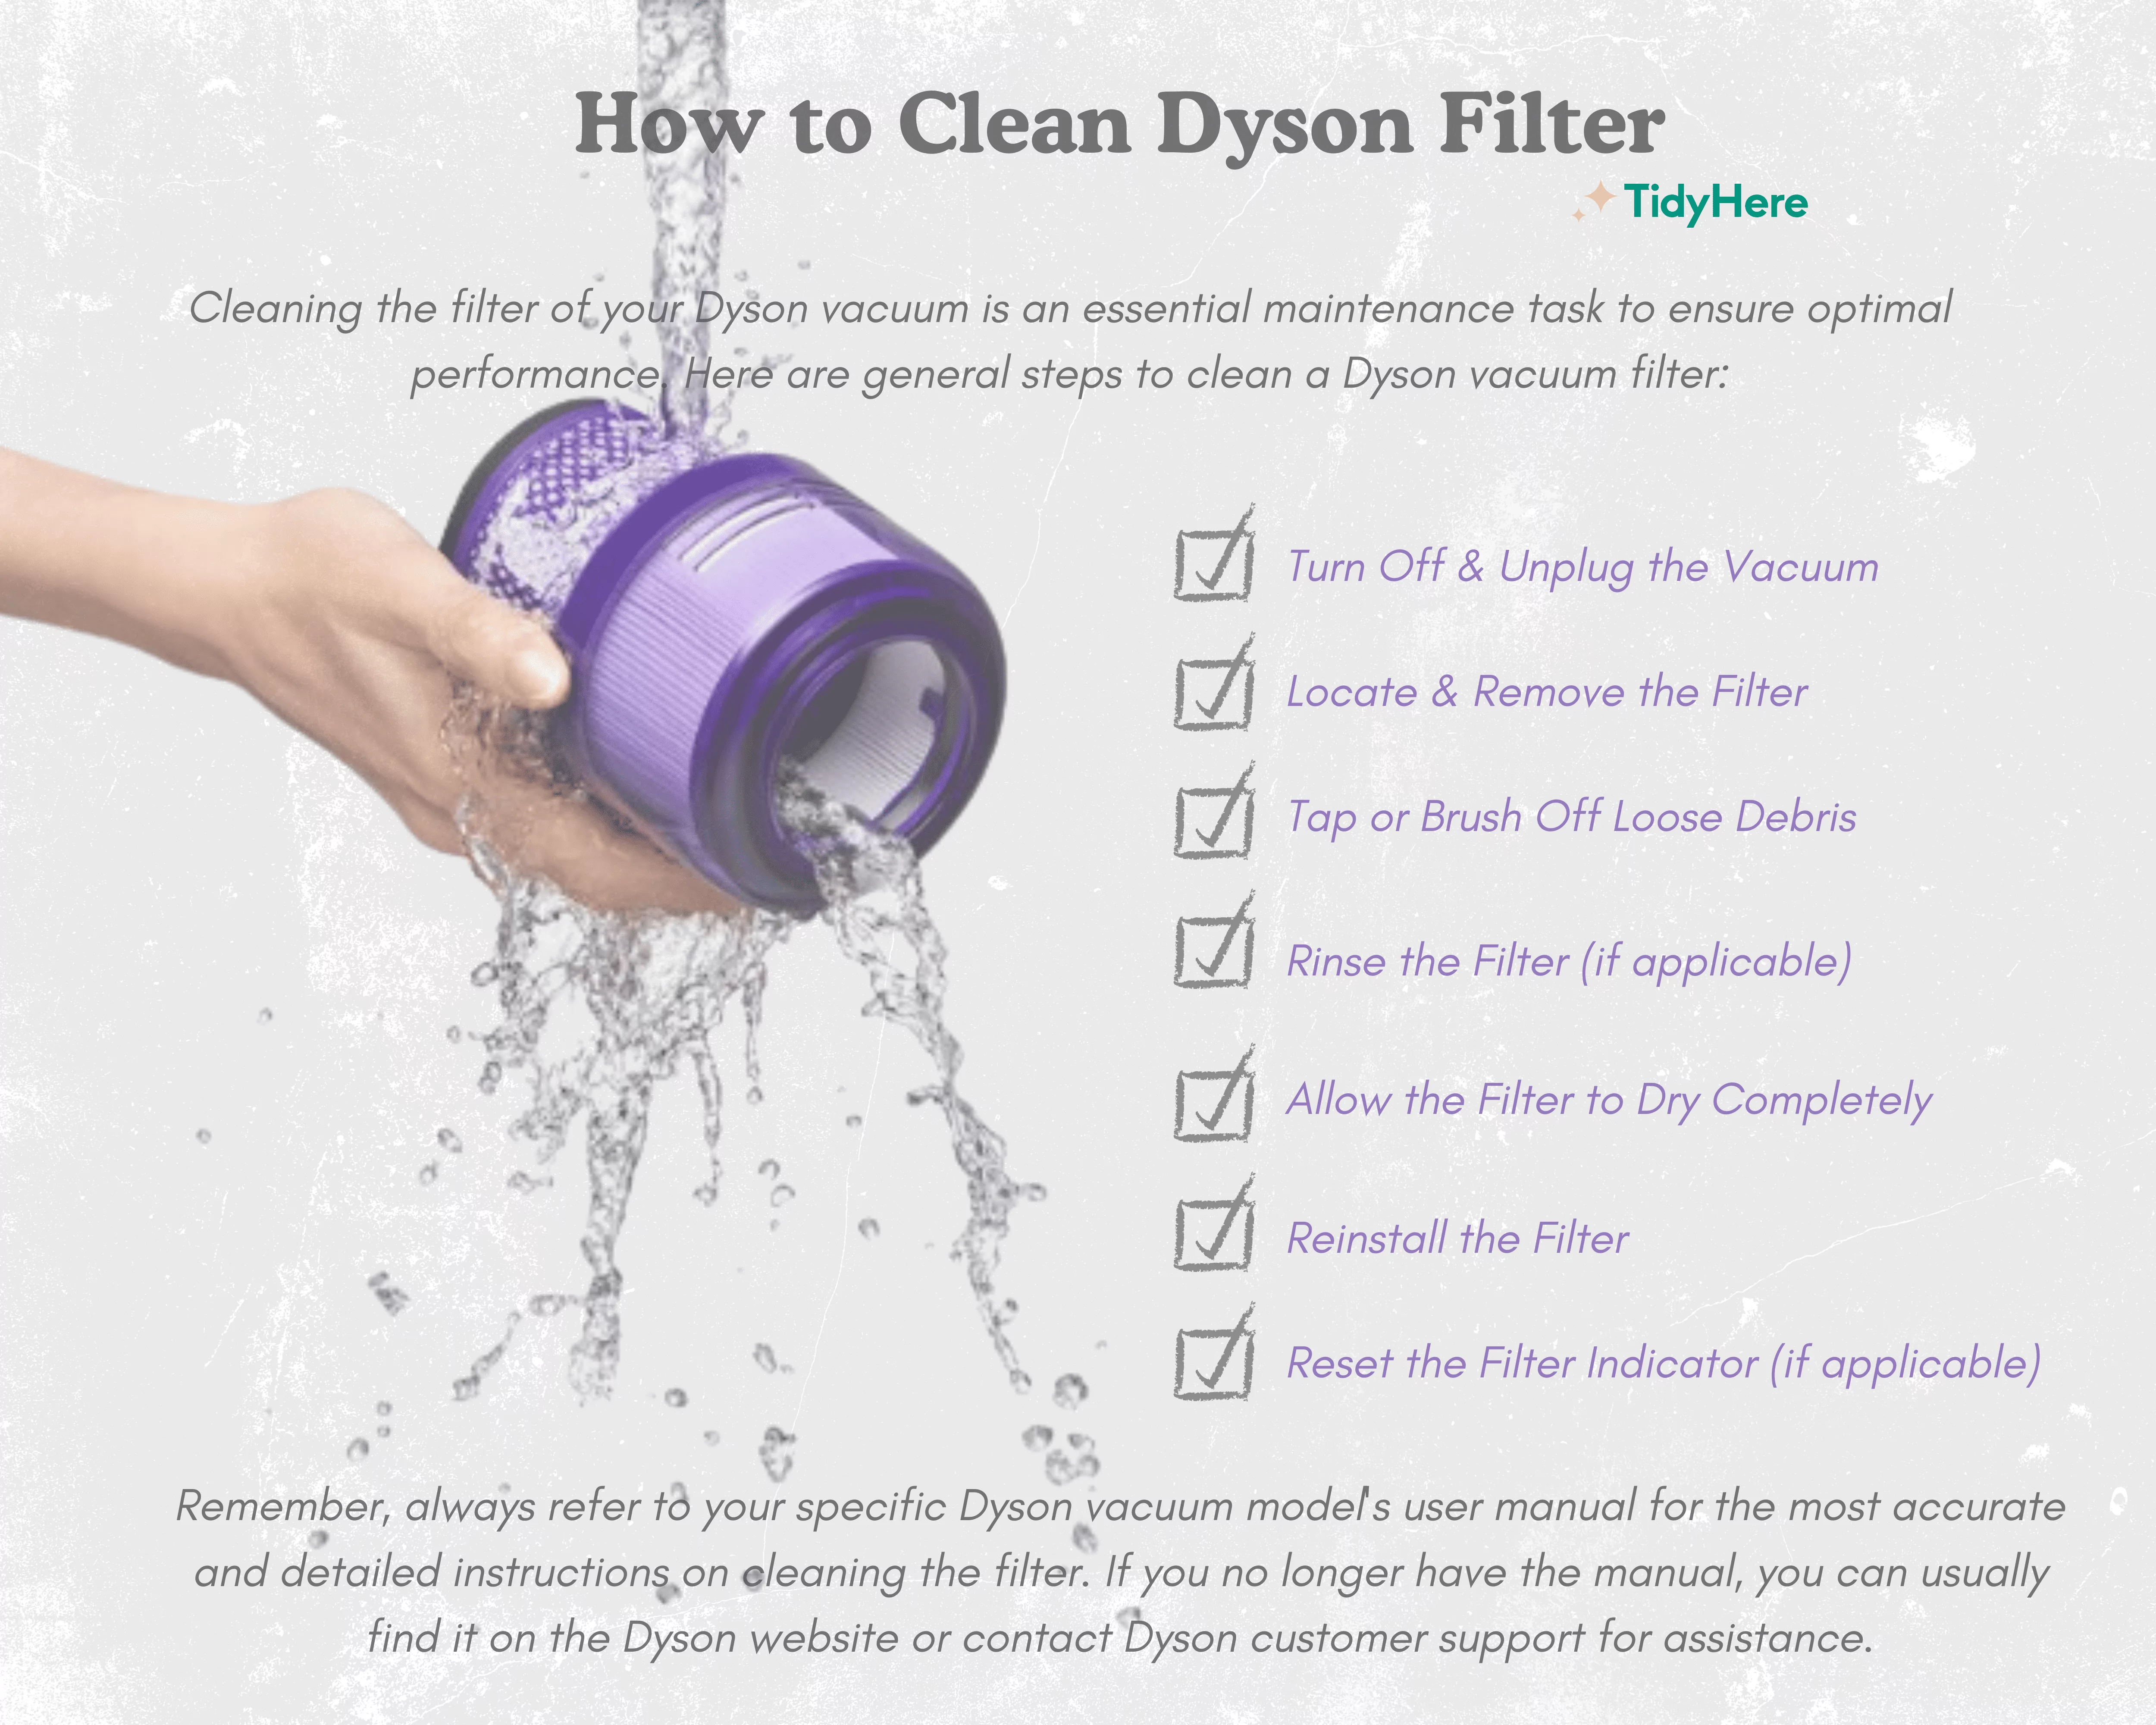
A dirty filter mimics tube clogs by choking airflow. Remove your filter (check model-specific location—often behind the bin). Rinse only with cold water until runoff clears—hot water melts internal filters. Squeeze gently; never wring. Air-dry upright on a towel for 72 hours minimum (overnight drying causes mold). Reinstalling a damp filter is the #1 reason suction fails after “successful” tube cleaning.
Pro Prevention Strategies That Work
Stop clogs before they start with these field-tested habits:
– Pre-vacuum large debris—coins, paperclips, and cereal pieces cause 40% of severe blockages
– Clean filters monthly—set phone reminders for heavy-use households
– Inspect tubes quarterly—shine light through each component during filter maintenance
– Store upright—hanging hoses on hooks causes kinks that trap debris
Expert Note: Dyson’s warranty voids if you use chemical cleaners inside tubes. Stick to vinegar or plain water—harsh solvents degrade internal seals.
When Cleaning Fails: Next-Level Fixes
If suction remains weak after clearing all tubes:
1. Check the bin seal—cracks here leak air (run damp finger around rim for gaps)
2. Examine the cyclone assembly—hair wrapped around the shroud reduces suction by 50%
3. Test motor function—if it sounds high-pitched, debris may be stuck in the impeller
Persistent issues often trace to worn seals or motor brush damage—contact Dyson support before disassembling further. Never ignore suction loss; continued use with blockages burns out motors in under 30 days.
Mastering how to clean Dyson tube systems saves $200+ in annual repair costs while extending your vacuum’s life by years. The key isn’t just clearing today’s clog—it’s building the habit of monthly tube inspections using your flashlight and bottle brush. Within 90 seconds, you’ll spot emerging blockages before they strangle suction. Keep vinegar and your flexible brush in your cleaning caddy, and you’ll never face that sinking “why is my Dyson weak?” feeling again. For model-specific diagrams, download Dyson’s official maintenance PDF—it shows exact tube disassembly points for your machine. Your powerful-clean promise starts with clear tubes, and now you hold the keys to unlock it.

