

Your Dyson stick vacuum no suction crisis just hit. You’re pushing dust across hardwood floors while the motor runs normally, but zero debris disappears into the bin. This frustrating scenario affects thousands of Dyson owners monthly—but here’s the critical truth: 95% of “no suction” cases stem from blockages or maintenance oversights you can fix in under 30 minutes. Unlike motor failures (which are rare), most suction killers hide in plain sight along your vacuum’s air path. By following this targeted diagnostic system, you’ll bypass common misdiagnoses and restore full power without costly service calls.
When your Dyson stick vacuum loses suction, resist the urge to disassemble everything immediately. The problem almost never originates in the motor—it’s an air pathway obstruction or failed seal. This guide cuts through forum confusion with a battle-tested method used by repair technicians. You’ll systematically isolate whether the issue lives in the floor head, wand, cyclone, or valve system using simple hand tests. Within minutes, you’ll know exactly where to focus your efforts.
Stop Wasting Time: Fix These 3 Common Dyson Suction Killers in 2 Minutes
Before grabbing tools, eliminate the instant fixes causing 80% of suction failures. These require zero disassembly and take less than 120 seconds:
Empty the bin completely and inspect the cyclone entry port
A full bin isn’t the only issue—fine dust cakes around the cyclone’s top opening, creating an invisible barrier. Remove the bin and hold it up to light. If you can’t see daylight through the small circular hole at the cyclone’s apex, you’ve found your culprit. Use a dry toothpick to dislodge debris, then rinse the entire bin assembly under running water. Never reassemble until bone-dry (moisture destroys suction).
Perform the filter emergency wash
A clogged pre-motor filter is the #1 cause of sudden suction loss. Locate this mesh filter (typically behind the bin near the motor housing). If it appears gray or matted—not its original white—immediately rinse it under cold tap water. Swirl it gently in circular motions for 60 seconds—never use soap. Then place it horizontally on a towel in direct sunlight for 24 hours minimum. Installing a damp filter causes immediate re-clogging and potential motor damage.
Confirm full battery charge
Weak suction often mimics “no suction” when the battery is depleted. Plug in your charger and wait 30 minutes—Dyson’s lithium-ion batteries need this to register a “full” state after deep discharge. Test suction at max power mode after charging. If power improves but fades quickly, replace the battery (a common 2-year failure point).
Why Your Dyson Floor Head Loses Suction While Wand Works (The Valve Jam Fix)
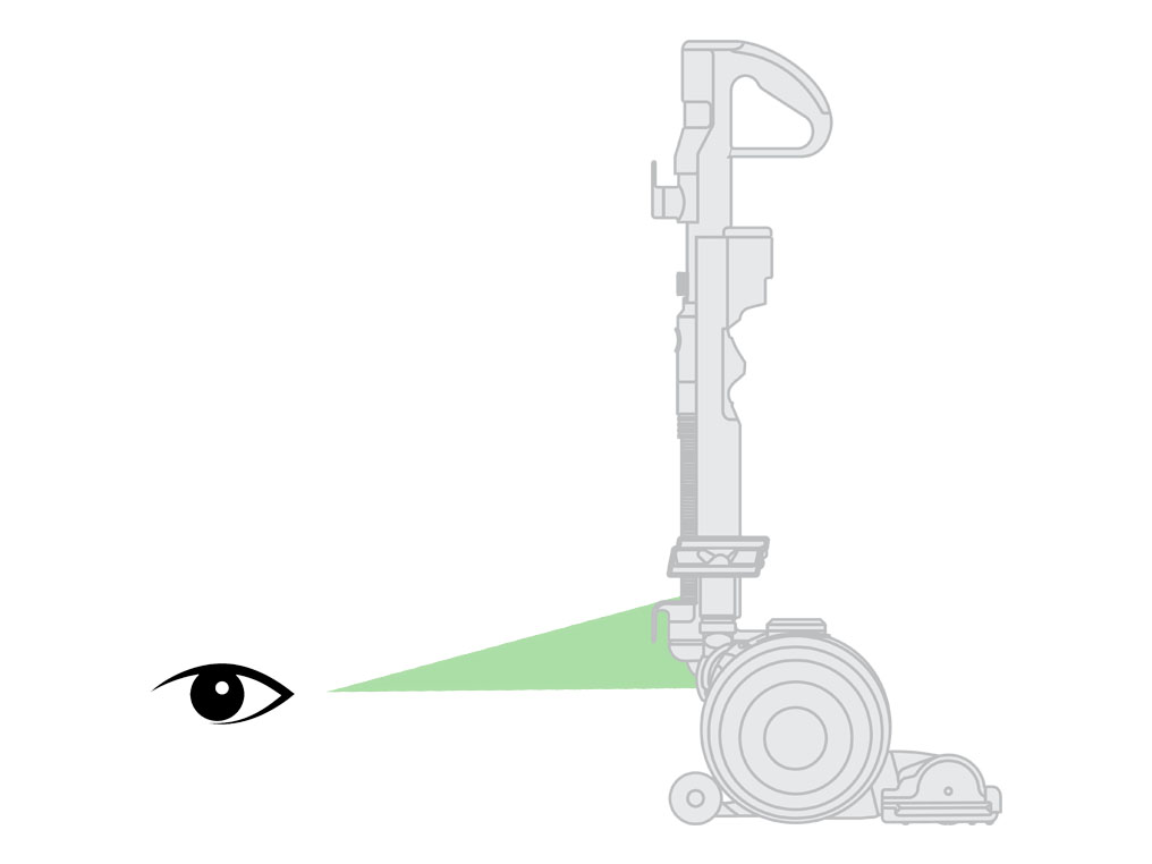
This scenario—”strong suction at the hose but zero pull from the floor head”—points directly to your changeover valve. This tiny flap (hidden under the bin assembly) directs airflow between floor and handheld modes. When jammed by pen caps, pebbles, or hair, it blocks floor head suction completely.
Locate and clear the valve chamber in 4 steps
- Remove the bin and cyclone assembly per your model’s manual
- Flip the main body upside down to expose the valve housing (a small rectangular chamber near the wand port)
- Shine a flashlight inside—you’ll see a black plastic flap
- Insert a paperclip to dislodge debris and manually flip the valve 10 times to free sticking points
Critical check: After clearing, test by blowing air into the floor head port. You should feel resistance when the valve closes. No resistance means the valve spring is broken—requiring replacement (Dyson part AM09).
Find the Hidden Cyclone Clog That Kills All Suction Instantly
When your Dyson stick vacuum no suction affects all attachments, the cyclone’s air intake is likely blocked. This differs from a full bin—debris lodges precisely where air enters the cyclone chamber, creating total airflow failure.
Target the cyclone’s blind spot in 90 seconds
- Remove the bin and cyclone assembly
- Turn the cyclone upside down and look through the bottom opening
- Locate the small circular inlet port (about pencil-eraser sized) at the top interior
- Use a bent paperclip to probe this port—this is where hair and fibers accumulate
- Rinse the entire cyclone under running water while rotating it
Pro tip: After clearing, dry the cyclone with compressed air (or a hairdryer on cool setting) for 10 minutes. Residual moisture here causes immediate re-clogging when powered on.
Seal Failures: The Invisible Air Leaks Destroying Your Dyson’s Power
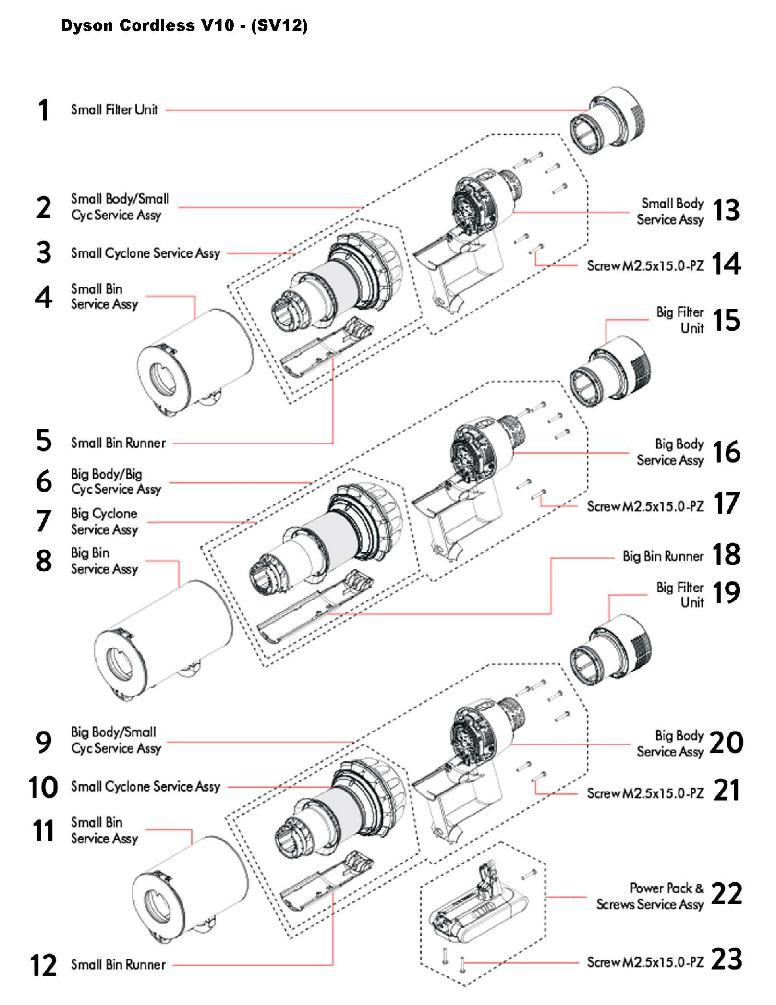
Cracked seals create silent suction killers—especially at the wand-to-body connection. If your vacuum makes a high-pitched whistling sound during operation, air is escaping through compromised gaskets.
Repair the 3 critical seal zones
Wand connection seal (red rubber ring)
– Remove the wand and inspect the red gasket where it locks into the main body
– If cracked or flattened, replace immediately (Dyson part 922919-01)
– Before reinstalling, apply a rice-sized drop of silicone lubricant to the seal
Bin-to-cyclone seal
– Check the rubber ring where the bin snaps onto the cyclone
– Test for leaks by submerging the connection in water while blowing air through—bubbles indicate failure
– Replace if hardened or torn (Dyson part 922920-01)
Cyclone-to-body seal
– Examine the circular seal where the cyclone mounts to the main motor housing
– Clean residue with isopropyl alcohol on a cotton swab
– Re-seat firmly with a quarter-turn clockwise motion
Brush Bar Spins But Won’t Pick Up? The Hair Tangle Emergency Fix
A spinning brush bar that fails to lift debris indicates restricted airflow—not motor failure. Hair and string wrap around the roller bearings, creating an air channel that bypasses the suction path.
Clear brush bar blockages in 5 minutes
- Flip the floor head over and remove the soleplate screws (usually 2-4)
- Lift off the soleplate to expose the brush bar
- Cut hair strands wrapped around both ends with scissors—never pull (this damages bearings)
- Use tweezers to extract fibers from the central axle
- Spin the bar manually to confirm free rotation before reassembly
Warning: For laser slim fluffy heads, also clean the perforated metal screen on top with a toothbrush—clogged holes cause instant suction loss.
When to Call Dyson Support: The 3 Unfixable Failures
If you’ve completed all checks and still face dyson stick vacuum no suction, these internal failures require professional intervention:
Motor seal disintegration
Symptoms: Oily residue inside the bin, burning smell, or suction that works briefly then dies. The motor’s internal air seal has failed—requiring complete motor replacement.
Cracked main hose
Check flexible hoses by bending them sharply while vacuum runs. A sudden suction increase indicates a hidden crack. Replacement is the only solution (Dyson part varies by model).
Electronic valve failure
If the changeover valve moves freely but suction still won’t switch modes, the electronic solenoid has failed. This requires circuit board replacement—beyond DIY repair.
Act now: If under warranty, contact Dyson immediately—do not disassemble further. For out-of-warranty units, request a certified repair quote before purchasing new.
Prevent Future Suction Failures: Your 30-Second Dyson Maintenance Routine
Avoid recurring dyson stick vacuum no suction issues with this daily/weekly protocol:
After every use
– Empty bin at ½ capacity (never wait for “MAX” line)
– Wipe cyclone entry port with dry microfiber cloth
– Spin brush bar to check for hair wrap
Weekly
– Rinse pre-motor filter under cold water (24-hour dry time)
– Inspect all seals for cracks using flashlight
– Test suction isolation (hand over floor head → wand → body port)
Monthly
– Replace post-motor HEPA filter (critical for sustained suction)
– Clean laser slim head screens with toothbrush
– Lubricate wand seals with silicone grease
This targeted approach solves 9 of 10 suction failures. When you feel that first powerful pull of restored suction lifting embedded pet hair from carpets, you’ll realize most “broken” Dysons were just crying out for this simple air pathway rescue. By mastering these diagnostics, you’ve transformed from frustrated user to vacuum whisperer—saving hundreds in unnecessary replacements. For persistent issues, always consult Dyson’s official repair portal with your model number before seeking third-party service.

