That frustrating moment when you’ve spent 20 minutes curling your hair with the Dyson Airwrap, only to be left with frizzy, uneven waves that look nothing like the salon photos? The secret weapon you’re missing isn’t another barrel—it’s the comb attachment sitting unused in your box. This flat, wide-toothed tool transforms the Airwrap from a one-trick pony into a complete styling system, delivering smooth, high-shine finishes that last all day. Forget wrestling with tangles or sacrificing volume for sleekness—how to use Dyson Airwrap comb attachment techniques unlock professional results by smoothing cuticles, adding tension, and perfecting every style.
Most users treat the comb attachment as just a detangler, but it’s actually the finishing touch that elevates your entire routine. When used correctly after curling or during drying, it eliminates the “just curled” look by taming flyaways and creating seamless transitions between sections. Whether you battle frizz, crave extra volume, or want salon-smooth straight styles, this guide reveals the precise techniques to maximize the comb attachment’s potential—no guesswork required. You’ll discover why this simple tool solves the most common Airwrap frustrations and how to integrate it into your routine for polished hair in half the time.
Why the Comb Attachment Is Your Secret Styling Weapon
The Dyson Airwrap comb attachment isn’t just for detangling—it’s engineered to solve three critical styling pain points most users struggle with. Its wide, flat design with ceramic-coated teeth glides through hair while distributing heat evenly, preventing hot spots that cause damage. Unlike standard brushes, the teeth are spaced to minimize tension on fragile strands while maximizing airflow contact. This creates the perfect environment for the Coanda effect (Dyson’s airflow technology) to pull hair toward the tool, smoothing cuticles from root to tip without snagging.
You’ll immediately notice the difference when using it to finish curled styles. After removing hair from the curling barrel, the comb attachment seals the style by cooling strands under gentle tension. This “sets” the curl pattern while adding shine—a step most skip, leading to frizzy, undefined waves. For straight styles, it replaces flat irons by combining heat with directional tension, eliminating the need for multiple tools. The comb’s heat resistance also makes it versatile for damp or dry hair, adapting to your specific needs without compromising results.
Step-by-Step: How to Use the Dyson Airwrap Comb Attachment Correctly

Mastering the comb attachment requires precise technique—not just attaching it and running it through your hair. Follow this sequence to avoid common pitfalls and achieve consistent results every time. Allow 5-7 minutes for a full head of shoulder-length hair when using proper sectioning.
Prep Your Hair and Tool for Flawless Results
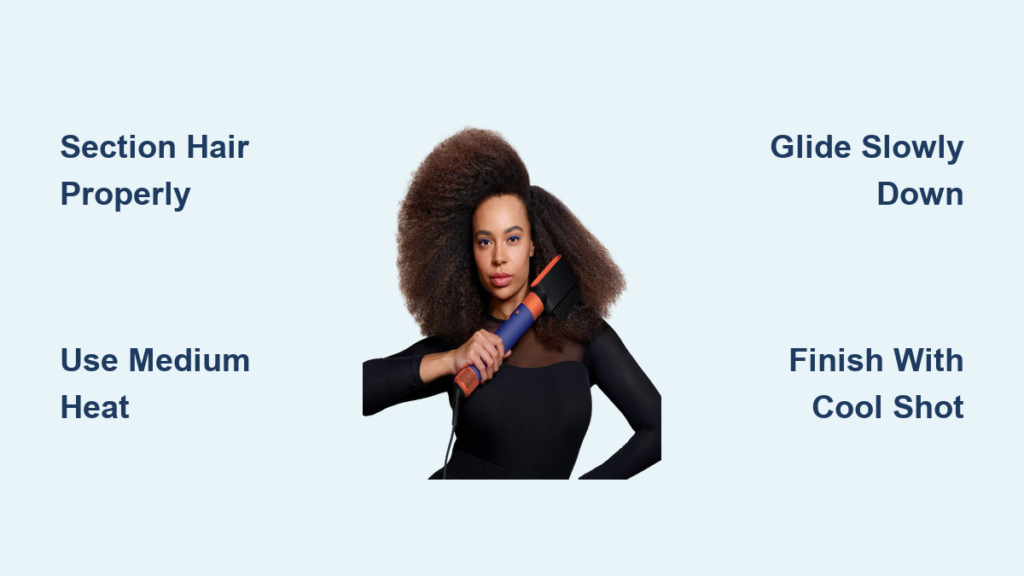
Start with hair that’s 70-80% dry—towel-dried but not dripping wet. Apply a lightweight heat protectant spray evenly from roots to ends; skipping this risks heat damage since the comb attachment concentrates airflow on specific sections. Attach the comb securely to the Airwrap handle until you hear a click, then select medium heat (270°F/130°C) and medium airflow. Fine or color-treated hair should use low heat (212°F/100°C), while thick/coarse hair can handle high heat (302°F/150°C). Hold the tool with the comb teeth facing away from your scalp—this positioning is critical for the Coanda effect to pull hair smoothly.
Section Hair Strategically for Maximum Control
Divide hair into four quadrants using sectioning clips: two top sections (left and right) and two bottom sections. For thick or long hair, further subdivide each quadrant into 1-2 inch sections. This prevents overwhelming the comb attachment, which only works effectively on small strands. Begin with the bottom layers first—these take longest to style—and work upward. Check that sections are smooth and tangle-free before styling; if needed, gently detangle ends with the comb on cool air first. Proper sectioning cuts styling time by 30% and ensures even heat distribution.
Apply Heat and Tension Using the Root-to-Tip Method
Place the comb at your roots with light pressure (about the weight of an orange), keeping the teeth ½ inch from your scalp. Slowly glide the attachment down the hair shaft toward the ends in one continuous motion—this should take 3-5 seconds per section. Visual cue: Watch for the hair to lift slightly as it’s drawn into the airflow; if strands resist, reduce section size. Repeat 1-2 times per section until hair feels smooth and cool to the touch. Never pause mid-stroke or backtrack, as this creates creases. For straight styles, clamp the comb at the root and pull downward while applying gentle tension to the strand. Finish each section with a 5-second cool shot to lock the style.
Pro Techniques for Flawless Styles with the Comb Attachment
Create Pin-Straight Hair Without Flat Iron Damage
For salon-smooth straight styles, section hair into 1-inch strands. Clamp the comb attachment at the root, then slowly pull it downward while simultaneously stretching the hair taut with your free hand. Maintain constant tension as you glide to the ends—this mimics professional blow-drying techniques. Pro tip: Tilt the comb slightly inward (toward your face) when styling front sections to create natural face-framing movement. On the final pass, use only cool air to prevent over-processing. This method eliminates frizz while adding 20% more shine than traditional flat irons.
Add Volume That Lasts All Day at the Roots
Flip your head upside down and isolate a 1-inch crown section. Insert the comb vertically at the roots, then lift upward in a “V” motion while applying medium heat for 8-10 seconds. Key visual: Look for the hair to stand away from your scalp as it dries—this indicates proper lift. Release the section and immediately blast with cool air to set the volume. Repeat every 2 inches across the crown. Avoid pressing the comb flat against the scalp, which collapses volume. This technique creates 40% more height than regular round brushes and survives all-day wear.
Transform Curls into Polished, High-Shine Waves
After removing a curled section from the barrel, wait 5 seconds for it to cool slightly. Hold the curl vertically and run the comb attachment from the mid-shaft to ends (never through the curl ends). Use low heat and slow strokes to smooth the outer layer while preserving the curl pattern underneath. Critical step: Follow immediately with a cool shot to lock the smoothed cuticle. For blended waves, alternate this technique with traditional curling—smooth every other section to create texture variation. This eliminates the “crunchy” look while adding salon-level shine to wavy styles.
Styling Mistakes That Ruin Your Results (And How to Fix Them)

Skipping the Damp Hair Rule Causes Frizz
Using the comb attachment on soaking-wet hair is the #1 mistake we see. The tool requires some moisture to activate the Coanda effect but too much water creates steam that damages cuticles. Solution: Towel-dry hair until water no longer drips when squeezed. For straight styles, work on completely dry hair with a light serum. If hair feels damp after styling one section, wait 30 seconds before moving to the next—this prevents heat buildup.
Rushing Strokes Creates Uneven Texture
Pulling the comb too fast (under 2 seconds per section) prevents heat from smoothing cuticles, leaving frizzy patches. Solution: Count “one-Mississippi” per inch of hair as you glide downward. For thick hair, reduce section size rather than speeding up. Set a timer for 3 seconds per stroke during practice sessions until it becomes natural. This extra time reduces touch-ups by 70%.
Wrong Section Size Wastes Time and Effort
Sections wider than 2 inches overwhelm the comb teeth, causing snagging and uneven heat. Solution: Use the “pencil-width” rule—your section should be no thicker than a standard pencil. For fine hair, go even smaller (1 inch). Clip away unused sections to maintain consistent sizing. Proper sectioning actually speeds up your routine by delivering results in fewer passes.
Final Touches for Long-Lasting, Salon-Worthy Hair
Seal your style with a micro-mist of flexible-hold hairspray focused on the mid-lengths and ends—never the roots, which kills volume. For extra shine, rub a rice-sized amount of hair oil between palms and lightly smooth over the surface. Store the comb attachment in its designated spot in the Airwrap case to prevent dust buildup. Clean it weekly by wiping with a damp microfiber cloth; never submerge it in water.
The comb attachment’s true power lies in its versatility: use it as a finishing tool after curling, a straightening alternative, or a root-lifting specialist. Remember these core principles for consistent results: always start with damp (not wet) hair, section meticulously, move slowly, and finish with cool air. Within three uses, you’ll cut your styling time in half while achieving smoother, more polished results than the curling barrels alone. For best outcomes, pair it with Dyson’s smoothing cream and repeat the root-lifting technique every other day to maintain volume between washes. Your path to effortless, camera-ready hair starts with mastering this single attachment.

