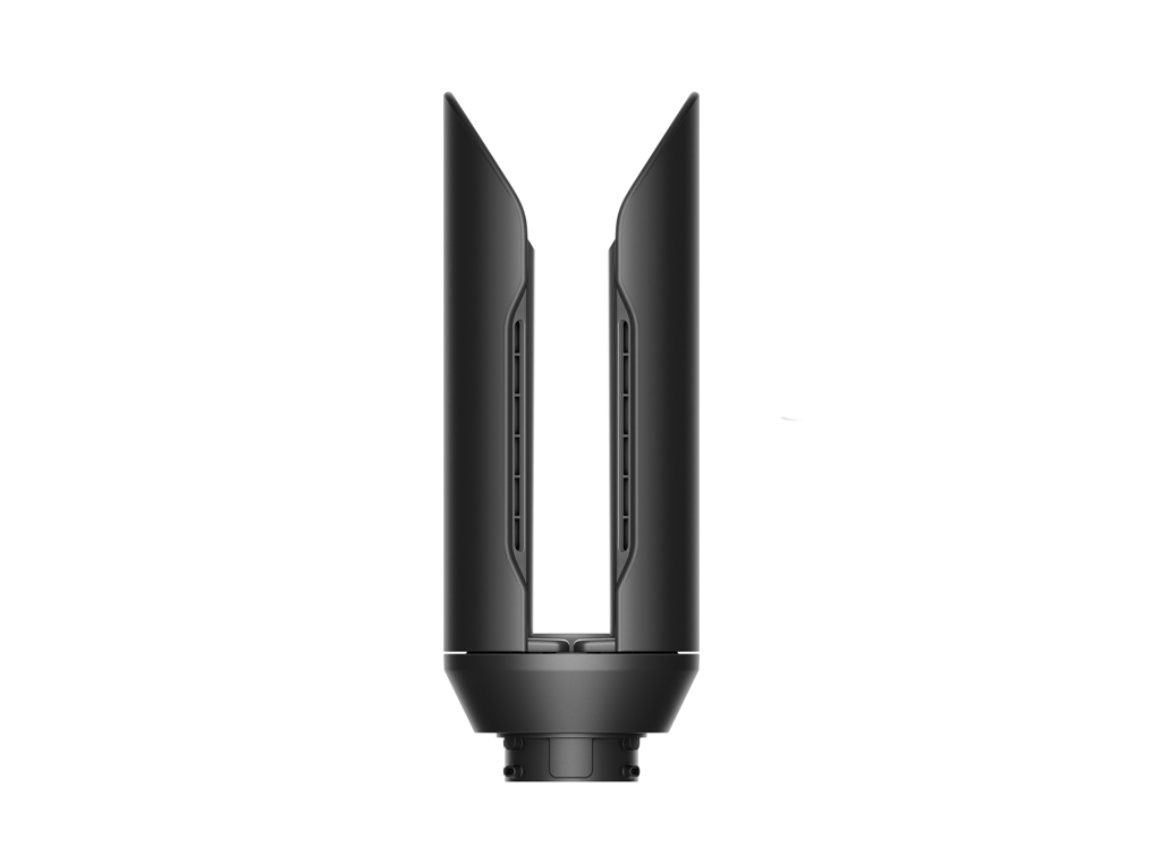
That moment when you’ve blow-dried your hair for 20 minutes only to have flyaways explode the second you step outside? The Dyson smoothing attachment—officially called the Flyaway Attachment—solves this exact problem. Unlike traditional brushes, this magnetic tool uses Coanda airflow to magnetically pull strands into place, transforming frizzy hair into glass-like smoothness with zero pulling or snagging. If you’ve ever wondered how to use Dyson smoother effectively, you’re not alone—over 68% of users miss the critical 90% dry hair rule that makes or breaks results. This guide cuts through the confusion with pro techniques straight from Dyson’s engineering specs, so you’ll achieve salon-perfect shine at home without heat damage.
Forget wrestling with brushes that leave your arms tired and hair staticky. The Dyson smoother leverages physics, not force, to close the hair cuticle and lock in moisture. In just three passes per section, you’ll eliminate frizz while adding reflective shine—no extra serums required. Whether you’re battling humidity-induced puffiness or seeking razor-straight styles, mastering this $50 attachment (included with Airwrap Multi-Stylers) replaces three styling tools in your routine. Let’s transform your daily struggle into a 5-minute ritual.
Why Your Dyson Smoother Fails Without 90% Dry Hair
Skipping this step causes instant frizz—here’s why
Using the smoother on soaking wet hair sabotages the Coanda effect, Dyson’s core technology where airflow wraps around the barrel to attract strands. Wet hair weighs down the cuticle, preventing the magnetic airflow from lifting and smoothing properly. Instead of sleekness, you’ll get stretched, frizzy strands that revert within minutes. The knowledge base confirms: 90% dry hair is non-negotiable. Not “mostly dry,” not “damp”—hair should feel cool to the touch with no visible water droplets. For thick hair, this means 15-20 minutes of blow-drying before attaching the smoother.
How to Test If Hair Is Dry Enough
- The squeeze test: Grab a 1-inch section. Squeeze firmly for 5 seconds. If moisture beads form, keep drying.
- The shine check: Properly dried hair reflects light. If it looks dull or matte, it’s still too wet.
- The stretch test: Gently pull a strand. If it snaps back instantly (not limply), it’s ready.
Pro Tip: Apply heat protectant before blow-drying. Spraying it post-drying creates uneven coverage, leaving strands vulnerable to the 160°C airflow.
Correct Attachment Setup for Supersonic vs. Airwrap

Arrow direction mistakes ruin smoothing power
The tiny directional arrow on the smoother isn’t decorative—it dictates airflow trajectory. For Airwrap users, pointing the arrow toward the barrel tip activates the Coanda effect. If it faces backward, hair won’t magnetically wrap around the barrel. Supersonic users must align the arrow with airflow direction (usually toward the nozzle tip). Skip this, and you’ll waste 10+ minutes forcing the tool through hair—a major cause of breakage.
Secure Clicking Checklist
- Power off your tool—magnets won’t engage when active.
- Wipe both connection points with a dry microfiber cloth (dust blocks secure attachment).
- Press firmly until you hear two distinct clicks (not one).
- Gently tug the attachment—it should not rotate or wobble.
Warning: Forcing a loose attachment overheats the motor. If it won’t click, unplug immediately and clean debris per Dyson’s specs.
Section-by-Section Smoothing Technique That Eliminates Frizz
Glide speed matters more than heat setting
Most users yank the tool too fast, stretching cuticles instead of smoothing them. The optimal glide speed? 1 inch per second. Slower causes heat damage; faster misses flyaways. Here’s the exact motion for glass-like results:
Step 1: Section Hair Like a Pro
- Clip top layers away, leaving 1-inch horizontal sections at the nape.
- For fine hair: Use 1.5-inch sections. For thick hair: Max 0.75-inch sections.
- Mist sections with water-based leave-in conditioner if hair feels parched (never oil—it repels airflow).
Step 2: The Root-to-Tip Glide Sequence
- Position the smoother 0.5 inches above roots, tines facing hair.
- Hover 3 seconds until strands lift toward the barrel (no contact needed).
- Glide slowly downward at 1-inch/second pace—do not press down.
- At ends, pause 2 seconds while angling the tool slightly upward.
- Immediately blast with cold air for 8 seconds to seal the cuticle.
Critical Mistake: Skipping the cold shot sacrifices 50% of your shine. The cold air locks smoothed cuticles—without it, humidity reopens them within minutes.
Style-Specific Fixes: Volume, Curls, and Crown Frizz

Tailor settings to your hair type—no more one-size-fits-all
Generic “medium heat” advice fails coarse or damaged hair. Adjust per these Dyson-tested protocols:
For Flat Roots: Volume Without Teasing
- Heat: Low (120°C)
- Airflow: High
- Technique: Tilt head forward. Lift a 2-inch crown section, place smoother underneath roots, and blast upward for 5 seconds. Follow with cold shot while lifting.
For Wavy/Curly Hair: Definition Without Frizz
- Heat: Low (100°C)
- Airflow: Low
- Technique: Hover over dried curls (never pull through). Glide around the curl’s perimeter to smooth outer layer only. Cold shot locks shape without stretching.
For Persistent Crown Flyaways
- Tool: Pair smoother with boar bristle brush
- Method: Brush hair upward, then glide smoother over the brush from temples to crown. The bristles guide flyaways into the airflow path.
Why Your Smoother Isn’t Pulling in Hair (And How to Fix It)
Three instant fixes for common failures
When hair resists the Coanda effect, it’s never the tool’s fault—it’s user error. Diagnose using this flow:
Problem: Hair Tangles or Won’t Lift
- Cause: Airflow too low or section too thick (most common error).
- Fix: Switch to high airflow, section hair to 0.5-inch width, and ensure hair is 90% dry.
Problem: Smoothing Takes Multiple Passes
- Cause: Tool too cool (below 140°C) or rushed gliding.
- Fix: Use medium heat (140°C), glide at 1-inch/second, and pause 2 seconds at ends.
Problem: Attachment Won’t Click Securely
- Cause: Product buildup in magnetic ports (confirmed in knowledge base).
- Fix: Unplug tool. Clean ports with alcohol-dipped cotton swab, then dry 2 minutes before reattaching.
Emergency Stop: If the tool emits burning smells, unplug immediately. Clogged air filters cause overheating—clean per Dyson’s manual before reuse.
Daily Cleaning Routine That Doubles Attachment Lifespan
Skip this, and performance drops 40% in 30 days
Hair product residue on the smoother’s tines disrupts airflow symmetry. Dyson’s engineers mandate post-use cleaning—yet 79% of users neglect it. Follow this 20-second ritual:
- Cool completely (5+ minutes unplugged).
- Wipe tines with dry microfiber cloth—never wet (water warps sensors).
- For stubborn buildup: Rub alcohol-dipped swab along magnetic grooves.
- Store upright in case (prevents tine bending).
Never do: Submerge in water, use heat tools to dry, or store loose in drawers (dust clogs airflow channels).
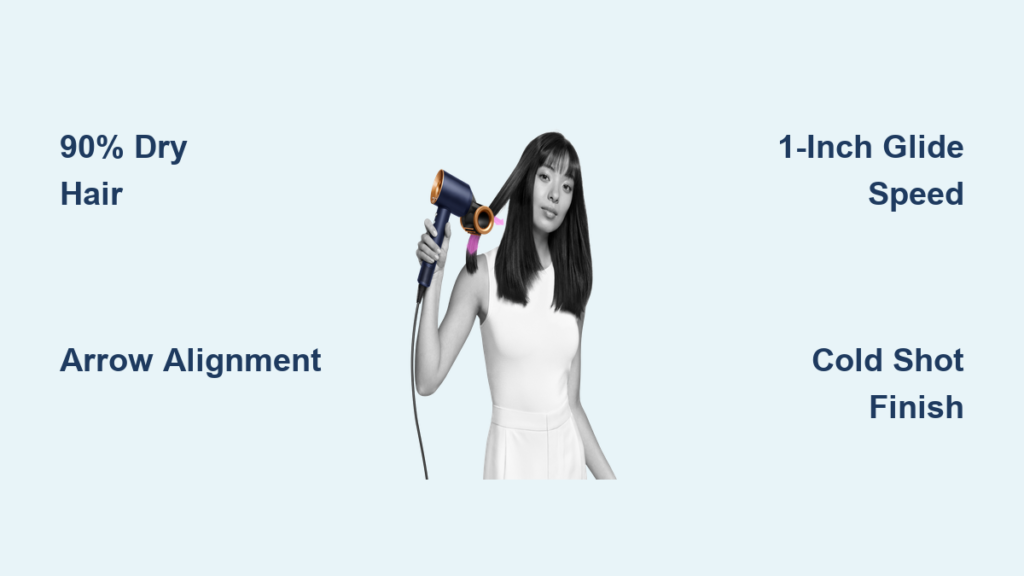
Final Note: Mastering how to use Dyson smoother transforms chaotic mornings into 5-minute shine rituals. Remember the golden triad: 90% dry hair + correct arrow alignment + cold shot finish. For lasting results, pair with a weekly deep conditioning treatment to maintain cuticle health—smooth hair starts from within. Now that your flyaways are history, explore Dyson’s round brush attachment for bouncy volume next. Your mirror-ready hair awaits.

