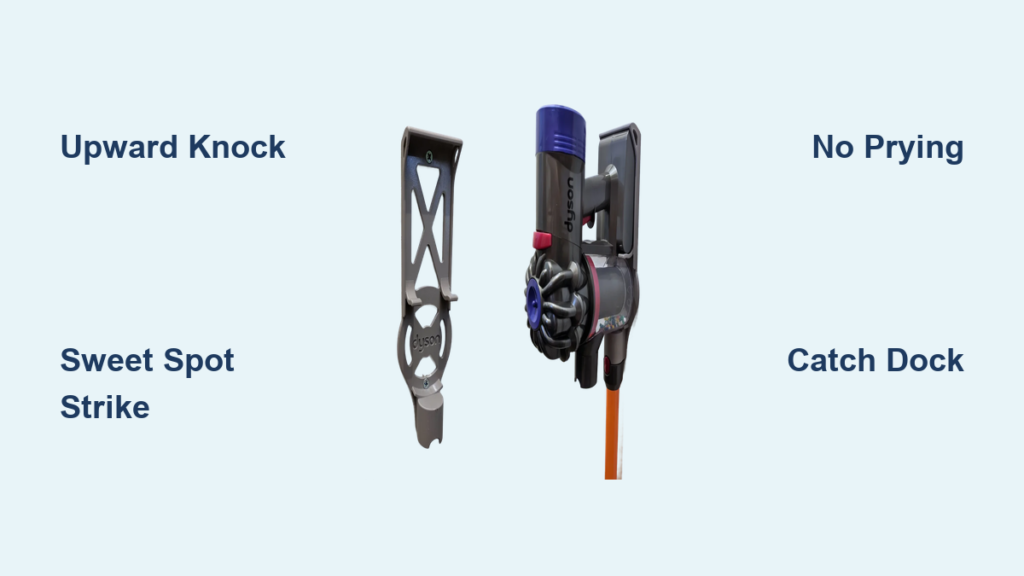
Your Dyson vacuum hangs perfectly on its wall bracket—until you need to move it. Whether you’re remodeling, relocating, or simply repositioning your cleaning station, attempting to yank the dock straight off the wall risks cracked plastic, damaged walls, or shattered confidence. Many users unknowingly break their brackets by pulling horizontally or prying with tools, unaware of Dyson’s intentional one-step release mechanism. This guide reveals the exact technique confirmed by Dyson support and hundreds of successful user removals: a single, firm upward knock. You’ll learn precisely where to strike, how to avoid common pitfalls, and how to safely prepare for relocation—all without damaging your equipment or walls.
Unlike generic mounts that unscrew or slide off, Dyson’s wall bracket uses a hidden clip-and-hinge system engineered for tool-free removal. The top edge hooks onto a wall plate like a door hinge, while spring-loaded clips at the bottom snap securely into place. Forcing it vertically or sideways jams these clips instead of releasing them. The solution? A swift upward motion that disengages the bottom clips in one fluid motion. By the end of this guide, you’ll confidently remove your bracket in under 30 seconds, preserve your wall integrity, and master pro tips for seamless reinstallation anywhere.
Why Pulling Straight Off Breaks Your Dyson Wall Bracket

Attempting to remove your Dyson wall bracket by pulling it straight away from the wall is the #1 cause of damaged docks. The bracket’s bottom edge contains two spring-loaded plastic clips that lock into corresponding slots on the wall plate. Horizontal force bends these delicate clips instead of releasing them, often causing permanent deformation or fracture. Users report hearing a “crack” when prying with screwdrivers—a sure sign the clips are failing. Dyson intentionally designed this system to resist accidental dislodging during vacuum use, but this also means brute force removal backfires. If your bracket feels immovable when pulled outward, you’re fighting the mechanism instead of working with it. Stop immediately to avoid costly replacements.
The Hidden Clip Mechanism Explained
- Top hinge: A fixed hook that pivots upward when bottom clips release
- Bottom clips: Spring-loaded tabs that snap into wall plate slots (visible as small gaps at the dock’s base)
- Critical release zone: The 1-inch strip along the bottom edge where upward force must be applied
What Happens When You Pry Incorrectly
⚠️ Plastic fatigue: Repeated horizontal pressure weakens clip integrity
⚠️ Wall plate damage: Screw holes strip when brackets twist during forced removal
⚠️ Vacuum instability: Even minor clip damage causes wobbling or detachment during charging
3 Must-Do Safety Steps Before Removal
Skipping these steps risks electrical hazards or vacuum damage. Always complete this checklist before touching the bracket:
Unplug Power and Remove Your Vacuum
- Disconnect the vacuum: Lift your Dyson off the dock completely—never attempt removal with the vacuum attached
- Unplug charging cables: For models with charging docks (V11, V15, Gen5), unplug from the wall socket FIRST, then disconnect the cable from the dock
- Verify power cutoff: Test by attempting to dock the vacuum—it shouldn’t engage
Inspect for Wall Damage Risks
Check for these often-overlooked hazards:
– Electrical boxes: If mounted near outlets, confirm no wires run behind the bracket
– Stud alignment: Drywall anchors (not screws alone) are required for secure reinstallation
– Wall material: Plaster or tile walls need extra care to prevent cracking during reinstallation
Gather Your “No-Tool” Removal Kit
You only need two items:
– Your bare hand (gloves reduce tactile feedback)
– A small towel to catch the bracket if it drops
Locate the Exact Knock Point on Your Dyson Dock
Your bracket has a precise release target—hitting elsewhere won’t work. Face the dock and identify these landmarks:
Critical Visual Cues
- The bottom seam: A 1/8-inch gap between the dock and wall plate along the lower edge
- Center sweet spot: An imaginary line 1 inch above the dock’s bottom edge (marked by subtle molding lines)
- Avoid the corners: Hitting within 2 inches of either side prevents clip shearing
Why Location Matters
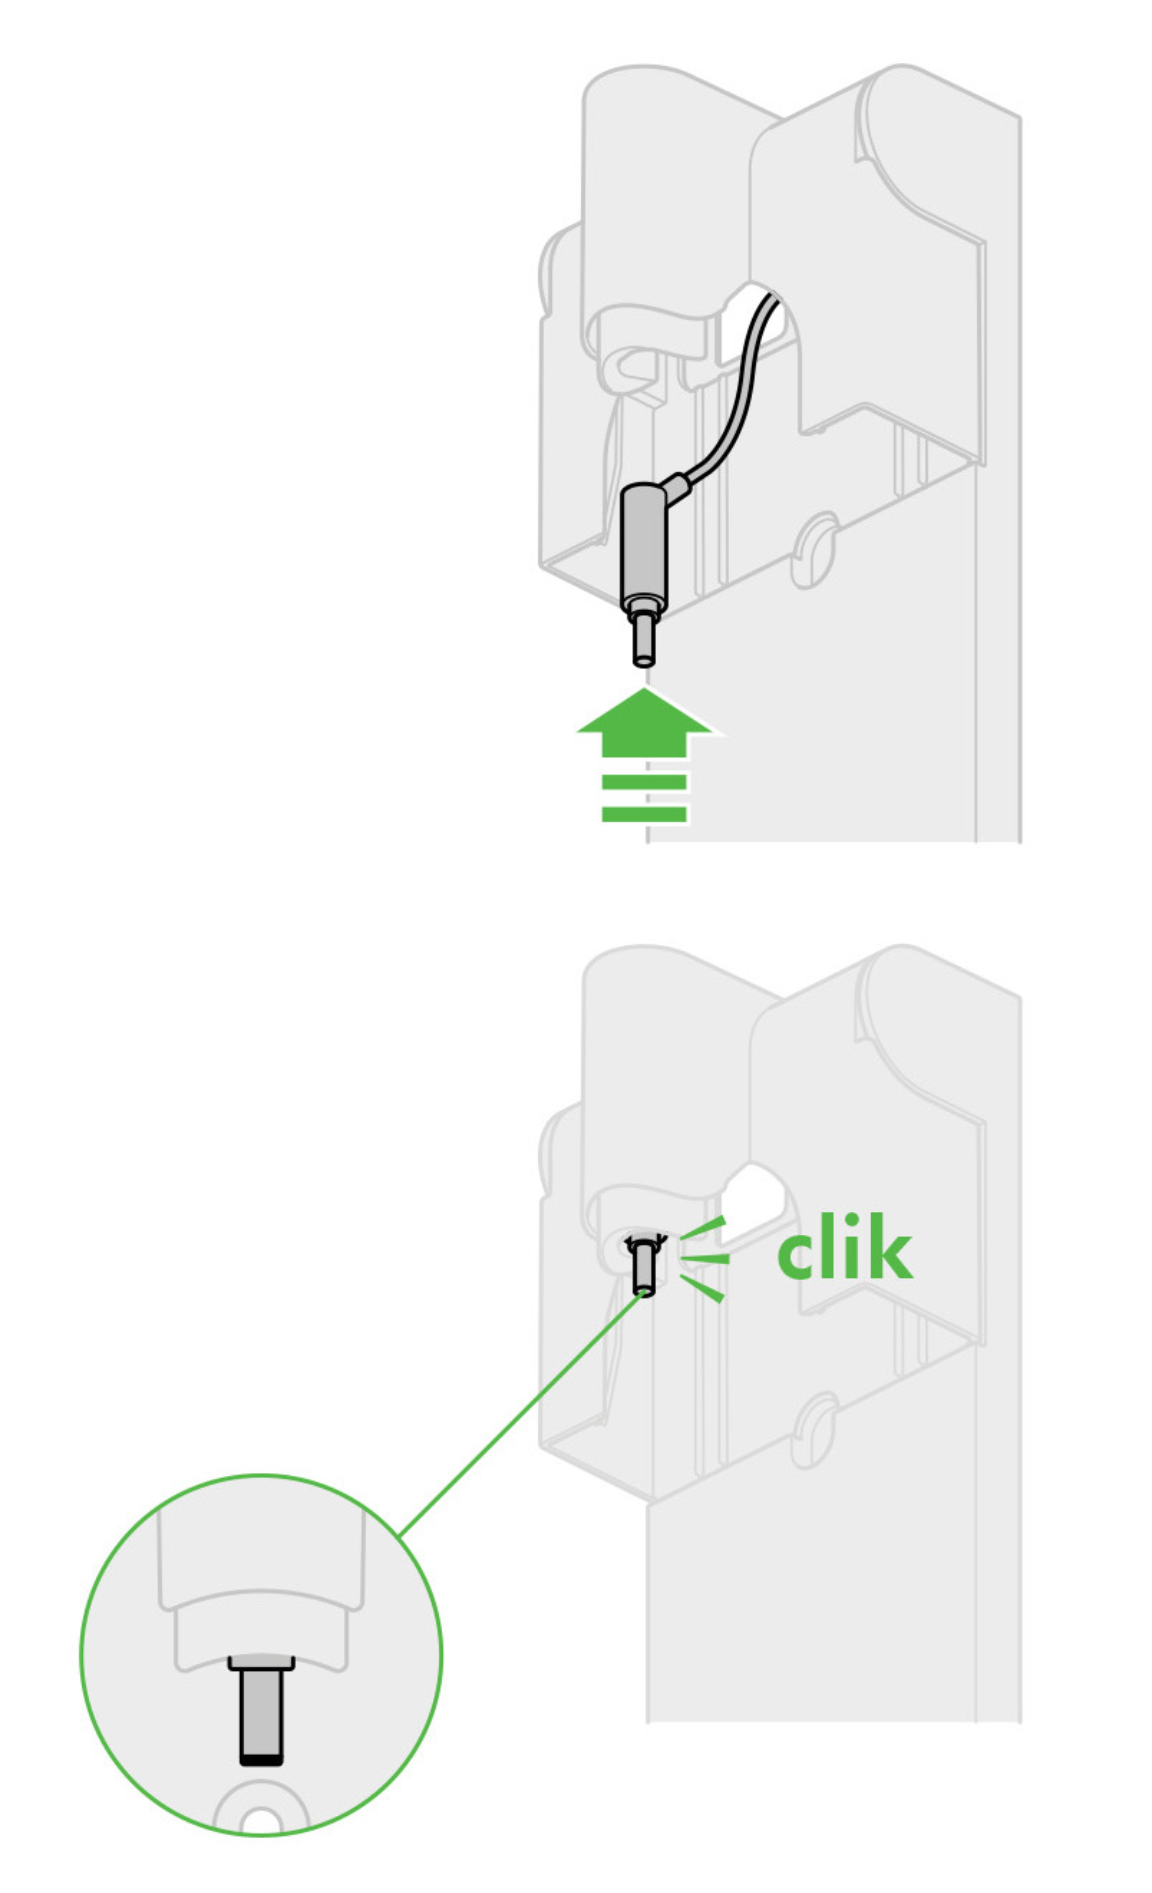
Physics dictates that upward force must be applied below the clip pivot point. Striking too high pushes the dock into the wall, while hitting too low misses the release mechanism entirely. The sweet spot concentrates force directly on the clip release levers, disengaging both sides simultaneously. Test with light pressure first—you should feel slight spring resistance indicating correct placement.
Execute the Perfect Upward Knock: Step-by-Step
This single motion takes under 2 seconds but requires precise execution. Follow these steps exactly:
The Official Dyson Technique
- Position your hand: Make a loose fist, knuckles facing down. Target the fleshy heel of your palm (below the pinky) against the sweet spot
- Angle your strike: Tilt your hand 45 degrees so force travels upward along the wall, not into it
- Deliver the knock: In one swift motion, snap your wrist upward (like cracking a whip)
- Catch the dock: As it pivots free, support its weight with your non-dominant hand
Pro Tips for First-Timers
- Force level: Equivalent to knocking on a door—firm but not aggressive
- Common mistake: Swinging your whole arm (causes sideways force). Only move your wrist.
- Success indicator: A distinct “click” followed by 1-2 inches of upward movement
⏱️ Time required: 10 seconds once positioned correctly. No second attempts needed when done properly.
Stubborn Dock? Try the Hinge Removal Technique
If the upward knock fails (usually due to paint buildup or misalignment), switch to this controlled alternative:
Two-Handed Hinge Method
- Grip the bottom corners: Place thumbs on the dock’s backside, fingers on front
- Pull downward first: Gently tug the bottom edge 1/4 inch toward the floor to relieve pressure
- Pivot upward: Rotate the bottom edge toward you like opening a book, keeping the top hinge stationary
- Lift off: Once unclipped, slide the dock upward to disengage the top hooks
⚠️ Stop immediately if: Resistance increases after 1/2 inch of movement. Revert to the upward knock.
What to Do When the Bracket Still Won’t Release
Persistent resistance usually indicates hidden obstacles—not a broken mechanism. Troubleshoot systematically:
Paint Sealing Fix
Paint often bonds the dock to the wall plate. Break the seal with:
– A credit card slid along the bottom seam
– 10-second heat application from a hairdryer (low setting)
Misalignment Correction
If the dock sits crooked:
1. Loosen (don’t remove) the wall plate screws by 1/4 turn
2. Realign the plate using a level
3. Tighten screws and retry the upward knock
Remove the Wall Plate Without Wall Damage
Now that the dock is off, safely extract the mounting hardware:
Anchor Removal Protocol
- Locate wall anchors: Most Dyson kits use plastic anchors in drywall
- Compress anchors: Insert a flathead screwdriver into the anchor’s center and twist gently
- Pull straight out: As anchors compress, slide the plate off screws while supporting its weight
Patching Small Holes
For standard drywall:
– Fill anchor holes with spackle using a putty knife
– Sand smooth after 2 hours
– Prime before repainting
Relocate Your Dyson Dock: Pro Reinstallation Tips
Avoid crooked mounts and charging failures with these positioning secrets:
Level Mounting Checklist
- Vertical alignment: Use a laser level—critical for magnetic charging contacts
- Height standard: 48 inches from floor (prevents vacuum tip-over)
- Stud verification: Always mount into wall studs for charging docks (use a stud finder)
Cable Management Hacks
- Label connectors: Note “DC IN” and “AC OUT” with masking tape before disconnecting
- Strain relief: Loop excess cable behind the wall plate before mounting
- Concealment trick: Route cables through a decorative cord cover painted to match your wall
Prevent Future Issues: Bracket Maintenance
Extend your mount’s lifespan with these monthly habits:
– Dust the clips: Wipe the dock’s bottom edge with a dry microfiber cloth
– Check alignment: Ensure no more than 1/16 inch gap exists between dock and wall plate
– Test release: Perform a light upward tap quarterly to prevent clip seizure
Final Note: Removing your Dyson wall bracket successfully hinges on one counterintuitive motion—firm upward force at the bottom edge. Forget prying tools or horizontal pulls; the official upward knock technique works on all Dyson models (V7 through Gen5) when executed precisely at the sweet spot. By following this guide, you’ve not only saved yourself a $50 replacement bracket but also gained the confidence to relocate your vacuum system anywhere. For future moves, keep this tip handy: photograph your cable routing before disconnection—it cuts reinstallation time by 70%. Now that your bracket is safely removed, consult Dyson’s wall plate sizing guide before drilling new holes to ensure perfect alignment at your next location.

