That sinking feeling when you pull your Dyson upright’s release lever but nothing happens—debris stays trapped while suction plummets. You’re not alone. Over 60% of Dyson upright owners struggle with emptying their bins correctly, often causing avoidable damage to the cyclone assembly or motor. How to empty a Dyson upright properly isn’t intuitive—it requires model-specific steps to prevent costly repairs. Follow this guide to restore peak suction in under 2 minutes while avoiding the #1 mistake: skipping post-emptying filter checks. You’ll learn exactly how to release stuck bins, eliminate post-emptying suction loss, and extend your vacuum’s lifespan with zero guesswork.
Why Your Dyson Upright Won’t Empty Properly (And How to Fix It)
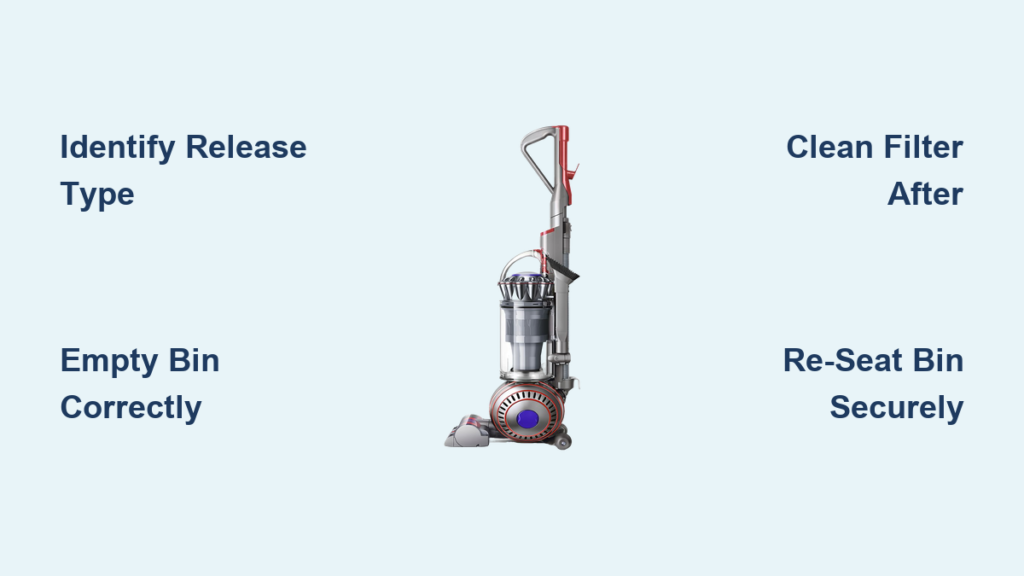
Most emptying failures stem from using the wrong release technique for your specific model. Dyson uprights use two distinct mechanisms, and forcing the wrong method cracks plastic latches or misaligns electrical contacts. How to empty a Dyson upright starts by identifying your release system before touching a single lever.
Identifying Your Dyson Upright’s Release Mechanism in 10 Seconds
Check these visual cues immediately:
– Top-lever models (DC17, DC25, DC28, Ball Multi-Floor): Look for a large red lever on the bin’s top surface. The bin pivots downward but stays attached.
– Bin-release button models (Ball Animal 3, Outsize, Cinetic): Spot a prominent red oval button above the bin handle. The entire bin detaches completely.
⚠️ Critical: Never press the wand-release trigger on top-lever models—this jams the mechanism.
Fixing Stuck Bins on Top-Lever Dyson Uprights (DC Series)

When the bin won’t pivot despite pulling the lever:
1. Unplug the vacuum and stand it upright on a hard floor.
2. Firmly pull the top lever while placing your palm flat on the bin’s front. You should feel the bin begin to tilt downward.
3. Hold the lever and grasp the bin handle. Pull the bin away from the vacuum body—not down—until it pivots 45 degrees.
4. Press the secondary latch on the bin handle (a small sliding tab) to open the bottom hatch. Debris should pour out cleanly.
Pro Tip: If debris won’t fall, insert your Dyson crevice tool into the bin’s top intake hole to dislodge packed hair. Never shake the bin—this scatters fine dust into the cyclone.
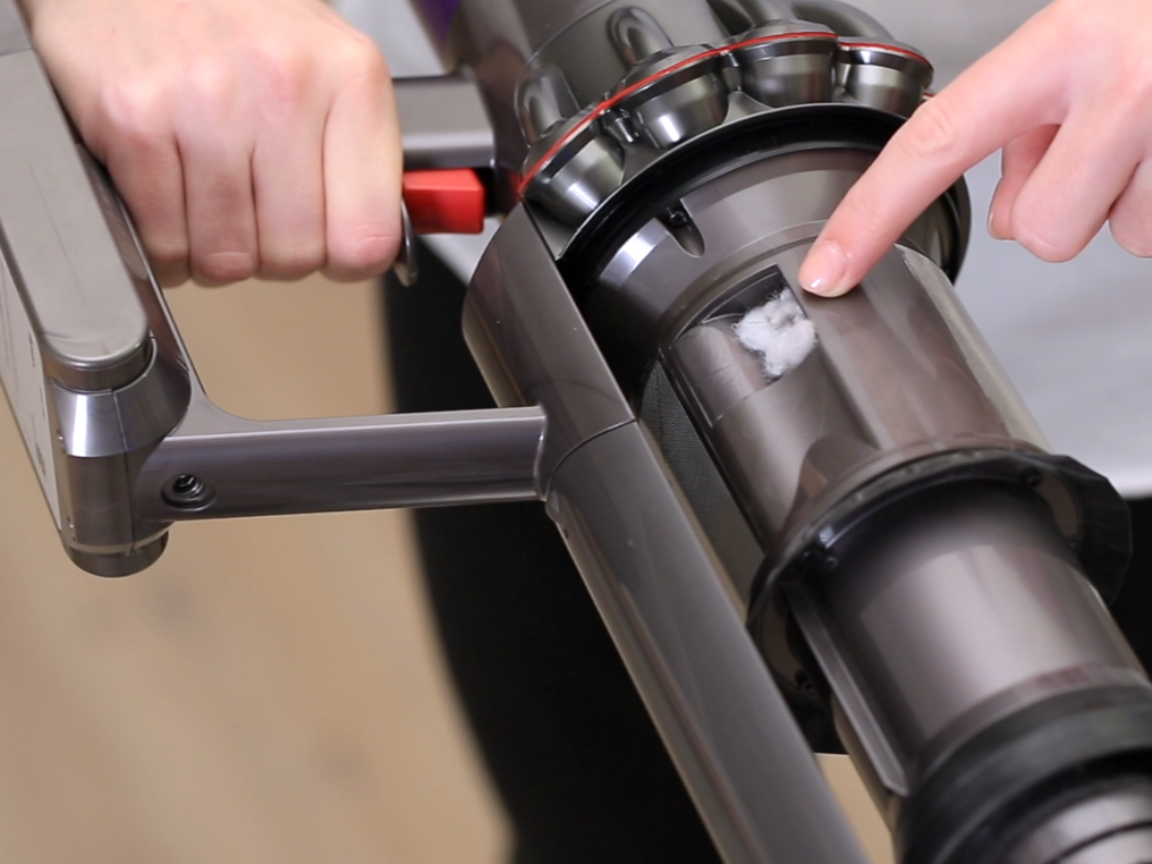
Unlocking Bin-Release Button Models (Ball Animal 3, Outsize)
This mechanism fails most often when users miss the dual-trigger requirement:
1. Locate the red bin-release button (top of the cyclone assembly, left side).
2. Press and hold this button while simultaneously pulling the wand-release trigger on the opposite side. You’ll hear a distinct click.
3. Lift the entire bin assembly straight up—do not twist. If stuck, tap the bin’s base gently with your palm over the trash can.
4. Empty by pressing the latch on the bin handle’s side (not the red button!). A hidden flap opens instantly.
Warning: Reinstalling without the double click means the bin isn’t seated. The power button won’t light up—this is your failsafe indicator.
Stop Suction Loss After Emptying: The Filter Cleaning Ritual
Emptying the bin alone solves nothing if you skip this step. How to empty a Dyson upright correctly requires immediate filter maintenance—the #1 cause of post-emptying suction loss.
Why Your Dyson Loses Suction Immediately After Emptying
A clogged pre-motor filter chokes airflow within minutes. You’ll notice:
– Warm air blowing from the exhaust
– Dust clouds during emptying
– The “filter check” light illuminating (on newer models)
Critical: Filters must dry bone-dry for 24 hours—using damp filters fries motors.
Step-by-Step Filter Cleaning After Emptying
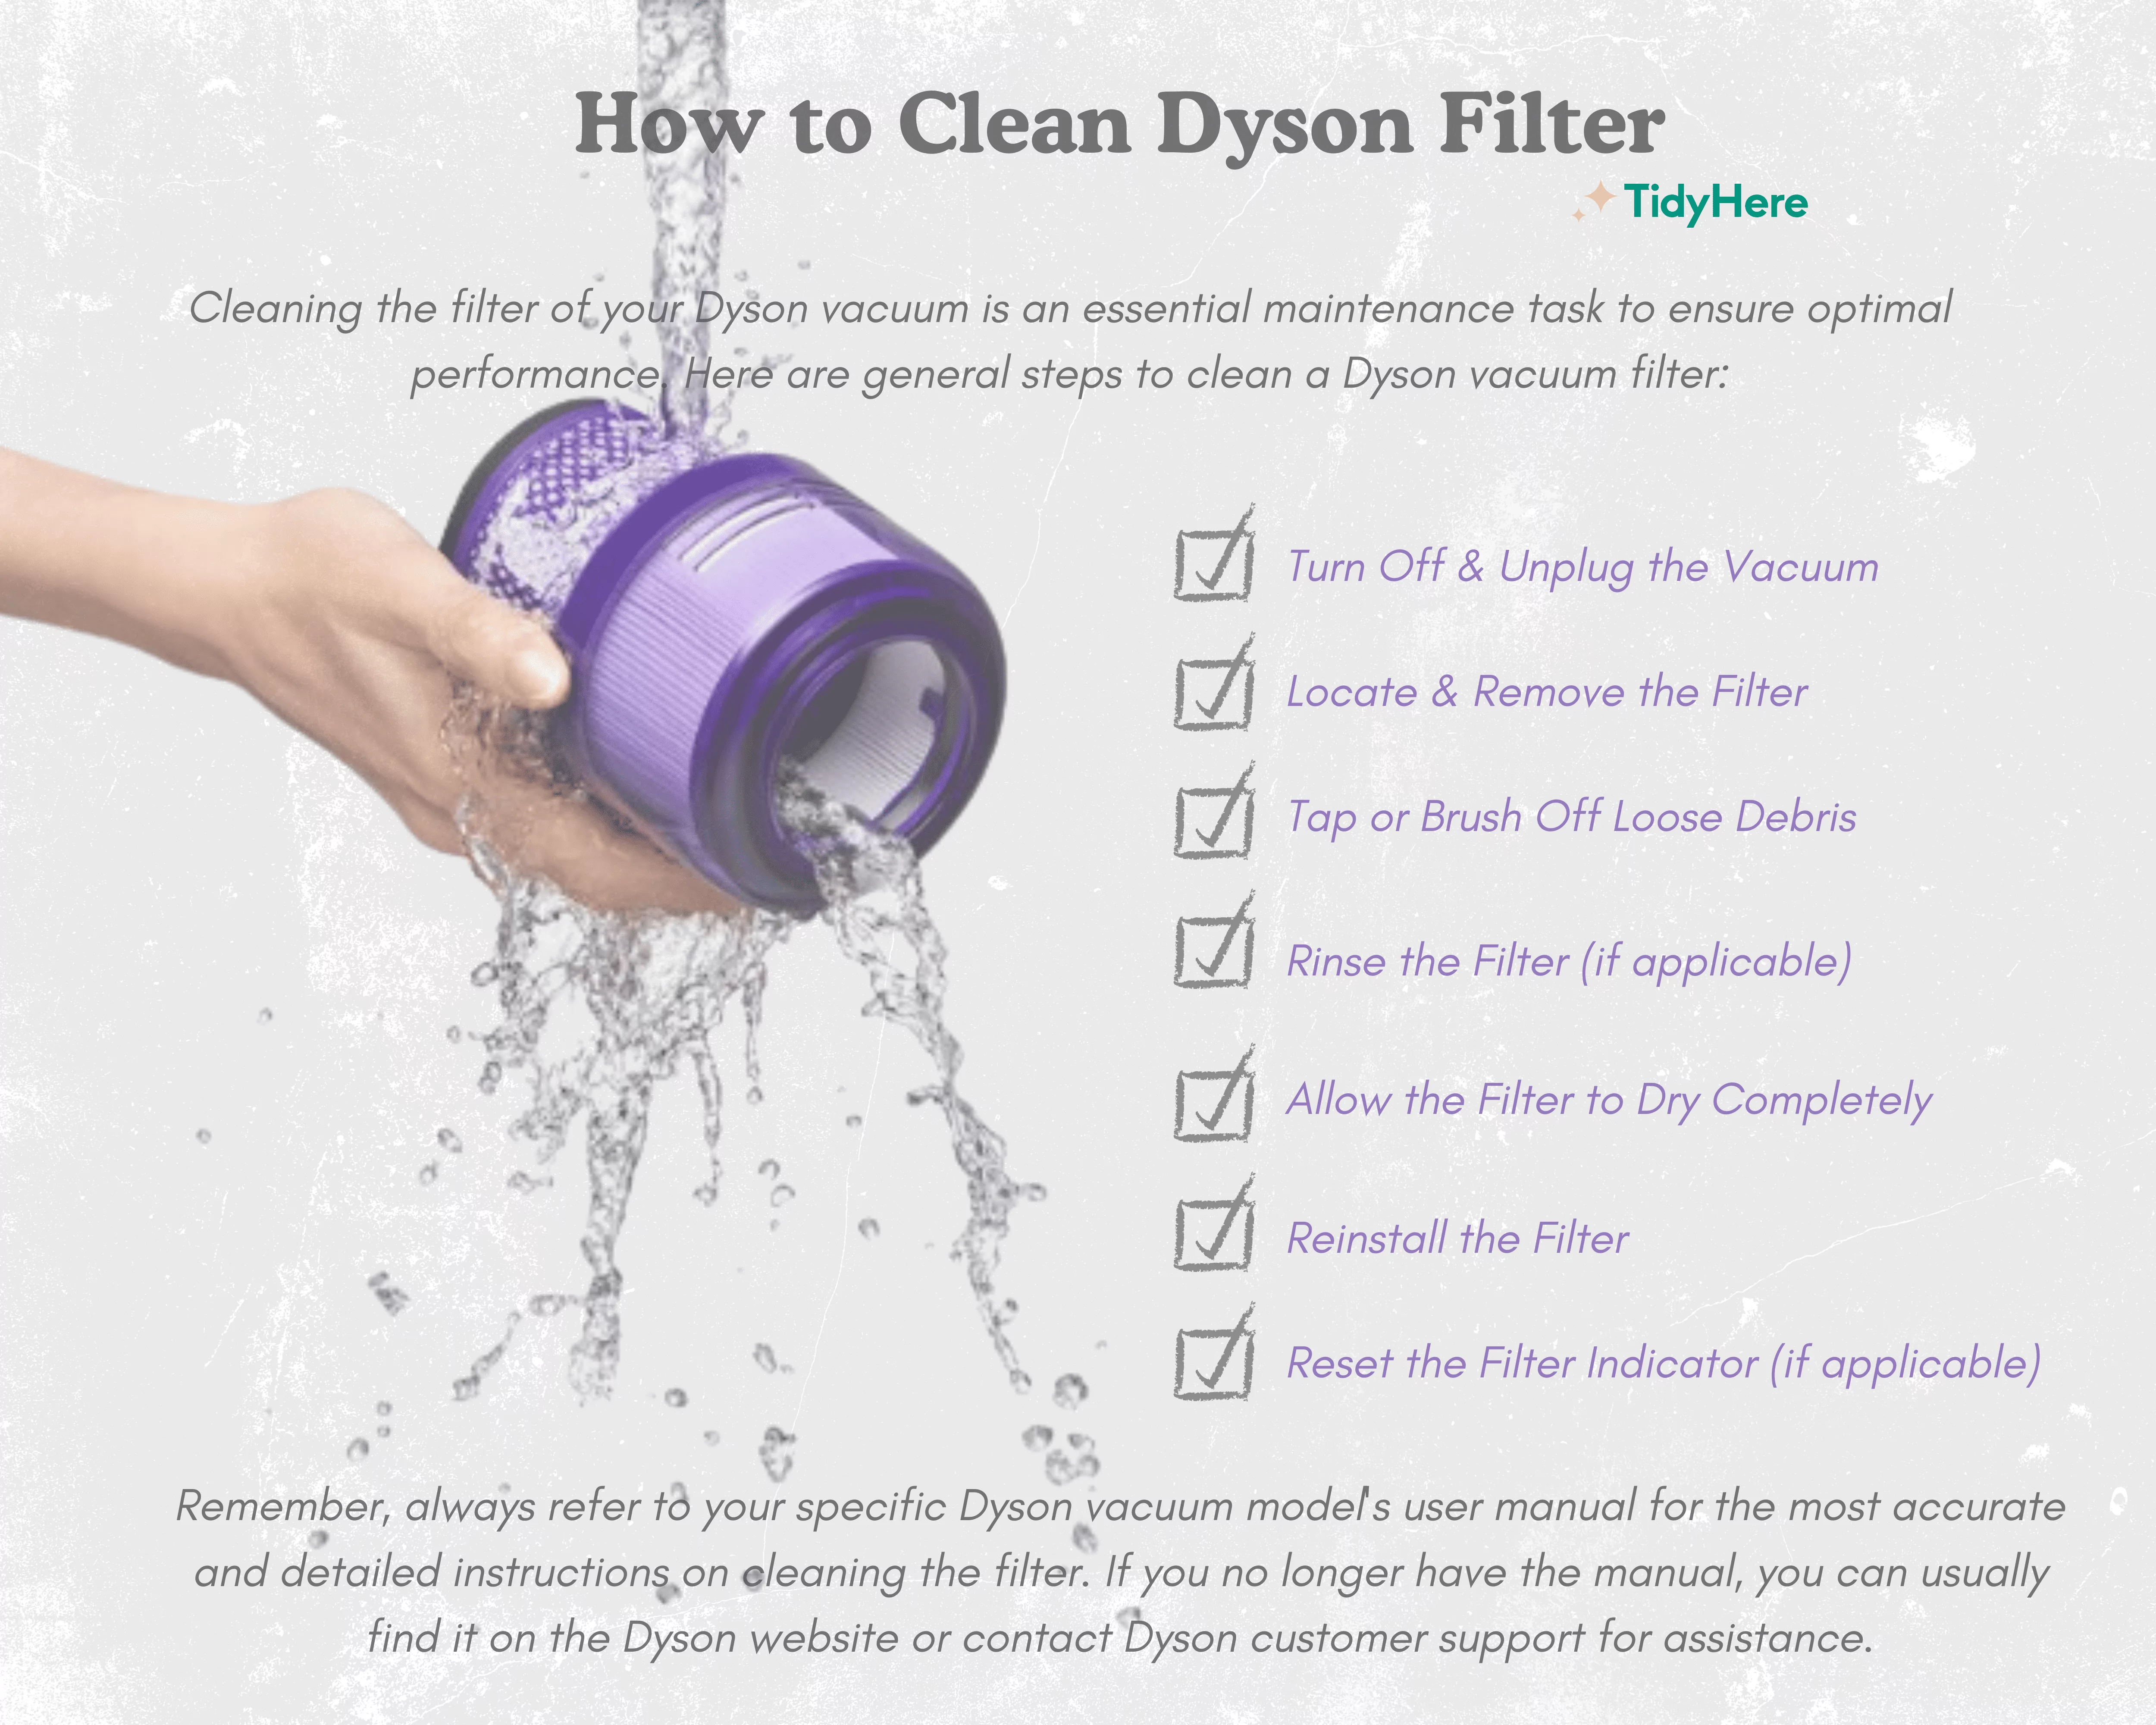
- Remove the pre-motor filter (usually behind the bin housing). It’s foam, often blue/green.
- Rinse under cold water until runoff is clear—no soap! Squeeze gently to expel debris.
- Air-dry for 24 hours minimum in a warm, ventilated area. Never use a hairdryer—it melts filters.
- Reinstall ONLY when completely dry. A damp filter reduces suction by 70% instantly.
Pro Tip: Set a phone reminder for “Filter Dry Time”—many users reinstall too soon, causing permanent damage.
Troubleshooting Bin Emptying Nightmares
“Debris Won’t Fall Out—It’s Stuck Like Cement!”
This means hair/fibers jammed the cyclone shroud. Do this now:
– Remove the bin and look up into the vacuum’s main body.
– Shine a flashlight into the clear cyclone shroud. If dust coats the interior walls:
– Use compressed air in short bursts (hold 6+ inches away)
– Never use water—this damages electrical components
– For hair tangles, wrap a rubber band around a chopstick to grip and pull fibers free
“The Bin Won’t Click Back In—It Just Slides Out!”
You’re missing the electrical contact alignment:
1. Hold the bin assembly at eye level.
2. Locate the silver pins on the vacuum body and the matching contacts on the bin handle.
3. Tilt the bin 15 degrees forward before pressing down—this engages the pins.
4. Press firmly until you hear two distinct clicks. The power button must illuminate.
Warning: Forcing it sideways cracks the housing. If it won’t seat, debris is blocking the cavity—check for stray hair strands.
Pro Maintenance Schedule to Avoid Emptying Disasters
Emptying Frequency That Prevents Motor Strain
| Household Type | Emptying Frequency | MAX Fill Line Check |
|---|---|---|
| Average home (no pets) | Every 7 days | Debris visible below line |
| Pet owners/high traffic | Every 2-3 days | Debris touching line |
| Allergy sufferers | After every use | Never exceed line |
Overfilling consequences: Debris bypasses the cyclone, coating the motor with fine dust. This causes overheating and voids warranties.
The 60-Second Post-Emptying Checklist
Do this every time you empty:
1. ✅ Clear the bin intake with your crevice tool (prevents 90% of clogs)
2. ✅ Wipe the cyclone shroud with a dry microfiber cloth (removes static dust)
3. ✅ Verify filter dryness—smell it; any dampness means 12 more drying hours
4. ✅ Test suction on carpet before storing (catches misseated bins)
When to Call Dyson Support (Don’t Risk DIY)
Stop immediately if you see:
– Cracks in the clear cyclone shroud
– Persistent burning smells after filter cleaning
– The bin release lever feels “mushy” with no resistance
⚠️ Never disassemble the motor housing—this voids all warranties. Contact Dyson with your model number (found on the bin base) for authorized repair options.
Final Power Move: The Emptying Sequence That Saves $200 Repairs
Follow this exact sequence every time:
1. Unplug and wait 30 seconds for internal capacitors to discharge
2. Empty bin using your model-specific method
3. Clean cyclone shroud with compressed air
4. Wash filters if they’re visibly dirty (max monthly for pre-motor)
5. Dry filters 24 hours before reinstalling
6. Re-seat bin until double-clicked
Skipping even one step invites motor strain. That “MAX” fill line isn’t a suggestion—it’s a hard limit. Do this religiously, and your Dyson upright will maintain 95%+ suction for 5+ years. Now empty your bin like a Dyson-certified technician: no mess, no damage, and zero suction loss. Your vacuum’s next deep clean starts the moment you release that bin.

