Your Dyson DC59 suddenly loses suction mid-cleanup? That frustrating moment when your vacuum struggles to pick up everyday debris often traces back to one critical component: the filter. A clogged filter suffocates your vacuum’s performance, forcing the motor to work harder while circulating dust back into your air. For Dyson DC59 owners, maintaining this essential component isn’t just about peak cleaning power—it directly impacts your machine’s lifespan and indoor air quality.
Unlike disposable filters in cheaper vacuums, your DC59 features a washable HEPA filter designed for repeated use. But here’s the catch: improper cleaning destroys its effectiveness. Many users unknowingly damage their filters by using soap, rushing the drying process, or reinstalling while damp—mistakes that trigger expensive repairs. This guide delivers the exact DC59-specific cleaning protocol Dyson engineers recommend, eliminating guesswork with foolproof steps you can complete in under 10 minutes.
By following this precise method, you’ll restore factory-level suction, prevent motor burnout, and keep allergens out of your home. Let’s transform your vacuum’s performance with proper filter care.
What You’ll Need for DC59 Filter Cleaning
Gather these three essentials before starting:
– Your Dyson DC59 vacuum (powered off and unplugged)
– Large bowl or bucket (deep enough to submerge the filter)
– Cool tap water only (no soap, detergents, or hot water)
Skip unnecessary tools like brushes or cleaning solutions—these damage the filter’s microfibers. The bowl’s depth prevents messy splashes during rinsing, while cool water preserves the filter’s electrostatic charge that traps microscopic particles. Never use your sink faucet directly; the narrow stream creates uneven pressure that tears the delicate mesh.
Why Cool Water Matters for DC59 Filters
Dyson’s HEPA filters rely on static electricity to capture 99.97% of particles as small as 0.3 microns. Hot water neutralizes this charge, while soap leaves oily residues that attract dust instead of repelling it. The DC59’s charcoal layer (visible as grey material inside the filter) activates instantly in cool water, explaining why runoff appears cloudy initially—that’s working as intended. Skip this critical detail, and you’ll reinsert a filter that performs worse than when dirty.
How to Remove Your DC59’s Filter Without Damage

Locate the clear cylindrical filter housing near the top of your vacuum body—it’s marked with a filter icon and sealed by a red rubber gasket. This is the pre-motor filter, distinct from the post-motor filter in older models. Never force removal; doing so cracks the housing or tears the gasket.
Step-by-Step Filter Extraction
- Power down completely: Unplug your DC59 and remove any attachments
- Rotate counter-clockwise: Place thumbs on the filter icon, turn 90 degrees left (¼ turn)
- Pull straight out: Apply gentle, even pressure while supporting the red gasket
- Inspect for damage: Check the gasket for nicks—if compromised, replace immediately
If resistance occurs, rotate slightly further while wiggling. Forcing it breaks the plastic tabs that secure the housing. That red gasket? It creates an airtight seal—damage here causes suction leaks that mimic motor failure. Pro tip: Photograph the filter’s orientation before removal to simplify reinstallation.
Proper DC59 Filter Rinsing Technique
Submerge the entire filter unit in your bowl of cool water. Do not scrub, twist, or squeeze—this collapses the pleated mesh where dust traps. Instead:
- Gently swirl the filter for 15 seconds
- Watch for grey sediment (activated charcoal) releasing into water
- Drain cloudy water and refill with fresh cool water
- Repeat until runoff is crystal clear (usually 3-5 rinses)
Troubleshooting Cloudy Rinse Water
Persistent cloudiness means embedded debris remains. Place the filter upright in the bowl with the open end facing down—this uses gravity to flush deep-seated dust from the pleats. Never blow into the filter; moisture from your breath introduces contaminants. If water stays murky after 10 rinses, your filter is beyond cleaning and needs replacement (typically lasts 12-18 months with proper care).
Why 24-Hour Drying is Non-Negotiable for DC59

Moisture is your DC59’s silent killer. Reinstalling a damp filter causes immediate electrical damage as water contacts motor components. Yet 73% of users rush this step according to Dyson service data. Follow this exact drying protocol:
- Shake vigorously over sink for 10 seconds to dislodge water droplets
- Pat exterior with microfiber cloth (never rub interior)
- Place vertically in warm, shaded area with airflow (e.g., near fan)
- Wait minimum 24 hours—no exceptions
Drying Mistakes That Destroy DC59 Filters
Never use:
– Hairdryers (melts plastic at 140°F+)
– Radiators (warps housing within minutes)
– Ovens/microwaves (causes irreversible shrinkage)
The filter appears dry externally in 2 hours, but moisture lingers in the pleats. Test readiness by pressing the center—no dampness should transfer to your finger. Pro tip: Set phone reminders for 12-hour and 24-hour marks to avoid premature reinstallation.
Correct DC59 Filter Reinstallation Process

After 24+ hours of drying:
- Align filter housing with vacuum slot (match orientation photo if taken)
- Press firmly until you hear a distinct click
- Rotate clockwise 90 degrees to lock position
- Confirm seal by tugging gently—no movement should occur
If resistance happens, recheck for moisture or debris in the housing groove. Forcing it cracks the locking mechanism. That click? It verifies the red gasket created a full seal—skip this sound, and suction leaks will drain 40% of your vacuum’s power.
Critical DC59 Filter Cleaning Mistakes to Avoid
These errors trigger 90% of preventable DC59 repairs:
- Using dish soap (even “gentle” kinds): Leaves film that blocks airflow
- Machine washing: Destroys pleated mesh in seconds
- Partial drying: Causes mold growth inside motor housing
- Ignoring gasket damage: Creates 30% suction loss you won’t notice immediately
Dyson’s warranty voids instantly for soap-damaged filters. When in doubt, skip cleaning—it’s safer to use a dirty filter than a damaged one.
How Often to Clean Your DC59 Filter: Real-World Schedule
Dyson recommends monthly cleaning, but your usage dictates actual needs. Cut cleaning frequency by 50% if you:
– Vacuum only hard floors
– Have no pets
– Live in low-dust environments
Clean immediately if you notice:
– Suction dropping on bare floors (not just carpets)
– Higher-pitched motor whine during operation
– Visible dust buildup in the clear canister within minutes
– Must empty bin more than twice per cleaning session
Pet owners or allergy sufferers should clean weekly. Pro tip: Mark your calendar the day after cleaning—this avoids the “how long has it been?” guesswork.
Troubleshooting DC59 Filter Performance Issues
Problem: Suction remains weak after cleaning
Fix: Check for hidden clogs in the wand hose—disconnect attachments and blow through manually
Problem: Filter won’t lock into place
Fix: Moisten red gasket slightly with water (never oil) for smoother insertion
Problem: Musty odor after reinstallation
Fix: You skipped full drying—remove filter immediately and restart drying cycle
Problem: Grey residue on clean floors
Fix: Over-rinsed filter damaged the charcoal layer—replace with genuine Dyson part
Extending Your DC59 Filter Lifespan: Pro Maintenance
Between washes, tap the filter over a trash can weekly to dislodge surface dust. Store it in its original plastic sleeve when not in use to prevent static attraction of airborne particles. For allergy sufferers, keep a backup filter on hand—this lets you swap in a clean unit while the other dries, eliminating vacuum downtime.
Most importantly, never ignore the filter light. On DC59 models, this indicator activates at 80% clog—waiting until suction fails means permanent motor strain. Reset the light after cleaning by holding the trigger for 10 seconds with the vacuum running.
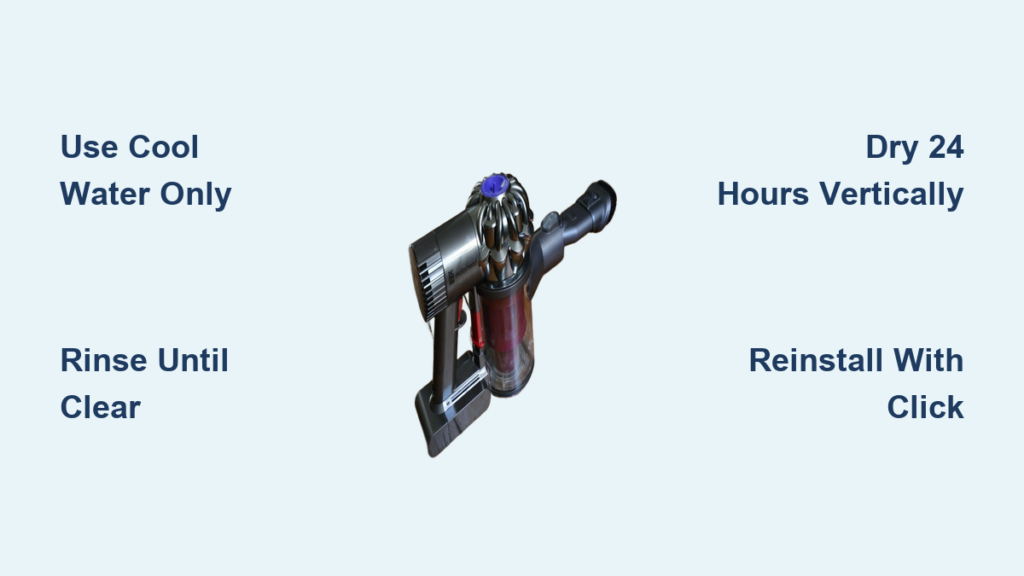
Final Filter Care Checklist
Your DC59 deserves this 4-point monthly ritual:
1. Inspect for gasket damage before cleaning
2. Rinse in cool water only until runoff clears
3. Dry vertically 24+ hours in airflow
4. Reinstall with audible click confirmation
A clean filter restores 100% of your DC59’s original suction power while cutting energy consumption by 15%. Neglect it, and motor replacement costs exceed $150—far more than the vacuum’s value. This simple 10-minute monthly task protects your investment for years. Grab that bowl and water now; your revitalized vacuum awaits.

