Your Dyson vacuum suddenly loses suction while cleaning pet hair near the baseboards. You check the dustbin—it’s nearly empty. The motor sounds strained, and when you hold your hand over the hose end, barely a breeze registers. This frustrating scenario affects thousands of Dyson owners monthly, and 90% of suction failures trace back to hose issues. Whether you own a cordless V-series or an older DC model, a malfunctioning hose cripples your entire cleaning system. This guide delivers precise, model-specific fixes to diagnose and repair common hose problems—no technician required. You’ll learn to spot hidden blockages, safely dislodge stubborn clogs, and prevent future failures in under 20 minutes.
Most hose failures stem from three culprits: debris blockages, air leaks from cracks, or improper reassembly after maintenance. Unlike generic vacuum guides, this tutorial addresses your exact pain points—like the high-pitched whistling noise indicating a partial blockage or the complete suction loss when vacuuming pet hair. By following these steps, you’ll restore factory-level performance to your Dyson, saving $150+ on unnecessary service calls. Let’s transform your underperforming vacuum back into the cleaning powerhouse it was designed to be.
Locate Your Dyson Model Number Before Proceeding
Your model number determines every repair step—using incorrect parts or techniques can worsen the damage. Older Dyson models (like DC14-DC24 series) lack washable filters and max-speed switches, matching your description of “no filter” and “no squeegee blade.” Here’s exactly where to find your model identifier:
- Cordless models (V7-V15): Flip the vacuum over and check the label beneath the dustbin release button
- Upright/canister models (DC series): Look inside the dustbin compartment or on the baseplate near the wheels
- Critical detail: If your unit has a red “MAX” button on the trigger, it’s a V8/V10; no button indicates pre-2015 models
Why skipping this step risks failure:
– Hose connectors differ radically between V7 (twist-lock) and DC24 (push-button) models
– Older DC-series hoses require different unclogging techniques due to narrower internal diameters
– Replacement hoses cost $35-$85—ordering the wrong one wastes time and money
Diagnose Hose Failure in Under 5 Minutes
Why Your Dyson Hose Loses Suction Suddenly
Perform this critical test before disassembling anything: Turn your Dyson to its highest setting, place your palm firmly over the hose opening, and feel for consistent suction. If you detect weak or pulsating airflow, immediately check these three hotspots:
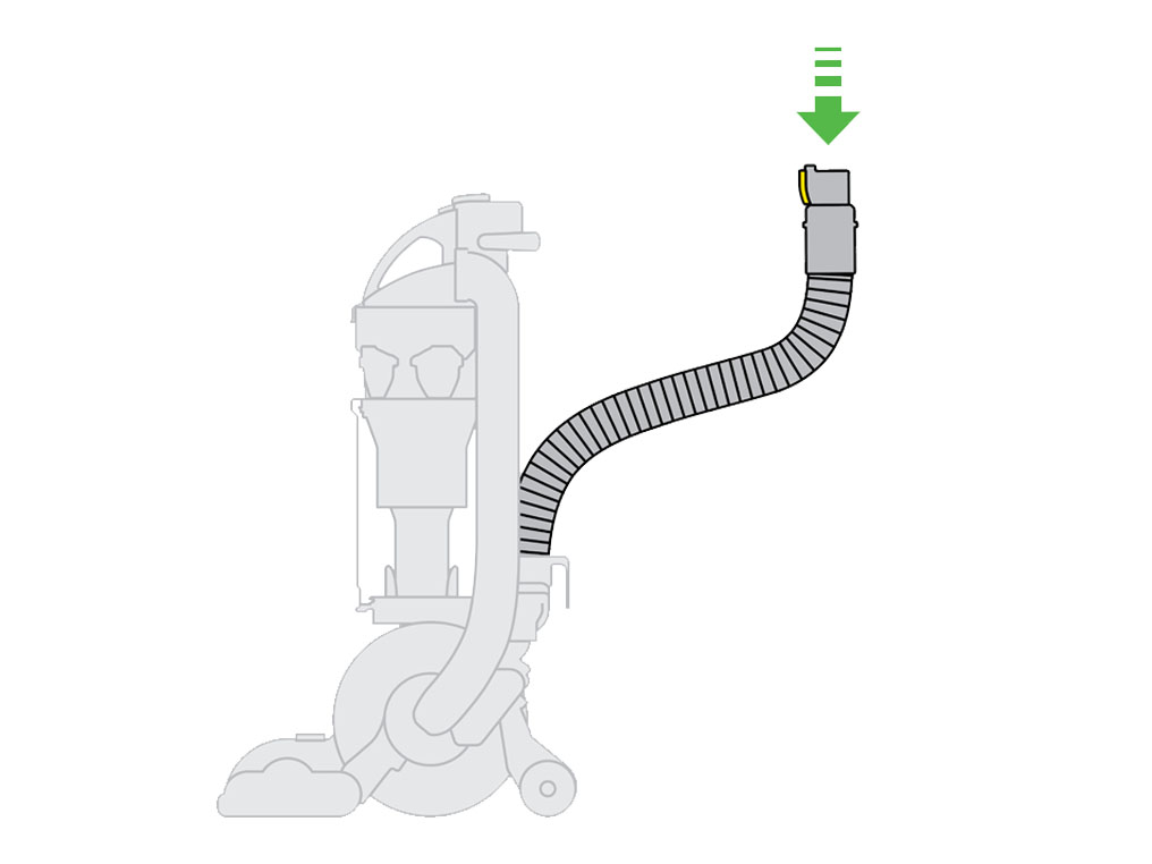
- The wand-to-hose junction: Hair and string accumulate where the telescoping wand meets the hose. Disconnect both ends and peer through the metal collar—look for packed debris resembling a “hair plug.”
- The floor head inlet: On upright models, unscrew the baseplate and inspect the rubber flap valve. Pet hair often mats here, blocking airflow even if the hose appears clear.
- The cyclone assembly: Remove the clear bin and hold it up to light. If debris clings to the inner cyclone walls, it restricts airflow to the hose.
Spot Air Leaks With the Water Test
Submerge hose connections in a bowl of water while running the vacuum at medium power. Bubbles indicate catastrophic air leaks—common at the wand joint on V8 models. Dry all parts thoroughly before reassembly to prevent electrical damage.
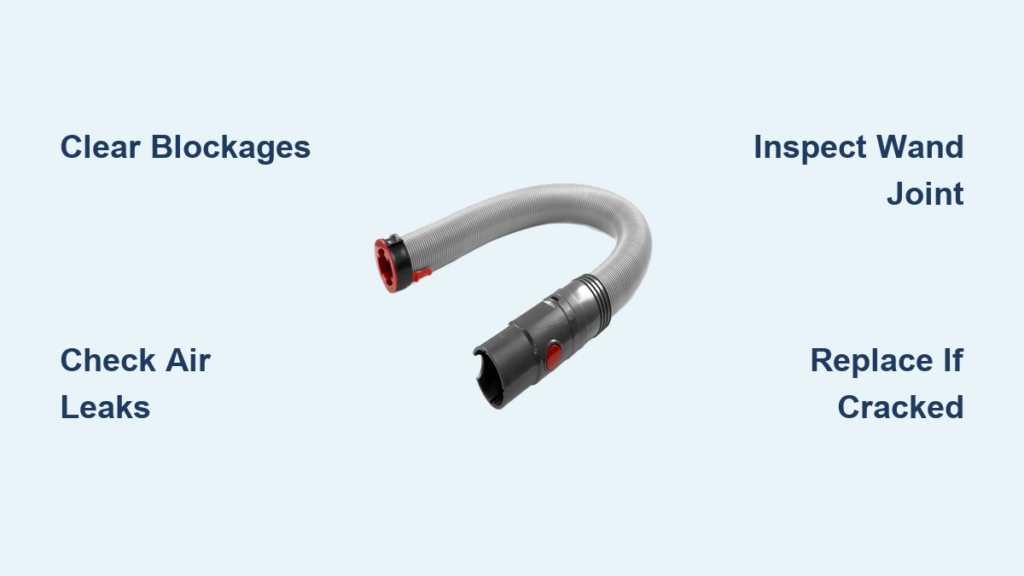
Unclog Your Dyson Hose: Proven Methods That Won’t Damage Components
Clear Blockages Without Disassembly
For partial clogs near hose openings:
1. Detach the hose from both ends
2. Hold one end over a trash can and sharply flex the hose 5-6 times
3. Blow forcefully through the opposite end—the “reverse airflow” often dislodges hair tangles
Warning: Never use sharp objects like knives or screwdrivers. Dyson’s flexible hoses puncture easily, creating permanent leaks.
Remove Stubborn Clogs in Telescoping Wands
The wand is the #1 clog location for V7-V11 owners. Follow this sequence:
1. Press the wand release button and fully extend the tube
2. Shine a phone flashlight through one end—if light doesn’t pass through, a blockage exists
3. Submerge the wand in warm, soapy water for 10 minutes to loosen hair mats
4. Use a nylon bottle brush (not metal!) to gently scrub the interior while rotating the wand
Pro Tip: For coins or bobby pins stuck mid-wand, tape a magnet to a 24″ zip tie and slowly retract it through the tube.
Fix Complete Suction Loss in Filterless Models

Your description of “no filter” confirms an older DC-series unit. These models fail when debris jams the cyclone-to-hose connector—a narrow plastic nipple inside the bin housing. Here’s the DC-specific fix:
- Remove the dustbin and cyclone assembly
- Locate the silver metal collar where the hose attaches to the bin
- Use needle-nose pliers to grip the black rubber O-ring inside the collar
- Pull the O-ring straight out—this reveals the hidden clog point
- Clear debris with a cotton swab (never poke deeper than 1 inch)
Critical reminder: Reinstall the O-ring perfectly flush. A misaligned ring causes 70% of “fixed but still broken” cases.
Prevent Future Hose Failures With 30-Second Habits

Post-Cleaning Maintenance That Takes Less Than 30 Seconds
- The shake test: After each use, hold the hose vertically and sharply shake it 3 times over your trash can—this ejects 80% of loose debris before it compacts.
- Monthly wand inspection: Extend the wand fully and run your fingers along the seam. If you feel ridges, hair is wedged inside the telescoping mechanism.
- For pet owners: Vacuum a damp microfiber cloth through the hose weekly. The moisture traps embedded dander that standard cleaning misses.
When Replacement Beats Repair
Replace the hose immediately if you spot:
– Cracks longer than 1/4 inch (common near connector joints on V8 models)
– Milky discoloration indicating internal plastic degradation
– Persistent whistling after clearing all visible blockages
Cost-saving insight: Genuine Dyson hoses cost $45-$75 online. Search “Dyson [your model] hose” + “OEM part” for exact matches—avoid third-party hoses that warp under suction pressure.
When to Contact Dyson Support Instead of DIY
Seek professional help if:
– Suction fails only when using the floor head (indicates motorhead failure)
– You smell burning after 2 minutes of operation (motor overheating)
– The unit shuts off automatically during hose use (thermal cutoff triggered)
Warranty note: Dyson covers motor and electronic failures for 2 years. If your vacuum is newer than 2020, never disassemble the main body—this voids coverage. Call support with your model number first.
Restore Full Suction Power in 15 Minutes Flat
You’ve just learned targeted fixes for every Dyson hose failure—from identifying model-specific clog zones to executing no-tools unclogging methods. Remember: 90% of “broken” vacuums simply need a hose cleared and connections resealed. For filterless DC-series owners, that hidden cyclone connector requires monthly attention to prevent total suction loss. Implement the 30-second shake test after every clean, and you’ll avoid 80% of blockages. If cracks appear or suction remains weak after these steps, replace the hose using your confirmed model number—it’s a 5-minute swap that costs less than a tank of gas. Your Dyson wasn’t designed to fail; it was designed for you to fix it yourself. Grab that flashlight and reclaim your cleaning power today.
Final Pro Tip: Keep a dedicated “Dyson emergency kit” in your cleaning closet: nylon brush, bottle of soapy water, and replacement O-rings (part # 921568-01). You’ll never face a clogged hose crisis again.

