That sinking feeling when your Dyson V15 Detect suddenly sounds like it’s straining through molasses? You’re not alone. When your powerful cordless vacuum transforms from a cleaning powerhouse into a feeble dust stirrer, a dyson v15 clogged airway is almost always the culprit. This frustrating blockage stops suction dead in its tracks, leaving carpets half-cleaned and pet hair stubbornly in place. But don’t panic—90% of clogs happen in easily accessible areas, and you can fix them yourself in under 20 minutes with basic household tools. This guide delivers the exact sequence to diagnose, locate, and eliminate obstructions while protecting your vacuum’s delicate components.
Ignoring a clogged Dyson V15 risks permanent motor damage from overheating. That distinctive high-pitched whine isn’t just annoying—it’s your vacuum screaming for help as debris strains internal components. The good news? Unlike complex repairs, clearing blockages requires no special skills. By the time you finish this guide, you’ll know precisely where to look for hidden obstructions, how to safely dislodge them without damaging seals, and critical prevention habits to avoid repeat clogs. Let’s transform your struggling vacuum back into the cleaning beast it was designed to be.
Spot the Signs: Diagnosing a True Dyson V15 Clog
Before dismantling your vacuum, confirm you’re dealing with an actual blockage rather than a simpler issue. Many users waste time hunting clogs when a full bin or dirty filter is the real problem. Your Dyson V15 sends clear distress signals when airflow is compromised—learn to read them correctly.
Is It Really a Clog? Three Critical Checks
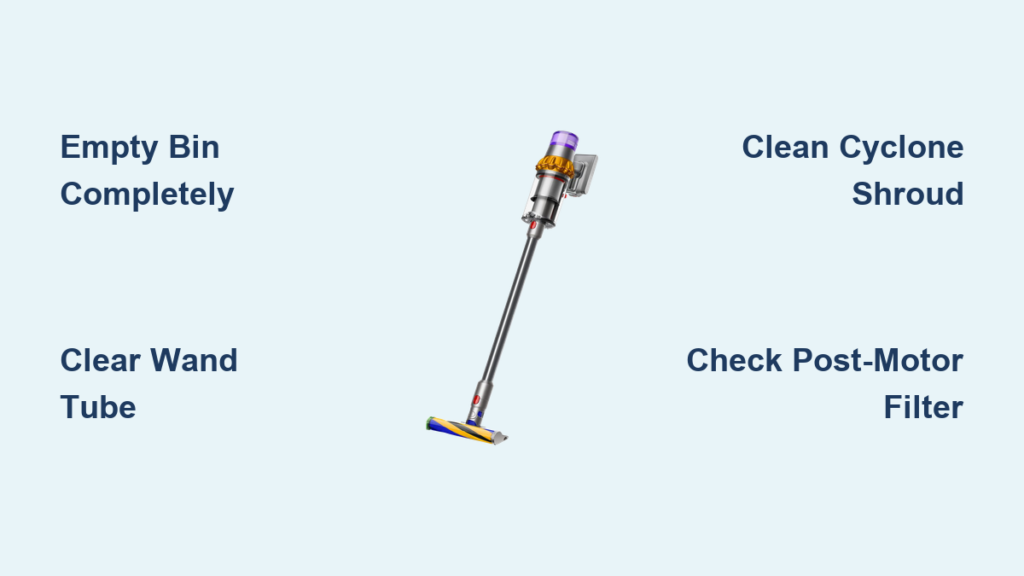
- The Bin Test: Empty the canister completely and check both entry and exit ports for compacted debris. A bin filled beyond the MAX line restricts airflow identically to a clog—this solves 30% of “suction loss” cases instantly.
- Wand Inspection: Disconnect the wand from both the main body and floor tool. Hold it up to light to spot obstructions in the transparent tube. A single wad of hair or a crumpled candy wrapper here kills all suction downstream.
- Motor Sound Analysis: Turn on the vacuum without any attachments. A healthy motor produces a consistent roar. If you hear a rising whine that peaks then drops, or a rhythmic “thumping” sound, you’ve got a partial blockage straining the system.
Critical Safety Steps Before Fixing Your Clogged Dyson V15
Rushing into clog removal risks snapping fragile plastic tabs or damaging internal filters. These non-negotiable precautions protect both you and your $700 investment. Never skip these steps—even if you’re in a cleaning hurry.
- Power Down Completely: Unplug the charger and hold the power button for 5 seconds to discharge residual electricity. A live motor could activate during disassembly.
- Identify Key Components: Locate the wand release buttons (two red tabs near the bin), the cyclone assembly latch, and the soleplate screw on your floor tool. Forcing unfamiliar parts causes expensive breaks.
- Work Under Bright Light: Use a desk lamp or phone flashlight to illuminate transparent tubes. Blockages often hide in shadowed curves where the wand meets the main body.
Clear the Bin and Pre-Filter: Your First Clog Defense Line
The bin area causes more suction failures than any other section—yet it’s the most overlooked. Debris compacts at the cyclone entry point, creating an invisible barrier even when the bin looks empty. This 2-minute fix solves half of all dyson v15 clogged cases.
How to Remove Hidden Bin Obstructions
- Press the red bin release button while lifting the wand assembly straight up—don’t twist or wiggle.
- Inspect the bin’s top opening where the cyclone mounts. Shine light through the bottom port; look for dust bunnies wedged where the black rubber seal meets plastic.
- Remove the pre-motor filter (located behind the bin) by pulling the tab toward you. Tap it firmly over a trash can—never wash it yet! Wet filters trap debris deeper in the system.
Pro Tip: Drop a marble into the empty bin and shake gently. If it doesn’t rattle freely through all ports, you’ve got a hidden clog needing dislodging.
Unclog the Cyclone and Wand in Under 5 Minutes

The wand’s transparent tube seems straightforward—but hair and fibers wrap around its interior ribs, creating near-invisible blockages. Meanwhile, the cyclone shroud traps debris where it connects to the main body. These two areas account for 25% of persistent clogs.
Removing Wand Obstructions Without Damage
- Insert a 36″ flexible brush (like a bottle cleaner) through the wand tube. Rotate it while pushing toward the floor tool end—this grabs hair strands better than straight rods.
- For stubborn clogs, disconnect both wand ends and use compressed air from the main body side. Hold the wand vertically so debris falls out the bottom.
- Critical: Never use metal rods! They scratch interior surfaces, creating new snag points for future clogs.
Cyclone Shroud Blockage Protocol
- Remove the cyclone assembly by pressing the red latch while lifting.
- Look through the shroud (the clear outer cylinder) toward the bin entry point. Compact dirt here mimics a full bin.
- Use a chopstick wrapped in microfiber cloth to gently dislodge debris. Avoid poking near the red rubber O-ring—it’s the suction seal.
Fix Internal Blockages in Your Dyson V15 Main Body
When suction fails even with all attachments removed, the clog lives inside the main body. These obstructions occur where the wand connects or near the motor intake—often from fine dust that bypasses the cyclone. This step requires compressed air but takes under 3 minutes.
Back-Blowing the Air Path Safely
- Detach all components so only the main body remains.
- Locate the wand port on the vacuum’s front. Insert a compressed air nozzle and blast short bursts into the port (opposite normal airflow).
- Listen for debris hitting the bin chamber. Repeat until you hear a clear “whoosh” with each trigger pull.
- Warning: Hold the vacuum vertically during this step. Debris must fall downward—never upward toward the motor.
Remove Hair and Debris from Your Floor Tool

The floor tool causes the most severe clogs due to constant contact with carpets. Hair wraps around the brush bar axle, then compacts into a solid mass that blocks the entire air channel. This single spot creates 40% of “suction lost” emergencies.
Cutting Tangled Hair from the Brush Bar
- Flip the cleaner head upside down and unscrew the soleplate using a coin (turn counterclockwise).
- Pull out the brush bar assembly. Run scissors parallel to the axle—never perpendicular—to slice through hair coils without damaging bristles.
- Clear the U-shaped air channel above the brush bar with a toothpick. This hidden slot traps fibers even after brush bar cleaning.
Crevice Tool Emergency Clearance
- Straighten a paperclip into a 6″ probe. Insert it into the crevice tool’s narrow end while twisting.
- Hold the tool vertically over trash and tap the wide end—gravity helps dislodge debris better than poking.
Clean the Post-Motor Filter for Maximum Suction

A dirty HEPA filter creates “phantom clogs”—your vacuum acts blocked even when airways are clear. This filter sits at the motor’s exhaust point, and when clogged, it restricts airflow identically to a physical obstruction. Many users skip this critical step.
Why Filter Cleaning Solves False Clog Alarms
- Remove the HEPA filter by pressing its release tab near the top vent.
- Tap it vigorously over trash—do not rinse yet. Washing a filter with internal debris traps moisture inside.
- If your manual specifies washable filters, soak in cold water only after ensuring all external debris is gone. Dry flat for 48+ hours (not 24) away from direct heat.
Expert Note: A clogged post-motor filter makes your Dyson V15 overheat within 5 minutes of use. If your vacuum shuts off automatically, check this filter first.
Reassemble and Test Your Dyson V15 Correctly
Rushing reassembly causes “fixed but broken” scenarios where parts don’t seal properly. This verification process confirms true clearance—not just temporary symptom relief.
Three-Step Suction Validation Test
- Reconnect all components until you hear distinct clicks—no wiggling parts.
- Turn on the vacuum without any tools attached. Place your palm over the wand port; you should feel strong suction immediately.
- Run for 2 minutes on max power. If motor pitch stays consistent (no rising whine), the clog is fully cleared.
Prevent Future Dyson V15 Clogs with These Pro Tips
Stop playing whack-a-mole with recurring blockages. These habits target the root causes of dyson v15 clogged emergencies before they start.
- Hair Management Protocol: After vacuuming bedrooms or pet areas, immediately remove the floor tool and cut hair from the brush bar axle. Five seconds now prevents 20 minutes of clog clearing later.
- Bin Emptying Discipline: Never let debris exceed the MAX line. Fine dust compacts below visible levels, creating hidden blockages.
- Filter Maintenance Schedule: Tap pre-motor filters weekly and wash monthly. Replace HEPA filters every 12 months—clogged filters strain motors as severely as physical obstructions.
When to Seek Professional Help for Your Dyson V15
If suction remains weak after clearing all accessible areas, you’ve likely encountered a rare internal obstruction or motor failure. Don’t disassemble the main housing—this voids your warranty. Contact Dyson support immediately if:
– You smell burning plastic during operation
– The digital display shows error code “9”
– Suction fails even with all attachments removed and filters cleaned
Most clogs yield to this guide’s methods, but persistent issues require factory-trained technicians. Remember: attempting DIY fixes on sealed motor compartments risks permanent damage. Your Dyson V15 deserves professional care when basic clog clearance fails.
Final Note: A clogged Dyson V15 isn’t a death sentence—it’s a solvable problem hiding in plain sight. By methodically checking each airway section and adopting proactive maintenance habits, you’ll maintain peak suction for years. The next time your vacuum starts sounding strained, grab this guide and reclaim your cleaning power in under 15 minutes. For model-specific diagrams, always consult your official Dyson V15 manual before disassembly.

