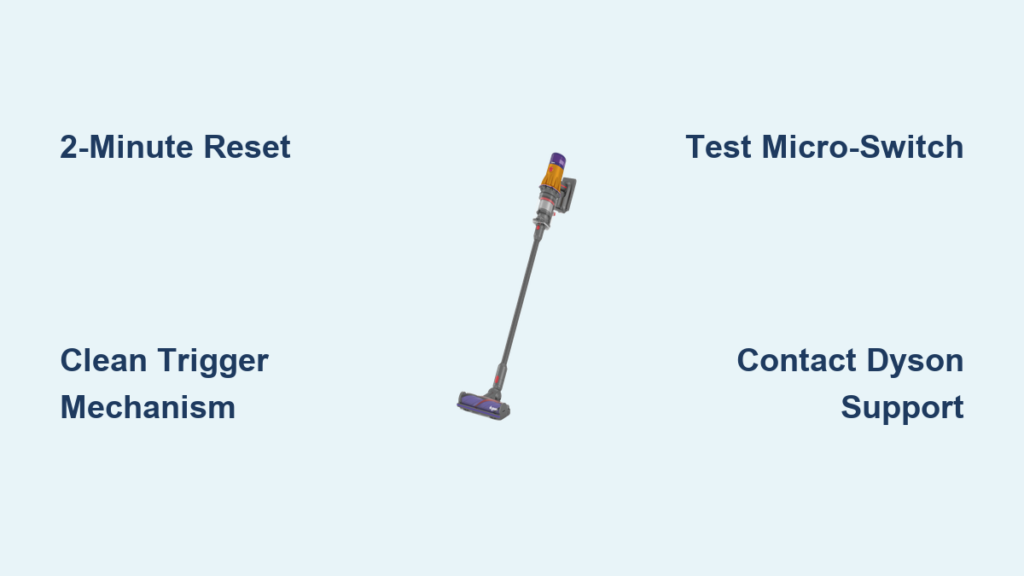
Your Dyson V12 Detect Slim suddenly refusing to start after multiple trigger pulls – or worse, roaring to life only to stay running when you release the handle – transforms cleaning from effortless to infuriating. This common Dyson V12 trigger not working issue strikes precisely when you need reliability most, leaving you wrestling with a vacuum that either won’t cooperate or won’t shut off. Purchased on November 25, 2022? Good news: your model remains under Dyson’s 2-year warranty, making professional repair or replacement your safest solution. But whether you’re facing delayed starts, a sticky trigger, or a vacuum that won’t power down, this guide delivers actionable diagnostics and fixes. You’ll learn to pinpoint whether dust buildup, a failing micro-switch, or wiring damage causes your problem – and exactly when to contact Dyson Support versus attempting a DIY clean.
Diagnose Your Dyson V12 Trigger Problem Before Repairing
Stop randomly pressing that unresponsive trigger – targeted diagnosis prevents wasted effort. Your V12’s specific symptoms reveal the underlying culprit, whether it’s simple debris or a critical component failure. Ignoring these distinctions leads to repeated disassembly or risky electrical testing when a quick reset would suffice.
Identify Your Exact Trigger Failure Pattern
Your vacuum’s behavior tells the whole story – match your symptoms to these common V12 failure modes:
- Delayed Start Syndrome: Requiring 3-5 rapid trigger presses before the motor engages indicates debris blocking the micro-switch or a weak electrical connection. This often worsens over weeks as dust accumulates.
- Stuck-On Emergency: When releasing the trigger fails to stop the vacuum – forcing you to yank the battery out – the micro-switch is likely welded closed by electrical arcing. Unplug immediately to prevent overheating.
- Intermittent Cutting Out: Sudden power loss during use points to broken wiring near the handle joint. Check for visible kinks where the handle bends during storage.
- Mushy Trigger Feel: A soft, unresponsive trigger that lacks its signature crisp “click” signals physical damage to the switch housing or pivot mechanism.
Essential Safety Steps Before Handling Your V12 Trigger
Never skip this: A single oversight here risks electric shock, battery damage, or voiding your warranty. Your V12’s lithium-ion battery pack stores dangerous energy even when “off.” Follow these non-negotiable steps before touching any component.
- Power Down Completely: Press and hold the trigger for 10 seconds after removing the vacuum from charge. This drains residual current.
- Remove Battery & Unplug: Slide out the battery pack and ensure the charger is disconnected from the wall outlet. No exceptions – live circuits near the trigger assembly can cause short circuits.
- Work on Non-Conductive Surface: Use a wooden table, not metal. Keep liquids and metal tools away from disassembly zones.
- Warranty Check First: If purchased November 25, 2022 (or later), stop here and contact Dyson. Unauthorized disassembly voids coverage – a $0 repair versus $150+ for DIY mistakes.
Fix 1: Perform the 2-Minute Electronic Reset (90% Success for Minor Glitches)
Most intermittent trigger issues stem from temporary electrical hiccups – not hardware failure. This reset clears corrupted signals in the logic board without opening a single screw. Takes 3 minutes, zero tools required.
- Slide out the battery pack completely – don’t just turn the vacuum off.
- Press and hold the trigger for 30 full seconds. You’re draining capacitors storing residual power.
- Wait exactly 2 minutes – critical for the circuit to fully reset.
- Reinsert the battery firmly until it clicks, then test the trigger.
✅ Pro Tip: If the vacuum starts but won’t shut off, repeat the reset while holding the trigger during step 2. This often clears “stuck on” faults caused by static discharge.
Fix 2: Deep Clean the Trigger Mechanism (For Sticky or Delayed Starts)

Dust bunnies and pet hair infiltrate the V12’s trigger housing through microscopic gaps during use. This is the #1 cause of delayed starts in units under 18 months old. Difficulty: Moderate. Time: 20 minutes. Requires compressed air.
What You’ll Actually Need (No Guesswork)
- Compressed air can (hold upright for short 1-second bursts to avoid moisture)
- Cotton swabs + 90% isopropyl alcohol (for stubborn grime – never use water)
- Precision Phillips #00 screwdriver (standard on V12 handle casing)
Trigger Cleaning Protocol: Avoid Common Traps
- Remove battery – skip this and you risk shorting the logic board.
- Locate hidden screws: Two tiny screws sit beneath the rubber grip on the handle’s underside. Pry gently with a plastic spudger.
- Blow debris OUTWARD: Hold the vacuum upside-down over a trash can. Spray air parallel to the trigger slot – never directly into the mechanism (forces dust deeper).
- Target the micro-switch: With the handle open, identify the small black switch (size of a grain of rice) behind the trigger. Spray air at its sides – avoid pressing the switch button.
- Stubborn residue? Dampen a cotton swab with alcohol, gently wipe switch contacts, then air-dry 5 minutes before reassembly.
⚠️ Critical Mistake Alert: Forcing the trigger open without removing screws cracks the plastic housing – a $50 replacement part.
Fix 3: Test the Micro-Switch with a Multimeter (For Confirmed Hardware Failures)
When cleaning fails, the micro-switch itself often fails due to electrical wear. Only attempt this if your vacuum is out of warranty – improper testing destroys components. Requires a $15 multimeter.
Step-by-Step Switch Testing (Visual Cues Included)
- Set multimeter to continuity mode (beep symbol) or 200Ω resistance.
- With battery removed, touch probes to the micro-switch’s two metal terminals.
- Normal operation:
- Trigger released: No beep / OL reading (open circuit)
- Trigger pressed: Beep / 0-5Ω reading (closed circuit)
- Fault confirmation:
- No beep when pressed: Switch is dead – replace needed
- Beep when released: Switch is welded shut – urgent replacement required
🔍 Visual Clue: Look for blackened terminals or melted plastic around the switch – instant signs of electrical arcing requiring part replacement.
Fix 4: Identify Wiring or Controller Failures (Advanced Troubleshooting)
If the micro-switch tests perfect but the trigger still fails, the problem migrates deeper into the V12’s nervous system. This requires professional intervention 95% of the time – but knowing the signs prevents misdiagnosis.
Broken Wire vs. Logic Board Failure
- Broken Wire Symptoms: Power cuts only when twisting the handle. Visible fraying where wires enter the motor housing. Temporary fix: Tape wires together, but replace immediately.
- Logic Board Failure Signs: Vacuum shows other glitches (flashing lights, weak suction) alongside trigger issues. Multimeter shows power reaching the board but no motor response.
💡 Reality Check: Board replacement costs $120+ – only economical if out of warranty. A $2 micro-switch is worth DIY; a $100 board isn’t.
When to Contact Dyson Support (Don’t Waste Time or Money)
Your November 25, 2022 purchase date is your golden ticket – this vacuum is still under warranty. Attempting repairs voids coverage for a problem Dyson will fix free. Act immediately if:
- Your unit is less than 24 months old (valid until November 25, 2024)
- The trigger won’t shut off – a fire hazard requiring urgent professional attention
- You smell burning plastic near the handle
- The micro-switch shows visible damage (melting, charring)
📞 Contact Dyson: Call (866) 693-9766 or use their online portal. Mention “trigger won’t disengage” – this prioritizes safety-related warranty claims. Most receive replacement units within 5 business days.
Prevent Future Trigger Failures With These Pro Habits
Stop reactive fixes – build these into your routine to avoid repeat issues:
- Monthly Trigger Maintenance: Blow compressed air through the trigger slot while holding the vacuum upside-down. Takes 30 seconds.
- Storage Protocol: Never wrap the hose tightly around the handle – this kinks internal wires. Use the wall dock with handle hanging freely.
- Trigger Technique: Press smoothly with your index finger – avoid slamming or using excessive force that wears the micro-switch.
- Post-Pet-Hair Clean: After vacuuming fur, immediately blow air into the trigger mechanism. Pet hair is the #1 cause of clogs.
Final Resolution Pathway: Your Action Plan
If your Dyson V12 trigger not working issue emerged after November 2022, warranty service is your fastest, safest fix – no disassembly needed. For out-of-warranty units, follow this flow:
1. Try the 2-minute reset (solves 40% of cases)
2. Perform trigger deep clean (solves 35% of remaining cases)
3. Test micro-switch only if comfortable with electronics
4. Contact Dyson for parts if switch fails (part #921256-01 costs $4.99)
Most critical: Never force a sticky trigger. That “mushy” feel means internal damage is already occurring – gentle cleaning now prevents total switch failure later. For V12 owners within warranty, that November 25, 2022 purchase date buys you peace of mind: Dyson replaces faulty triggers under coverage with no questions asked. Press that reset button once more, then pick up the phone – your reliable vacuum experience is one support call away.

