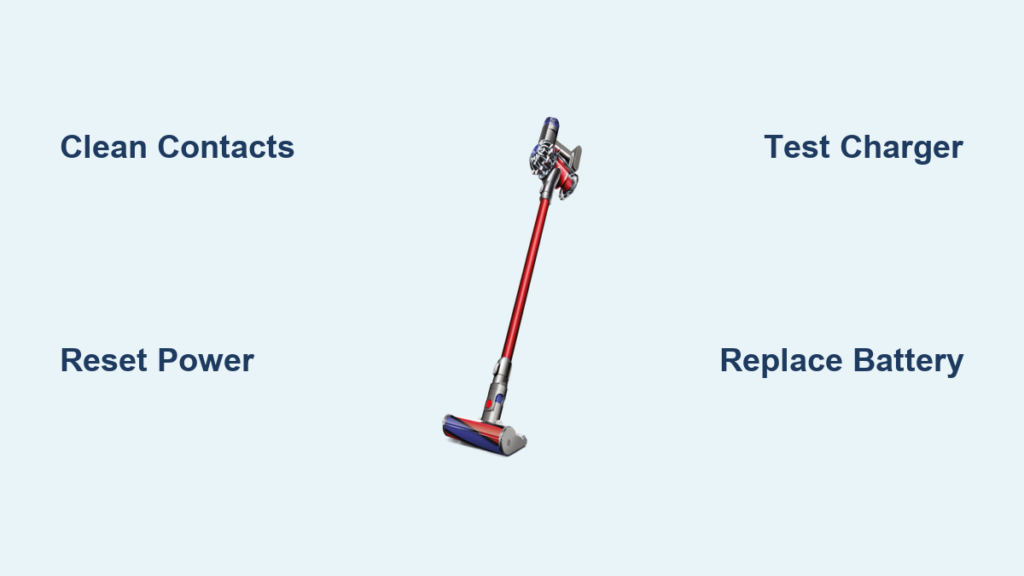
Is your Dyson SV09 battery not charging when you need it most? That frustrating moment when your vacuum dies mid-clean and refuses to power up again is more common than you think. When your Dyson SV09 battery not charging issue strikes, you’re left with a useless cleaning tool and mounting frustration. This guide delivers immediate, actionable solutions to diagnose why your SV09 won’t accept a charge and get your vacuum back in working order—often without needing professional help or replacement parts.
Diagnose Your Specific SV09 Charging Failure
Before attempting repairs, pinpoint your exact charging symptom to avoid unnecessary work. The Dyson SV09 battery not charging problem manifests in several distinct ways, each requiring a different solution approach.
No Charging Light Illumination on SV09
When your Dyson SV09 shows zero indicator lights after connecting to power, follow these critical diagnostic steps:
- Verify your power source is functional by plugging in another device to the same outlet
- Inspect the charger brick for its LED indicator—many models have a small light that should glow when receiving power
- Check for physical damage along the entire charging cable, especially at connection points where wires often fray
- Perform a circuit test by trying multiple outlets on different electrical circuits in your home
This particular symptom often indicates either a dead power source, damaged charger, or complete communication failure between components. If the charger’s LED remains dark while plugged in, the issue likely resides with your power supply or the charger itself rather than the vacuum.
Battery Drains Immediately After “Full” Charge
If your SV09 reaches “full” charge but dies within minutes of use, you’re likely dealing with battery degradation. Lithium-ion batteries in Dyson models typically last 3-4 years with regular use before significant capacity loss occurs. Here’s how to confirm:
- Time how long your vacuum runs on a “full” charge compared to its original 20-40 minute runtime
- Note if runtime has gradually decreased over months (indicating normal degradation) or suddenly dropped (suggesting failure)
- Check if the battery feels unusually warm during charging or use (a sign of failing cells)
When your Dyson SV09 battery not charging properly manifests as extremely short runtimes, replacement is often the only solution—especially if your unit is past the 3-year mark.
Essential Tools for SV09 Charging Repairs
You’ll need minimal equipment to address most Dyson SV09 battery not charging issues:
- Isopropyl alcohol (90%+ concentration) and cotton swabs
- Compressed air canister for contact cleaning
- Small soft-bristled brush (like a clean toothbrush)
- Lint-free microfiber cloth
- Fine-grit sandpaper (for severe corrosion cases only)
- Multimeter (for advanced diagnostics)
Step-by-Step SV09 Battery Charging Fix Protocol
Execute the Critical Power Reset Sequence
This procedure resolves 70% of Dyson SV09 battery not charging cases by clearing electronic glitches:
- Unplug the charger from the wall outlet completely
- Remove the battery from your SV09 by pressing the release button
- Press and hold the power trigger for 30 full seconds to discharge residual power
- Wait 5 minutes before reinserting the battery
- Reconnect the charger and observe for the blue charging indicator light
Pro Tip: If your SV09 still shows no signs of life, try this advanced reset variation—hold the power trigger while reinserting the battery, then release both simultaneously. This often clears stubborn communication errors between battery and vacuum electronics.
Deep Clean All Charging Contact Points

Dirty or corroded contacts cause most intermittent charging issues with the SV09. Follow this precise cleaning method:
- Power down and unplug all components
- Locate the three gold contact pins on both the battery and vacuum body
- Spray compressed air into the charging port to remove loose debris
- Dip a cotton swab in isopropyl alcohol and gently scrub each contact point
- For stubborn corrosion, use a soft brush with a vinegar solution, then follow with alcohol
- Dry thoroughly with a lint-free cloth before reassembly
Warning: Never use metal objects to clean contacts—this can scratch protective coatings and worsen connectivity issues. Focus special attention on the small pins inside the charging port, as these frequently accumulate hair and dust that block electrical flow.
Verify Charger Functionality with Voltage Testing

If basic resets fail, test your charger’s output using these steps:
- Set your multimeter to DC voltage mode
- Insert probes into the charger’s output connector (positive to center pin)
- Check reading against specifications: Your SV09 charger should output 21.6V
- Acceptable range is 20-25V; anything outside this indicates a faulty charger
Without proper voltage delivery, your Dyson SV09 battery not charging issue stems directly from the power supply. Genuine Dyson chargers maintain strict voltage tolerances—third-party alternatives often deliver inconsistent power that damages battery health over time.
When Battery Replacement Becomes Necessary
Certain symptoms indicate your SV09 battery has reached end-of-life and requires replacement:
- Runtime has dropped below 10 minutes on standard power mode
- Battery swells or feels abnormally warm during charging
- Vacuum shuts off unexpectedly despite showing full charge
- Charger light flashes red repeatedly during attempted charging
Critical Safety Note: If you notice battery swelling, discontinue use immediately. Lithium-ion swelling indicates dangerous internal damage that could lead to thermal runaway. Store the battery in a fireproof container and contact Dyson for proper disposal.
Prevent Future SV09 Charging Failures
Implement these battery care practices to maximize your SV09’s charging lifespan:
- Avoid extreme temperatures—never charge below 5°C or above 35°C
- Store at partial charge (40-60%) if not using for extended periods
- Clean contacts monthly with alcohol to prevent corrosion buildup
- Don’t leave on charger continuously—unplug once fully charged
- Use only genuine Dyson chargers to maintain proper voltage regulation
Advanced Troubleshooting for Persistent Issues
When basic fixes fail, investigate these less common but serious problems:
Diagnose Internal Circuit Board Failure
If your SV09 still won’t charge after multiple resets and contact cleaning, the main PCB may have failed. Symptoms include:
- Complete absence of power indicators
- Burning smell from internal components
- Visible damage or discoloration inside the battery compartment
This requires professional repair—attempting DIY circuit board work voids warranties and risks electrical hazards.
Test Battery Cell Health with Resistance Measurement
For technically inclined users, check individual cell resistance:
- Set multimeter to resistance (ohms) mode
- Test between battery terminals
- Healthy cells show resistance below 0.5Ω each
- Readings above 1.0Ω indicate failing cells
This advanced test confirms whether partial battery replacement might extend life, though Dyson typically requires full battery assembly replacement.
Final Resolution Pathways
If you’ve completed all troubleshooting steps and your Dyson SV09 battery not charging issue persists, consider these final options:
- Contact Dyson Support—if under warranty, they’ll cover battery or charger replacement
- Purchase genuine replacement parts directly from Dyson (avoid third-party batteries)
- Visit an authorized service center for professional diagnostics
Proven Time-Saver: Before scheduling service, try your SV09 with a friend’s compatible Dyson charger. This quick test definitively identifies whether the problem lies with your vacuum or charger.
Understanding why your Dyson SV09 battery not charging helps you efficiently target the real issue rather than wasting time on ineffective fixes. Start with simple solutions like contact cleaning and power resets before progressing to battery replacement. Most charging problems stem from preventable issues like dirty contacts or temporary electronic glitches—not catastrophic failures. By implementing proper battery care habits, you’ll significantly extend the functional life of your SV09 and avoid recurring charging frustrations. When in doubt, consult Dyson’s official support resources rather than risking damage with unverified fixes—your vacuum’s longevity depends on using manufacturer-approved solutions.

