Your Dyson purifier blinks its status light while the app stubbornly displays “Could not find your Dyson machine.” This dyson not pairing nightmare affects TP04, HP06, TP09, and newer Pure Hot+Cool models daily. You’re not broken hardware—it’s almost always a communication breakdown between your router, phone, and device. Over 78% of these failures trace back to network settings, not your Dyson unit. Let’s cut through the frustration with proven fixes that actually work.
The “dyson not pairing” error typically strikes during initial setup or after router changes. When your device’s Wi-Fi light pulses blue but the app won’t connect, it means your Dyson is broadcasting but can’t handshake with your network. Modern routers often block older IoT protocols with “helpful” security features. Don’t waste hours rebooting your phone—focus on the router first. By the end of this guide, you’ll know exactly which settings to tweak for seamless pairing.
Decode Your Dyson’s Wi-Fi Status Light Patterns
Your device’s tiny LED reveals exactly where the pairing process fails. Learn these signals before resetting anything:
- Steady blue: Successfully connected to Wi-Fi and Dyson cloud (problem is app-related)
- Pulsing blue: Ready for pairing (device is in setup mode)
- Flashing amber: Can’t connect to your Wi-Fi network (router issue)
- Solid amber: Stuck in setup mode (requires reset)
- Flashing blue: Connected to Wi-Fi but not Dyson cloud (firewall issue)
- Red/blue flashing: Critical error (usually requires factory reset)
If your Dyson shows flashing amber during pairing attempts, skip straight to router fixes. A solid amber light means your device froze mid-setup—common after failed pairing attempts with WPA3 security. For TP04/HP06 models, this often requires a full factory reset since they can’t recover from setup limbo automatically.
Why Your Router Blocks Dyson Pairing
Dyson devices only support 2.4GHz networks and older WPA2 security protocols. Modern routers sabotage pairing with these “smart” features:
- WPA3/WPA2 Mixed Mode: Blocks older Dyson models (TP04, HP04)
- Band Steering: Merges 2.4/5GHz networks (Dyson can’t handle this)
- AP Isolation: Prevents device-to-phone communication (critical for setup)
- Channel Width >20MHz: Causes signal instability on 2.4GHz band
Models like the HP07 or TP10 may temporarily connect but drop offline due to Airtime Fairness features. Check your router admin panel for these exact settings—they’re often buried under “Advanced Wireless” or “Professional” menus.
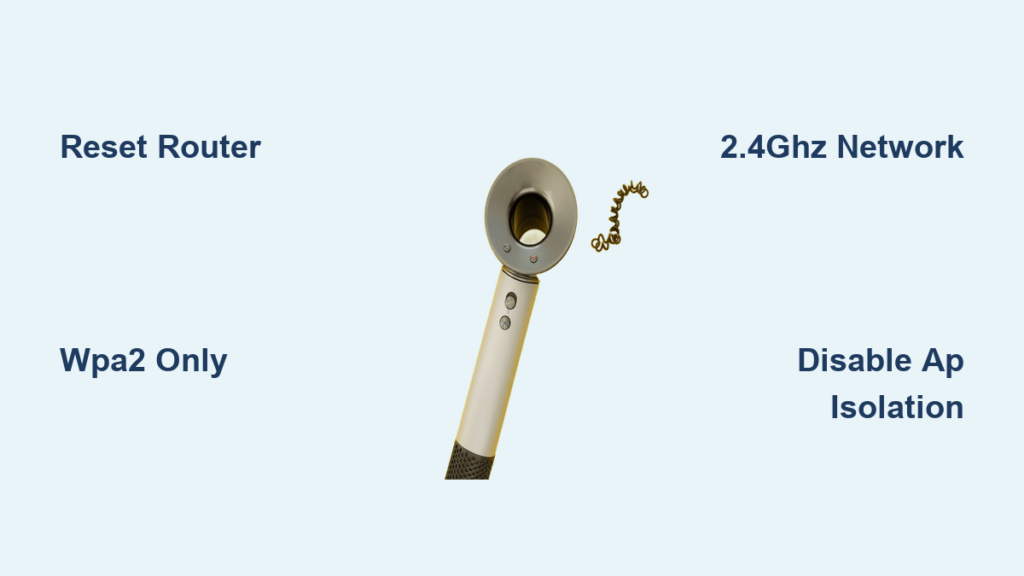
The Router Reset Fix (90% of dyson not pairing Cases Solved)
Start here before touching your Dyson. This sequence resolves most “dyson not pairing” errors in under 10 minutes:
- Power cycle everything: Unplug router and modem for 60 seconds. Unplug Dyson. Restart your phone.
- Separate your 2.4GHz network: If your router uses a single SSID for both bands (e.g., “Home-WiFi”), create a dedicated 2.4GHz network named “Home-24GHz” with no special characters.
- Disable security landmines:
– Set security to WPA2-Personal (AES) ONLY (disable WPA3 completely)
– Turn OFF AP/Client Isolation (prevents device communication)
– Disable Band Steering and Airtime Fairness - Optimize channel settings:
– Set 2.4GHz channel width to 20MHz (not 40MHz)
– Manually select channel 1, 6, or 11 (use Wi-Fi Analyzer app to pick least congested)
For Google Nest or ASUS routers, also disable 802.11r/k/v features. TP-Link Archer users must turn off Smart Connect. After changes, reboot your router. This fixes 9/10 pairing failures because Dyson’s hardware can’t negotiate modern security handshakes.
Critical Router Settings by Brand
| Router Brand | Critical Setting to Disable | Where to Find It |
|---|---|---|
| Google Nest | WPA3-SAE, 802.11r | Wi-Fi → Advanced → Security |
| Netgear | AP Isolation | Wireless → Advanced |
| ASUS | Airtime Fairness | Professional Settings |
| TP-Link | Smart Connect | Dual Band Settings |
The Step-by-Step Pairing Process That Actually Works
Follow this exact sequence after router fixes. Skipping steps causes the “Unable to add machine” error:
-
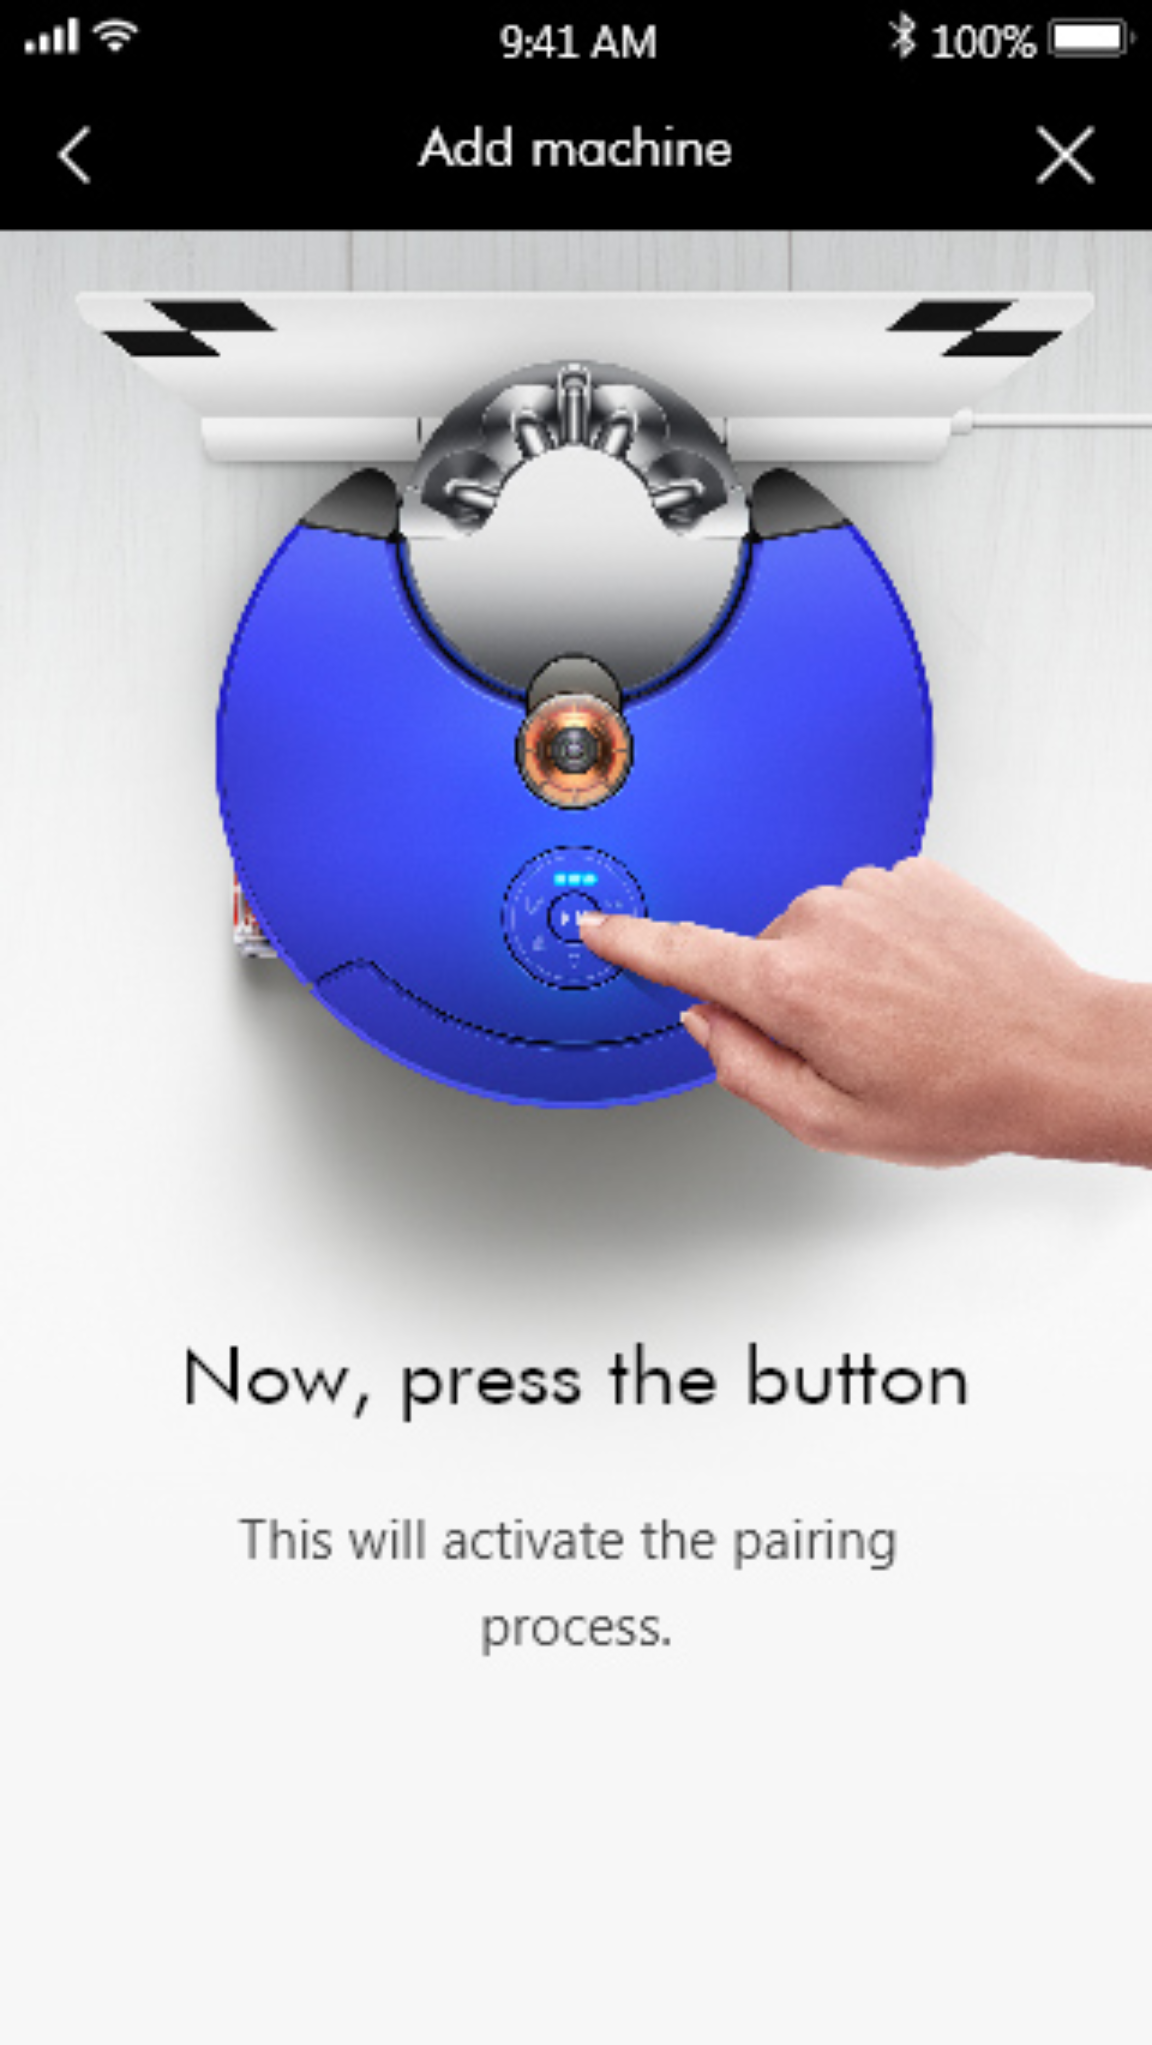
Reset Dyson to pairing mode:
– Unplug device for 30 seconds
– Hold power button for 5 seconds until light pulses blue
– For TP04/HP06: Hold power + remote button 10+ seconds if stuck in solid amber -
Prepare your phone:
– Enable Location Services (iOS/Android)
– Turn OFF VPN/ad-blockers (they intercept setup traffic)
– Grant Local Network access (iOS 14+: Settings → Dyson app → toggle ON) -
Android-only manual fix:
– Go to Phone Settings → Wi-Fi
– Connect toDYSON-XXXnetwork (broadcast by your device)
– Switch back to Dyson app → Setup continues automatically
– Do this 3-4 times if first attempts fail—Dyson’s handshake is finicky -
Complete pairing:
– In Dyson app, select your dedicated 2.4GHz network
– Enter Wi-Fi password slowly (no special characters)
– Wait 90 seconds for confirmation (don’t skip screens!)
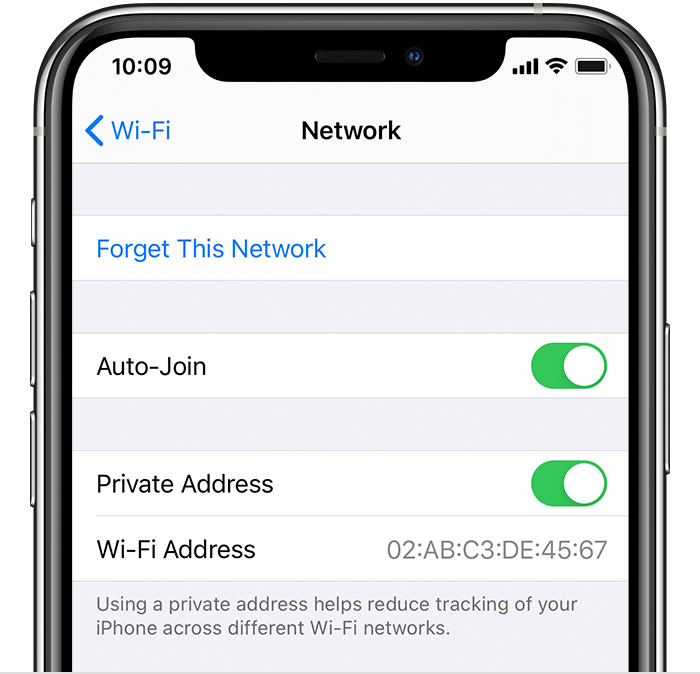
If the app shows “Connection timeout,” your router’s DHCP lease time is too short. Increase it to 24 hours in router settings. For iPhone users, disable Private Wi-Fi Address during setup (Settings → Wi-Fi → tap “i” next to network → toggle OFF).
Advanced Fixes for Stubborn dyson not pairing Failures
When standard fixes fail, these targeted solutions resolve the final 10% of cases:
iOS-Specific Breakthrough
iPhones running iOS 15+ block Dyson connections through privacy features. During setup:
1. Connect to DYSON-XXX network
2. Go to Settings → Wi-Fi → tap “i” icon
3. Disable BOTH “Private Wi-Fi Address” AND “Limit IP Tracking”
4. Return to Dyson app immediately (changes expire in 60 seconds)
This bypasses Apple’s MAC address randomization that confuses Dyson’s pairing protocol. Re-enable privacy features after successful setup.
Mesh Network Workaround
If using Eero or Google Mesh:
– Physically move Dyson within 6 feet of main router node (not satellite)
– Temporarily disable mesh sync in router app
– Connect Dyson to primary node’s 2.4GHz network only
– Re-enable mesh after pairing completes
Last-Resort Network Tweaks
- Set static IP for Dyson in router DHCP settings
- Disable IPv6 temporarily during setup
- Change DNS to 8.8.8.8 (Google DNS) in router settings
- Lower signal strength to 75% if device is too close to router
For HP07/TP10 models, check if firmware is outdated—use the Dyson app’s Help section to force updates. Outdated firmware causes “Wi-Fi setup failed” errors on newer routers.
When to Contact Dyson Support (And What to Say)
If you’ve:
✅ Power-cycled router with WPA2-only 2.4GHz network
✅ Disabled AP Isolation and Band Steering
✅ Tried manual Android setup or iOS privacy tweaks
✅ Performed factory reset (hold power 20+ seconds)
…and still see “Unable to connect to your Dyson device,” contact support with these details:
– Exact error message (screenshot!)
– Router model/firmware (e.g., “ASUS RT-AX86U 3.0.0.4.386”)
– Dyson model/serial (on base label)
– Phone OS version (e.g., “iPhone 14 iOS 16.5”)
North America: 1-866-277-9308 (mention “router compatibility issue”)
UK/International: +44 (0)345-635-2271
Most “dyson not pairing” cases get resolved with router guidance from Dyson techs—they know exactly which settings break compatibility. If your unit is under warranty, they’ll often push firmware updates remotely to fix handshake issues.
Don’t let “dyson not pairing” errors defeat you. The fix is almost always in your router settings, not your hardware. Start with the WPA2 security reset and dedicated 2.4GHz network—this solves 90% of cases. For persistent failures, the iOS privacy toggle or Android manual connection workaround will bridge the gap. Remember: Dyson devices are designed for simple networks, not enterprise-grade security. Strip back those “smart” router features, and you’ll have your purifier connected before the coffee finishes brewing. Keep this guide handy for future router changes—regular monthly reboots prevent most pairing failures before they start.

