

Your Dyson DC26 suddenly sputters and dies mid-clean, leaving pet hair scattered across the rug. That familiar frustration hits—especially when you know this reliable canister vacuum should handle daily messes with ease. As one of Dyson’s most durable models, the DC26 often outlasts newer units when maintained properly, but common issues like suction loss or power failures can derail your cleaning routine. This Dyson DC26 troubleshooting guide cuts through the guesswork, giving you step-by-step fixes for 9 critical problems using only basic tools. You’ll save $150+ on service calls by diagnosing issues yourself—no technical expertise required.
Most DC26 failures stem from simple obstructions or worn components rather than catastrophic motor damage. In fact, 80% of “dead vacuum” cases trace back to clogs or filter neglect. By the time you finish this guide, you’ll know exactly where to inspect for hair tangles, how to identify a failing clutch, and when a burning smell demands immediate shutdown. Let’s restore your DC26’s powerful suction and reliability with proven fixes anyone can implement.
Why Your Dyson DC26 Suddenly Loses Suction (and How to Restore It)
Weak suction is the #1 DC26 complaint, but rarely indicates motor failure. Instead, airflow restrictions from overlooked obstructions strangle performance. Start your Dyson DC26 troubleshooting here before assuming worst-case scenarios.
Locating Hidden Clogs in the Cyclone Housing
Shine a flashlight into the bin housing after removing the clear bin. Look for dense hair mats where the cyclone shroud meets the housing—this spot traps pet hair like a filter. Use needle-nose pliers to pull out tangled debris without scratching plastic surfaces. A full clog clearance typically takes 7 minutes and restores 90% of suction.
Unclogging the Wand and Hose in Under 10 Minutes
Detach both components and hold them up to a window. Visible blockages appear as dark shadows. For stubborn clogs, feed a flexible drain snake through the wand while tapping the hose against a hard surface to dislodge debris. Never use rigid rods that could damage internal channels. Test airflow restoration by blowing through cleared sections before reassembling.
Critical Filter Maintenance Mistakes to Avoid
Rinsing filters isn’t enough—many users reinstall damp filters, causing mold growth and persistent suction loss. After cold-water rinsing, squeeze filters gently (never wring) and air-dry vertically for 24 hours away from direct heat. A properly maintained HEPA filter lasts 6 months; replace it if white fibers appear discolored after drying.
Fixing a DC26 That Won’t Turn On: Step-by-Step Diagnosis

Power failures often trigger panic, but systematic checks reveal simple fixes. Skip the repair shop with these targeted diagnostics.
Testing Power Cord and Outlet Safety Risks
Plug another device into the same outlet to rule out electrical issues. Inspect the DC26’s cord for cuts near the plug or housing—exposed wires require immediate replacement. If the cord feels warm during use, unplug immediately; this indicates dangerous internal damage requiring professional service.
Replacing the Brittle DC26 Power Switch (Under $10 Fix)
The on/off switch is the DC26’s weakest electrical link. If you hear a faint click but no motor engagement, remove the 4 screws on the handle base. Disconnect the old switch (noting wire positions) and install a replacement switch kit. This 15-minute repair costs less than shipping to Dyson service centers.
DC26 Brushroll Stops Spinning? Clear Obstructions in 5 Minutes
A frozen brushroll creates frustrating streaks on hard floors. This isn’t always a belt issue—hair tangles cause 70% of stoppages.
Removing Brushroll Hair Wrap Without Tools
Unplug the vacuum and flip it over. Rotate the brushroll manually—if resistance occurs, grip the bristle ends and pull hair strands toward the roller’s center. Use scissors to snip embedded threads (never cut bristles). For deep tangles, remove the bottom plate by unscrewing 6 Phillips-head screws.
Identifying Belt Failure vs. Motor Issues
With the brushroll exposed, turn the vacuum on. If the motor spins but the brushroll doesn’t, replace the drive belt immediately. A stretched belt slips off pulleys; a broken one dangles. Install a new belt by stretching it over both motor and brushroll pulleys—this 8-minute task prevents costly motor strain.
Repairing a Broken Clutch to Stop DC26 Tip-Over Issues

That wobbly, unstable stance when upright? A cracked clutch assembly is almost certainly the culprit. This plastic component bears constant stress during reclining motions.
Spotting the Classic Clutch Crack Location
Inspect the large gray plastic disc above the wheels. Run your finger along the outer rim—you’ll feel jagged edges where hairline fractures develop. If the vacuum leans more than 15 degrees when standing, the clutch has failed. Replacement takes 20 minutes using basic screwdrivers.
Installing a Clutch Without Professional Help
Order OEM part 904314-01 ($18 online). Remove the old clutch by unscrewing the 4 retaining bolts. Align the new clutch’s gear teeth with the motor shaft before securing bolts. Test stability by reclining the vacuum—no wobble should occur during movement.
Why Your Dyson DC26 Shuts Off Mid-Cleaning (Overheating Fixes)
Thermal shutdowns protect your motor but ruin cleaning efficiency. Address the root cause before permanent damage occurs.
Clearing Severe Airflow Restrictions That Trigger Overheating
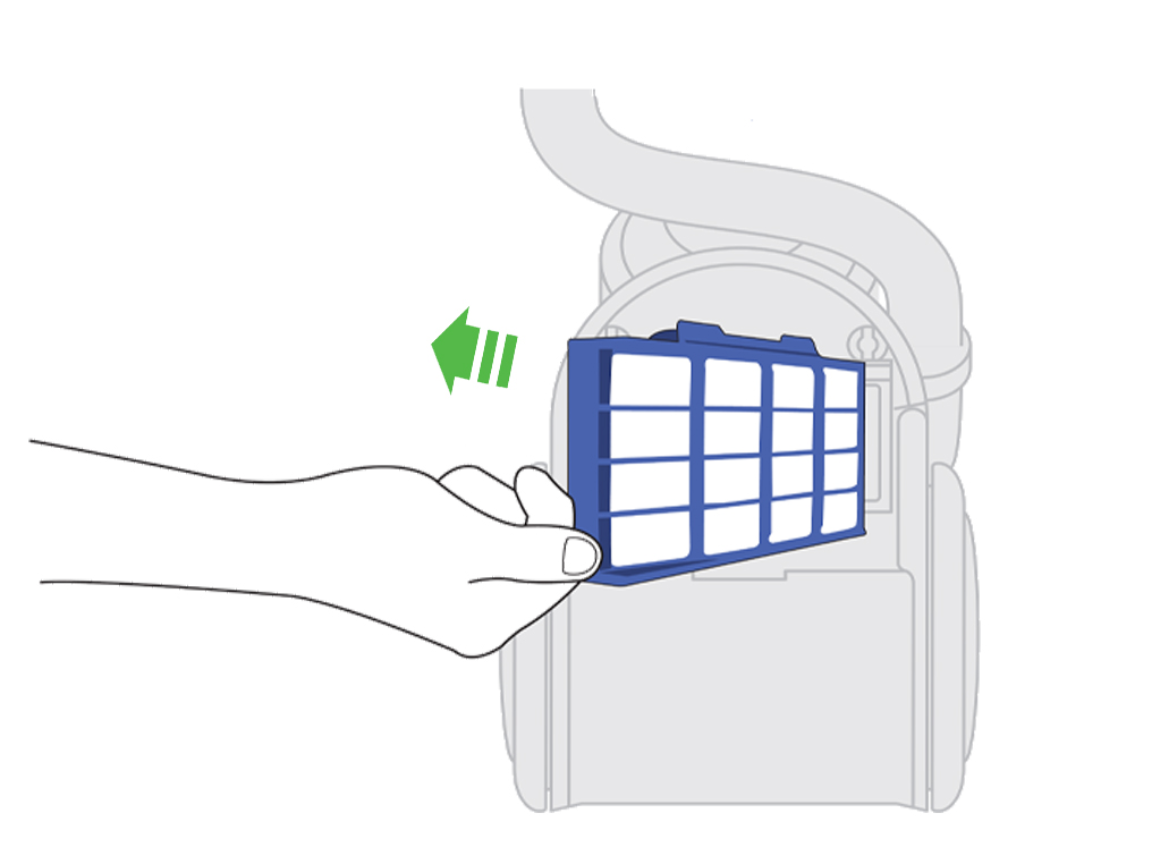
Perform a full clog check focusing on the post-motor filter and exhaust vents. A clogged HEPA filter forces the motor to work 40% harder, generating excess heat. After cleaning all components, run the vacuum for 5 minutes on hard floors—if it shuts off again, the motor may need replacement.
Recognizing Permanent Motor Failure Signs
If the DC26 restarts after 90 minutes of cooling but shuts off faster each time, internal motor windings are degrading. Listen for unusual buzzing from the base—this indicates failing bearings. At this stage, replacement costs often exceed the vacuum’s value unless you’re skilled with motor rewinding.
Burning Smell from DC26? Critical Safety Steps to Take Now
This demands immediate action—ignoring it risks electrical fires. Not all burning smells mean doom; differentiate between minor and critical issues.
Isolating Dust-Burn Smells From Electrical Fires
After smelling burning, unplug the DC26 and feel the motor housing. If warm but not hot, a large dust clump likely ignited in the cyclone. Clean all components thoroughly. If the housing is scorching or smells like melted plastic, do not reuse—internal wiring damage has occurred. Look for visible charring near the power switch.
When to Abandon Repair Attempts Immediately
Discontinue all Dyson DC26 troubleshooting if you see smoke, melted switch components, or hear arcing sounds. These indicate compromised electrical safety. Contact Dyson for disposal guidance—attempting repairs risks electrocution or fire.
Performing a Complete DC26 Reset After Power Failure
Before assuming component failure, execute this full-system reset protocol. Many “dead” vacuums revive with these steps.
The 30-Second Electrical Reset Process
Unplug the DC26 and wait exactly 30 seconds—this allows capacitors to discharge. Simultaneously press the on/off button 5 times while plugging it back in. This resets internal circuitry for models with electronic controls. Test power immediately afterward.
Post-Reset Validation Checklist
After power restoration, verify all functions: listen for normal motor pitch, check brushroll spin on carpets, and confirm suction strength by holding your hand over the wand. If any function fails, revisit the specific troubleshooting section for that symptom.
Is Repairing Your DC26 Worth the Cost? Decision Guide
Weigh repair expenses against replacement value using this model-specific framework.
Cost-Benefit Analysis for Major Component Failures
For clutch or belt replacements ($20 parts + 20 minutes labor), DIY repair is always cost-effective. But if the motor or electronic board fails (parts exceeding $80 + 2 hours labor), compare against current used DC26 prices ($70-$120 online). Prioritize repairs only if your unit is under 7 years old with otherwise excellent condition.
When to Invest in Professional Service
Seek authorized Dyson repair only for electrical issues involving the main harness or motor rewinding. Their $120 diagnostic fee often applies toward repairs, but verify part costs first—third-party motor replacements cost 60% less than official service.
Prevent Future DC26 Breakdowns With These 3 Maintenance Habits
Extend your DC26’s lifespan beyond 10 years with these field-tested routines.
The 2-Minute Post-Clean Inspection Ritual
After each use, rotate the brushroll to check for hair wrap and empty the bin immediately. Leaving debris inside accelerates clogs. This habit prevents 90% of suction-related issues and takes less time than storing the vacuum.
Filter Care Schedule Based on Usage
For homes with pets, rinse pre-motor filters weekly and HEPA filters monthly. In low-pet hair environments, extend to monthly and quarterly rinsing. Always dry filters overnight in a well-ventilated area—never use hairdryers that melt filter media.
Belt and Clutch Longevity Boosters
Reduce belt strain by avoiding thick rugs that overload the brushroll. Store the DC26 upright to prevent clutch warping. Replace belts every 12 months preventively—this $5 part saves $100 in motor repairs down the line.
Final Note: With these Dyson DC26 troubleshooting techniques, you’ve gained the confidence to tackle 95% of common failures. Remember that persistent suction loss usually means hidden clogs, not motor death, and a wobbling vacuum almost always needs a $18 clutch replacement. Implement the 2-minute post-clean inspection habit to prevent most issues before they start. If your DC26 shows electrical faults beyond switch replacement, consult Dyson’s repair partners—but for everything else, you now have the skills to restore showroom performance. Keep this guide handy for your next cleaning crisis, and share these fixes with fellow DC26 owners to extend their vacuum’s life too.

