Your Dyson V7 suddenly losing suction on carpets? That frustrated tug when vacuuming pet hair? Nine times out of ten, a matted roller head is strangling your vacuum’s performance. When hair and debris wrap around the brush bar, it creates a physical barrier that blocks airflow and forces the motor to work twice as hard. I’ve seen perfectly good Dyson V7s discarded because owners didn’t realize this critical fix takes less time than brewing coffee. This guide delivers the exact method technicians use to restore peak suction—no special tools required. You’ll learn how to safely disentangle hair knots, spot hidden damage, and implement a 30-second weekly habit that prevents 90% of roller issues.
Essential Safety Steps Before Cleaning Your Dyson V7 Roller
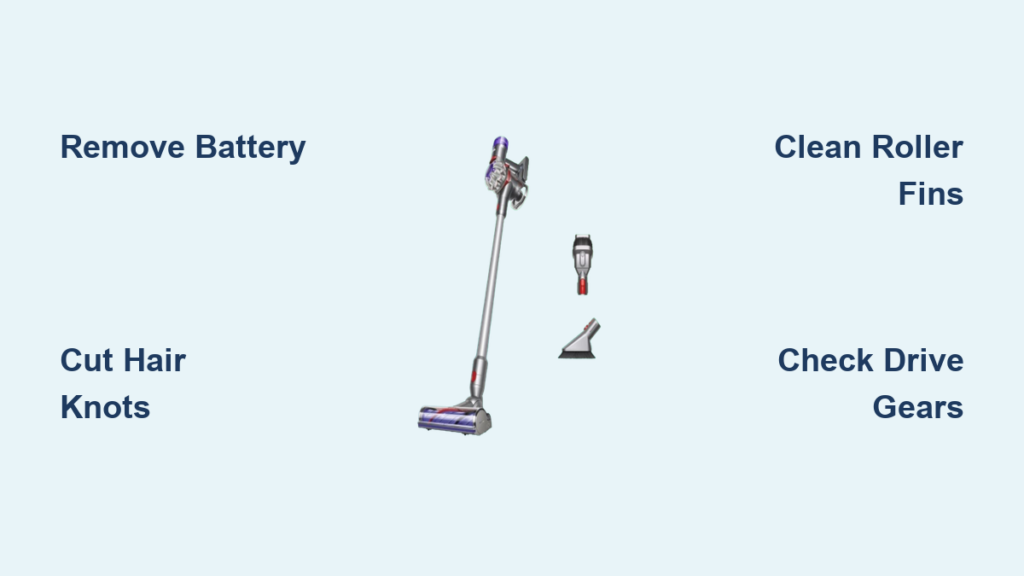
Skipping these precautions risks damaging your vacuum or injuring yourself. Always remove the battery pack before starting—this prevents accidental activation that could shear your fingers on spinning bristles. Unplug the charger first if recently docked. Lay your vacuum upside down on a non-slip surface like a rubber mat; never work over carpet where cut hair could re-enter the machine. You’ll need just three household items: a seam ripper (ideal for slicing hair without scratching), needle-nose tweezers for stubborn fibers, and a soft toothbrush for dust removal. Avoid knives or box cutters—they’re too aggressive and can nick the roller’s plastic housing, causing future jams. Pro tip: Do this cleaning over a trash can with a liner; you’ll be amazed how much hair accumulates.
Step-by-Step Roller Head Cleaning Process
Remove the Floor Head Without Triggering the Release Mechanism
Turn your Dyson V7 upside down and locate the release latch—a small red or black tab on the top center of the cleaner head. Press it firmly while simultaneously pulling the head away from the main body. If it sticks, wiggle gently side-to-side; forcing it can break the plastic clips. You should hear a distinct click when detached. Set the main vacuum aside with the battery still removed. Critical check: Verify the roller spins freely by hand—if it’s frozen solid, you’ve got severe entanglement requiring immediate attention.
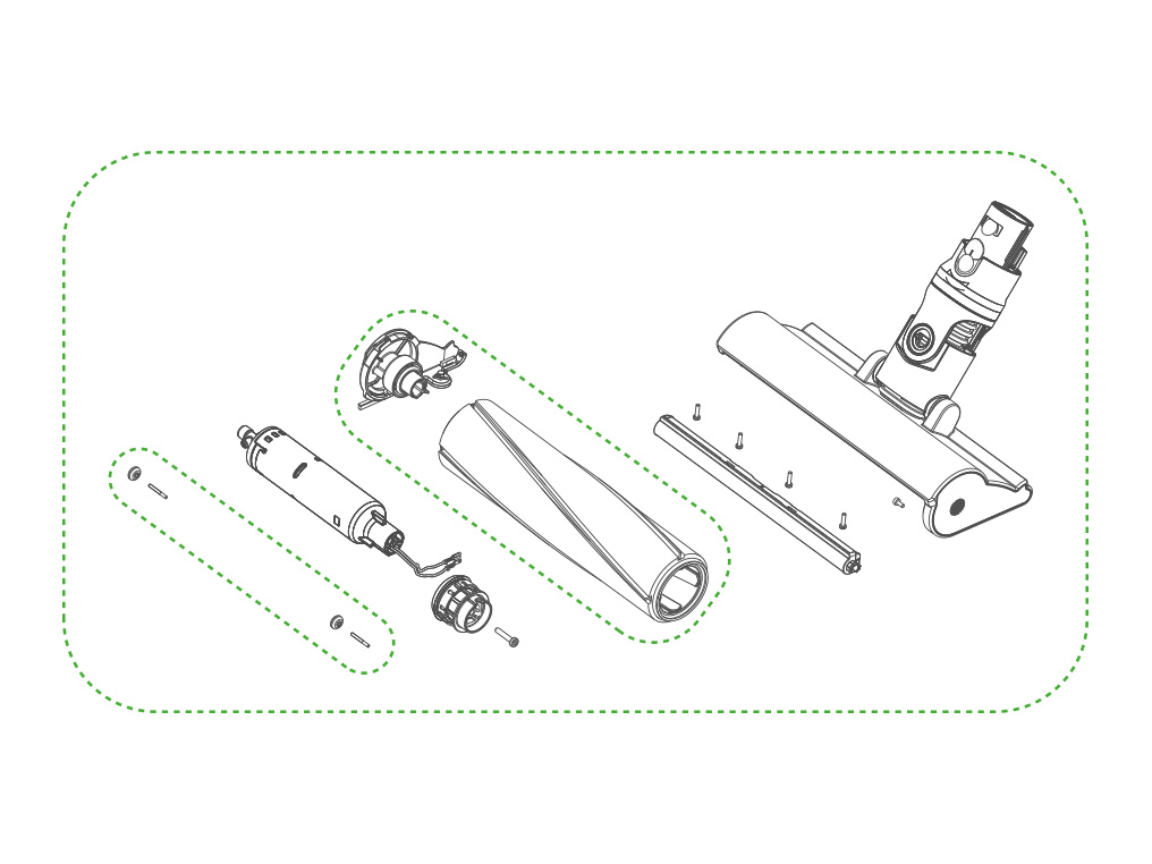
Extract the Brush Roller Using Red Clip Technique
Flip the cleaner head onto its side. Find the two red plastic clips securing the roller housing—they sit flush against the sides near the roller ends. Press both inward simultaneously with your thumbs (like squeezing a stress ball) until they click. Slide one end cap off completely—don’t force it if resistant; hair strands often bind the clips. Once removed, grasp the roller ends and pull straight out with even pressure. If it resists, rotate it slightly while pulling; tangled fibers create surprising tension. Warning: Never yank violently—this can dislodge internal bearings.
Cut Hair Debris Without Damaging Bristles or Housing
Place the roller on a cutting mat with bristles facing up. Insert the seam ripper’s curved tip under the hair mat near the roller’s end cap, slicing toward the center. Never cut toward yourself—always slice away from your body at a 45-degree angle. Work in 1-inch sections, pulling cut strands out with tweezers after each pass. Focus on the roller’s ends first—this is where hair anchors most stubbornly. For thick pet hair, use scissors to snip through dense clumps before tweezing out individual strands. Pro mistake to avoid: Cutting parallel to bristles instead of perpendicular; this shreds bristles and reduces cleaning efficiency.
Deep Clean Hidden Debris in Roller Fins
After removing bulk hair, inspect between the roller’s plastic fins with a flashlight. Use tweezers to extract embedded threads—these cause the high-pitched whine users report. Dip a toothbrush in rubbing alcohol and scrub the roller shaft (the metal rod inside) where it connects to the housing; built-up gunk here causes stiff spinning. Blow compressed air through the housing sockets to dislodge dust. Visual cue for success: When holding the roller up to light, you should see clear gaps between all fins with no shadowed areas.
Reassemble with Click-Confirmation Method
Slide the roller back into the housing until the metal shaft seats fully in both sockets. Press the end cap onto one side while rotating the roller—this aligns internal gears. Snap the red clips back into place with firm thumb pressure until they click twice. Test spin the roller with your finger; it should rotate silently for 3+ full revolutions. If it catches, disassemble and check for stray hairs in the axle sockets. Finally, reattach the floor head to the main vacuum until you hear two solid clicks—this ensures proper electrical contact for motorized operation.
Fix These 3 Common Roller Head Failures After Cleaning
Roller Spins Freely by Hand But Not When Powered On
This frustrating issue usually means hair debris remains in the drive mechanism. Remove the roller again and inspect the small plastic drive gears inside the housing—often hidden under a rubber flap near the red clips. Use tweezers to pull out hair wedged in gear teeth. If gears appear stripped (smooth instead of toothed), your roller needs replacement. Time-saver: Shine a phone flashlight into the housing while pressing the power button; if gears turn but roller doesn’t, the drive belt is broken.
Suction Remains Weak Despite Clean Roller
Check the airway behind the roller housing—a clogged filter often gets blamed on the roller. Remove the clear bin and inspect the cyclone assembly for hair buildup. If suction improves when using handheld mode without the floor head, the blockage is in the cleaner head’s air channel. Use a bent paperclip to clear the small hole where the roller housing connects to the main body. Pro insight: Dyson’s V7 airway has a 90-degree turn right after the roller—this is the #1 clog spot for carpet fibers.
Grinding Noise Persists After Thorough Cleaning
This indicates internal damage. Remove the roller and spin it while listening closely—gritty sounds mean failed bearings. Inspect the metal shaft for bends; even slight warping causes scraping. If the housing sockets feel rough when inserting the shaft, sand them lightly with 2000-grit paper. For severe grinding, replacement is cheaper than repair—genuine rollers cost $28-$45 online. Urgent note: Continuing to use a grinding roller can melt the housing plastic within 10 minutes of operation.
Prevent Roller Clogs With These Pro Maintenance Habits
The 30-Second Post-Vacuum Check: After cleaning pet areas or long-haired households, detach the floor head and run your fingers along the roller ends. Pull out visible hair before it works inward—this prevents 80% of major jams. Do this while the vacuum cools down; it becomes automatic with practice.
Monthly Deep Maintenance Protocol: Once monthly, remove the roller and soak it in warm soapy water for 10 minutes (never submerge electronics!). Scrub with an old toothbrush, then dry completely for 24 hours before reassembly. This dissolves sticky residue from tracked-in lotions or pet dander that attracts hair.
Replacement Timing Guide: Replace rollers when bristles lose 30%+ of their original length (typically 12-18 months with pets). Worn bristles can’t agitate carpets properly, reducing pickup by 40%. Genuine Dyson rollers have model-specific part numbers—check the sticker inside your current roller housing before ordering.
When Professional Repair Beats DIY Cleaning

Stop disassembling if you see these red flags: Visible cracks in the roller housing (especially near red clips), melted plastic around the motor chamber, or a burnt electrical smell. These indicate overheating that requires component replacement. If the roller spins but the vacuum displays “Check filter” errors immediately, internal sensors are damaged—this needs factory recalibration. Cost reality check: Professional repair costs ($75+) often exceed a new roller ($35), but beats $200 for a new vacuum head. Always get part numbers from Dyson support before ordering replacements.
After reassembly, test your fix by vacuuming a mix of rice and pet hair on hardwood. A properly cleaned roller will pick up every grain without scattering debris. You should hear a smooth, low-pitched hum—not the strained whine of a clogged system. Implement the 30-second end-of-session check, and your Dyson V7 will maintain factory-level suction for years. Remember: Roller maintenance isn’t optional upkeep—it’s the single biggest factor in extending your vacuum’s lifespan. For immediate clog relief, repeat this cleaning monthly; for long-term health, inspect after every pet-hair session. Your floors (and your Dyson’s motor) will thank you.

