Your Dyson vacuum suddenly dies mid-clean, the battery indicator flashes erratically, or it won’t hold a charge beyond a few minutes. If you’ve confirmed the issue is your battery—not the charger or motor—you’re facing a critical decision: replace the entire vacuum or tackle the how to install a Dyson battery process yourself. Good news: With the right approach, swapping your Dyson battery takes under 30 minutes and costs a fraction of professional service. This guide cuts through the confusion, delivering precise, model-agnostic instructions verified across popular Dyson cordless models like the V7, V8, V10, and V11. You’ll learn exactly how to access, disconnect, and secure a replacement battery while avoiding costly mistakes that could damage your vacuum.
Most users delay battery replacement until their Dyson becomes unusable, not realizing degraded batteries strain motors and reduce suction. Lithium-ion packs typically last 2-4 years, but improper storage or charging accelerates failure. When you commit to how to install a Dyson battery correctly, you restore 100% runtime and prevent secondary damage to your vacuum’s electronics. This isn’t just about swapping components—it’s rescuing your investment. By the end of this guide, you’ll confidently handle every phase: from identifying compatible replacements to calibrating your new battery for maximum lifespan. No technical expertise needed—just patience and attention to detail.
Essential Tools for Installing a Dyson Battery
Before touching any screws, gather these non-negotiable items to avoid mid-repair frustration. Using incorrect tools risks stripping screws or puncturing the lithium-ion pack—a serious fire hazard. Start with a precision screwdriver set featuring Phillips #0 and #1 bits; Dyson’s security Torx screws (common on V8-V15 models) require a TR6 or TR8 bit. Never substitute with standard screwdrivers—Dyson’s micro-screws shear easily under improper torque. You’ll also need a plastic spudger or guitar pick for prying; metal tools can short-circuit battery terminals. Crucially, verify your replacement battery model number matches your vacuum (e.g., SV05 for V7, SV15 for V11). Generic “compatible” batteries often lack Dyson’s voltage regulation, causing error codes or overheating.
Safety isn’t optional here. Work on a non-static surface like a wooden table—never carpet. Power down your vacuum completely and drain residual charge by holding the trigger until it dies. If your battery is swollen or leaking, stop immediately: wrap it in sand inside a metal container and contact Dyson support. For standard replacements, lay your vacuum on a microfiber cloth to prevent casing scratches during disassembly. Keep screws organized in a magnetic tray; losing even one prevents proper reassembly. Finally, photograph your vacuum’s screw layout before removal—this “digital blueprint” prevents mismatched placements during reassembly.
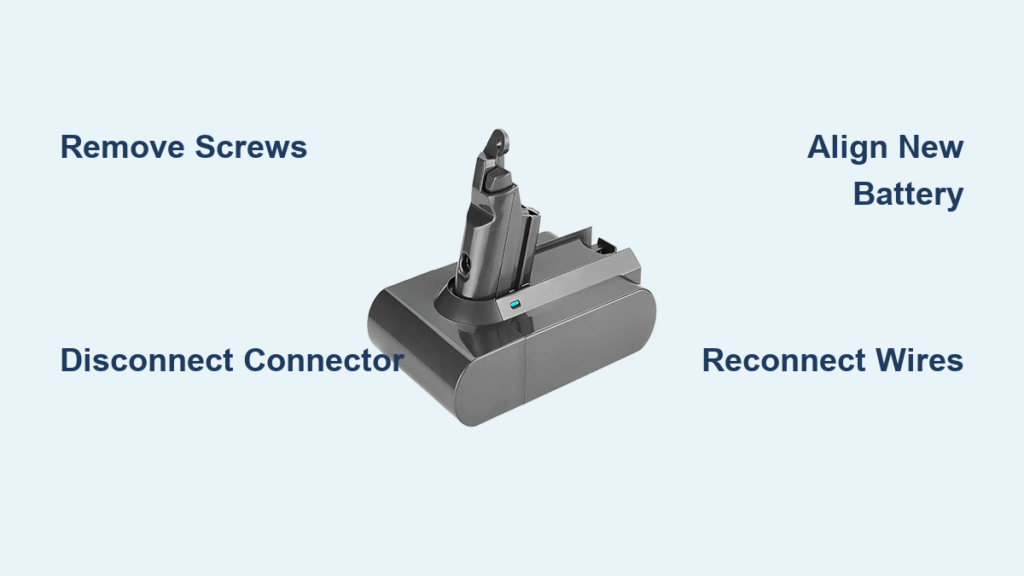
How to Remove the Old Dyson Battery Pack
Locate your battery compartment by checking where the handle meets the main body—on V7-V11 models, it’s typically secured beneath a latch near the trigger. Older models like the DC59 have rear-mounted packs. Place your vacuum upside-down on its brush bar to stabilize it. Using your precision screwdriver, carefully remove all visible screws (usually 2-4). If screws resist, apply gentle counter-pressure to the vacuum body to prevent casing flex. Never force screws—stripped heads complicate reassembly and may require epoxy repair. Once loose, collect each screw into your magnetic tray labeled by position (e.g., “top-left,” “bottom-right”).
Now separate the battery housing. Insert your plastic spudger into the seam between the battery and main body, starting at the latch release point. Apply steady, downward pressure while sliding the tool around the perimeter to release internal clips. You’ll hear distinct clicks as clips disengage. If resistance occurs, reposition your spudger—yanking cracks plastic housings. For stuck compartments, warm the seam with a hairdryer on low for 30 seconds to soften adhesive. Once separated, support the battery pack with your non-dominant hand to avoid stressing wire connections. Set the main body aside and focus solely on the detached battery assembly.
Safely Disconnecting the Faulty Battery Connector

With the battery pack isolated, identify the wiring harness connecting it to your vacuum’s mainboard. This multi-pin connector (usually white or black) sits near the pack’s base and carries high-current flow. Critical warning: Never pull wires directly—this severs solder joints and requires micro-soldering repairs. Instead, grip the connector’s plastic housing firmly between thumb and forefinger. If a retention clip secures it (common on V10+ models), depress the small tab downward with a toothpick before wiggling free. For friction-fit connectors, rock the housing side-to-side while applying even backward pressure until it releases.
Before disconnecting, photograph the connector’s orientation—pins must align perfectly during reinstallation. Note any color-coded wires (e.g., red for positive) as backup reference. If corrosion appears on terminals (rare but serious), gently clean with 90% isopropyl alcohol and a toothbrush. Check wires for fraying near the connector; damaged insulation risks short circuits. If you spot exposed copper, halt the process—replacing wiring requires professional help. Once disconnected, immediately tape the exposed connector pins with electrical tape to prevent accidental contact. Set the old battery aside in a fireproof container until proper disposal.
Installing Your New Dyson Replacement Battery
Align your replacement battery with the housing cavity, ensuring the connector port faces the mainboard slot. Dyson packs have asymmetric shapes—forcing misaligned units cracks internal cells. Verify model compatibility by matching the label (e.g., “SV15” for V11) to your vacuum’s requirements. Gently press the new pack into place until internal clips engage with soft clicks. Listen for these—partial seating causes error codes during testing. If resistance occurs, recheck orientation; never hammer or clamp the battery.
Secure the housing with your collected screws, but avoid overtightening. Apply just enough pressure until screws seat flush—typically 1/8 turn past finger-tight. Over-torquing strips threads in Dyson’s lightweight plastic casings. Start with diagonal screws (e.g., top-left then bottom-right) to distribute pressure evenly. Test housing stability by lightly twisting the pack; it should feel rigid with zero wiggle. If screws won’t thread, back them out and realign—cross-threading requires replacement parts. Once secured, reconnect the wiring harness by aligning pins precisely and pressing straight in until fully seated. A distinct snap confirms proper connection; wobbling indicates misalignment.
Reconnecting Wires and Final Assembly

Reattach the battery assembly to your vacuum body by reversing the disassembly process. Position the pack so internal latches align with the main body’s slots. Apply firm, even pressure along the entire seam—don’t focus force on one spot—to engage all clips. Listen for sequential clicks; missing one creates a gap that triggers “fault” errors. If the housing doesn’t sit flush, disengage and reposition—forcing it cracks latches. Reinstall screws using your labeled magnetic tray, matching original positions. Tighten incrementally in a star pattern (e.g., top-left → bottom-right → top-right → bottom-left) to prevent casing warping.
Before final checks, inspect for three critical issues: 1) No pinched wires between housing halves, 2) All screws seated without protruding into internal components, and 3) Battery connector fully mated with no visible gaps. Power on your vacuum briefly—if lights flash abnormally, power off immediately and recheck connections. A successful initial boot shows steady battery indicator lights. For final validation, place your vacuum on the charger; the indicator should glow solid amber during charging. If it blinks or stays off, disconnect power and verify the connector click. Only after confirming stable charging proceed to calibration.
Charging and Calibrating Your New Dyson Battery
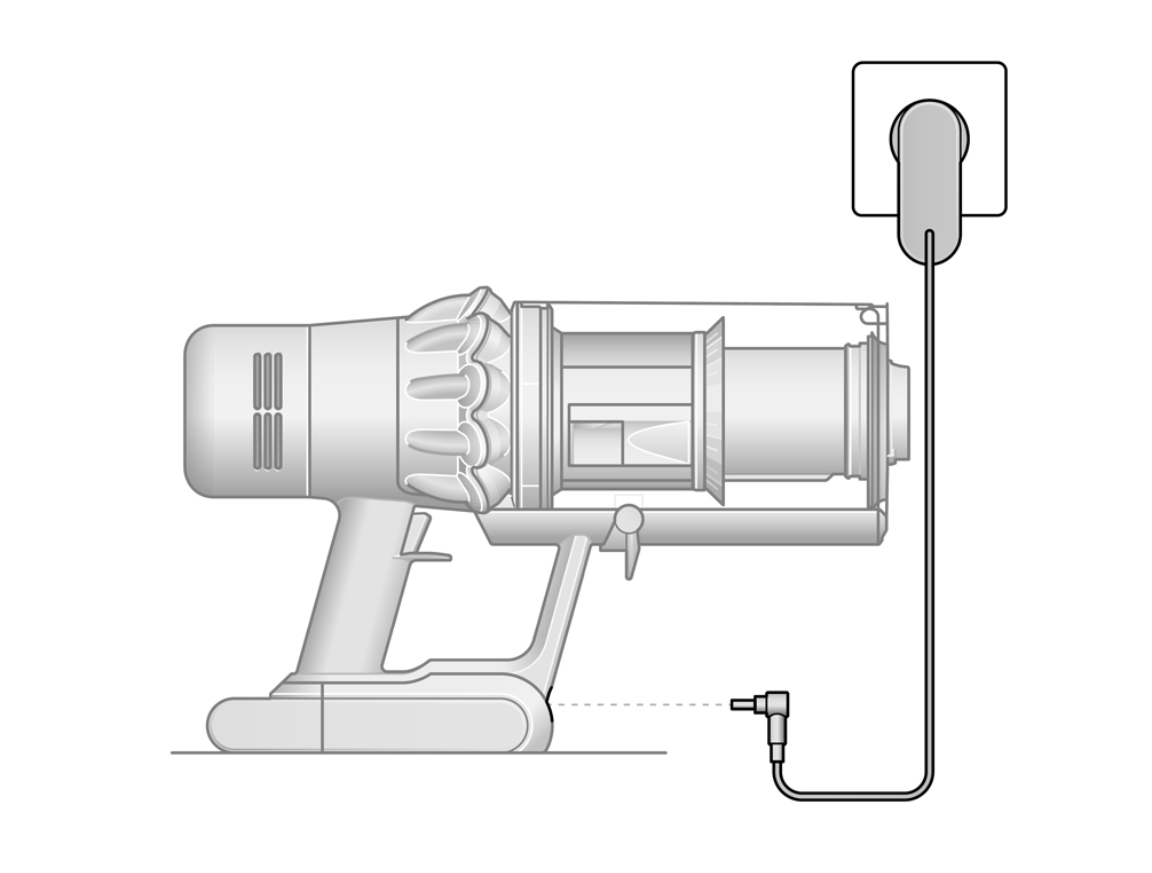
Plug your vacuum into its original Dyson charger—third-party chargers often deliver incorrect voltage, damaging new batteries. During the first charge cycle, do not interrupt the process; partial charging confuses the battery management system. Allow 3.5 hours for a full charge (until the indicator turns solid green). Now perform critical calibration: Run the vacuum continuously on max power until it auto-shuts down from low battery. This “deep discharge” resets the capacity gauge, ensuring accurate runtime estimates. Skipping this step causes premature “low battery” warnings.
For optimal longevity, avoid these post-installation mistakes: 1) Storing the vacuum at full charge (ideal is 40-60% for long periods), 2) Using max suction daily (accelerates cell degradation), and 3) Leaving it on the charger after 100% (trickle charging stresses cells). After calibration, your runtime should match original specs—typically 40-60 minutes depending on model. If performance lags, repeat the charge/discharge cycle once; residual calibration data sometimes requires two full cycles.
Troubleshooting Post-Installation Issues
Why won’t my Dyson power on after battery replacement?
Double-check the main connector seating—90% of “dead” vacuums have loose connections. Remove the battery pack and reseat the harness with firm, straight pressure. Verify no screws are over-tightened, pressing against internal components. If still unresponsive, test with the old battery (if functional); if it works, your replacement may be defective.
Why does my Dyson show error lights after installation?
Flashing red/blue lights typically indicate misaligned connectors. Power off, disconnect/reconnect the battery harness, and ensure it clicks fully. For model-specific codes (e.g., V11’s “12 flashes”), consult Dyson’s manual—some require resetting the mainboard by holding the trigger for 10 seconds.
Why isn’t my new Dyson battery holding a charge?
First, confirm you used genuine Dyson packaging—counterfeit batteries lack proper circuitry. If authentic, perform two full charge/discharge cycles to reset calibration. Persistent issues suggest a faulty charger; test with another Dyson-compatible unit if available.
Essential Safety & Maintenance Tips
Why Genuine Dyson Batteries Are Non-Negotiable
Third-party batteries often omit critical safety features like overcharge protection and thermal fuses. In 2022, the CPSC reported 127 incidents of counterfeit Dyson batteries overheating—always verify holographic security labels and model-specific part numbers. Genuine packs undergo 200+ safety tests; knockoffs risk fire or permanent vacuum damage.
How to Store Your Dyson Battery for Maximum Lifespan
Store at 50% charge in a cool, dry place (15-25°C). Never leave it in a car during summer—temperatures above 60°C permanently reduce capacity. For storage beyond 30 days, top up to 50% monthly; lithium-ion degrades rapidly at 0% charge.
Proper Disposal Steps for Old Dyson Batteries
Lithium-ion batteries can’t go in household trash. Wrap terminals in tape, place in a sealed plastic bag, and take to Best Buy, Home Depot, or Call2Recycle drop-off points. Dyson offers free recycling at service centers—never puncture or incinerate packs.
Restoring Full Power: Why DIY Battery Replacement Pays Off
Installing a Dyson battery yourself isn’t just cost-effective—it builds confidence in maintaining your $400+ investment. By following these precise steps, you’ve bypassed $150+ service fees and extended your vacuum’s life by years. Remember: Genuine parts, careful connector handling, and full calibration are non-negotiable for success. If you encountered resistance during disassembly, note screw positions for future reference—subsequent replacements will take half the time. Now that your Dyson runs like new, implement monthly maintenance: Clean filter ports with a toothbrush, store at partial charge, and avoid max suction for routine cleans. For persistent issues, Dyson’s live chat support offers free diagnostics before repair commitments. Share your success—thousands of users restore their vacuums yearly using this exact method. Your cleaner floors and wallet will thank you.

