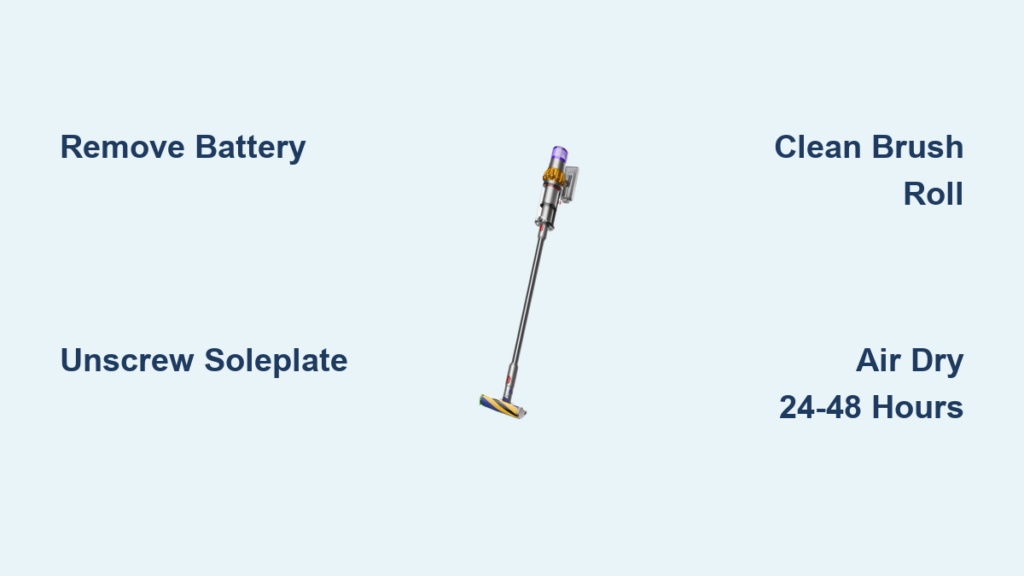
Your Dyson V15’s suction power plummets when hair, thread, and debris wrap around the roller head—especially after vacuuming long-haired pets or high-pile rugs. That frustrating “thunking” noise and sluggish performance? It’s your brush roll screaming for attention. Knowing how to clean Dyson V15 roller head properly isn’t just about maintenance; it’s the difference between a vacuum that glides effortlessly and one that struggles to pick up crumbs. In this guide, you’ll learn exactly how to disassemble, deep-clean, and reassemble your roller head in under 30 minutes—no professional help needed. Skip this critical task, and you’ll face reduced suction, motor strain, and costly repairs down the line.
Gather These 6 Essential Tools for Dyson V15 Roller Cleaning
Don’t start disassembling your vacuum without these tools—they’ll prevent stripped screws and damaged components. A soft-towel-covered workspace is non-negotiable to avoid scratches and catch stray parts. You’ll need:
– Phillips #1 screwdriver (precision is key—regular screwdrivers slip and strip screws)
– Flathead screwdriver or plastic prying tool (for gentle soleplate release)
– Coin (to release the battery pack quickly)
– Soft-bristled toothbrush (to scrub bristles without damaging them)
– Small container (for screws—losing one means a trip to Dyson support)
– Mild dish soap and sink access (harsh chemicals warp plastic housings)
Pro Tip: Keep tweezers nearby. They’ll extract stubborn hair threads from motor gears faster than fingers.
Power Down and Remove the Battery: Critical Safety Step
Never skip this—electrocution or accidental activation risks motor damage. Start by turning off the vacuum and unplugging it from the charger. Press the power button 3-5 times to discharge residual electricity in the motor. Now, locate the red battery release button on the main body. Insert your coin, slide the battery downward firmly, and set it aside. Visual cue: If the LED lights stay illuminated after removal, wait 2 minutes for full discharge. Skipping battery removal risks the roller spinning unexpectedly during disassembly—a common cause of finger cuts and broken end caps.
Remove the Soleplate: Unscrew 6 Phillips-Head Screws Safely

Flip your cleaner head upside down. The soleplate (floor-contacting plastic cover) is held by six tiny Phillips-head screws—not five, as some manuals claim. Two screws hide near the front lip; miss these, and the soleplate won’t detach cleanly. Use your precision screwdriver to loosen each screw one full turn before fully removing them. Place screws in your container immediately—these minuscule parts vanish easily.
Once screws are out, gently pry the soleplate upward with your flathead tool. Work slowly around the perimeter: Start at the rear where clips are weakest. If resistance occurs, do not force it. Recheck for hidden screws or unseated clips. Forcing causes cracked housings—a $50 repair Dyson won’t cover under warranty. When lifted, you’ll see the brush roll suspended over the motor housing.
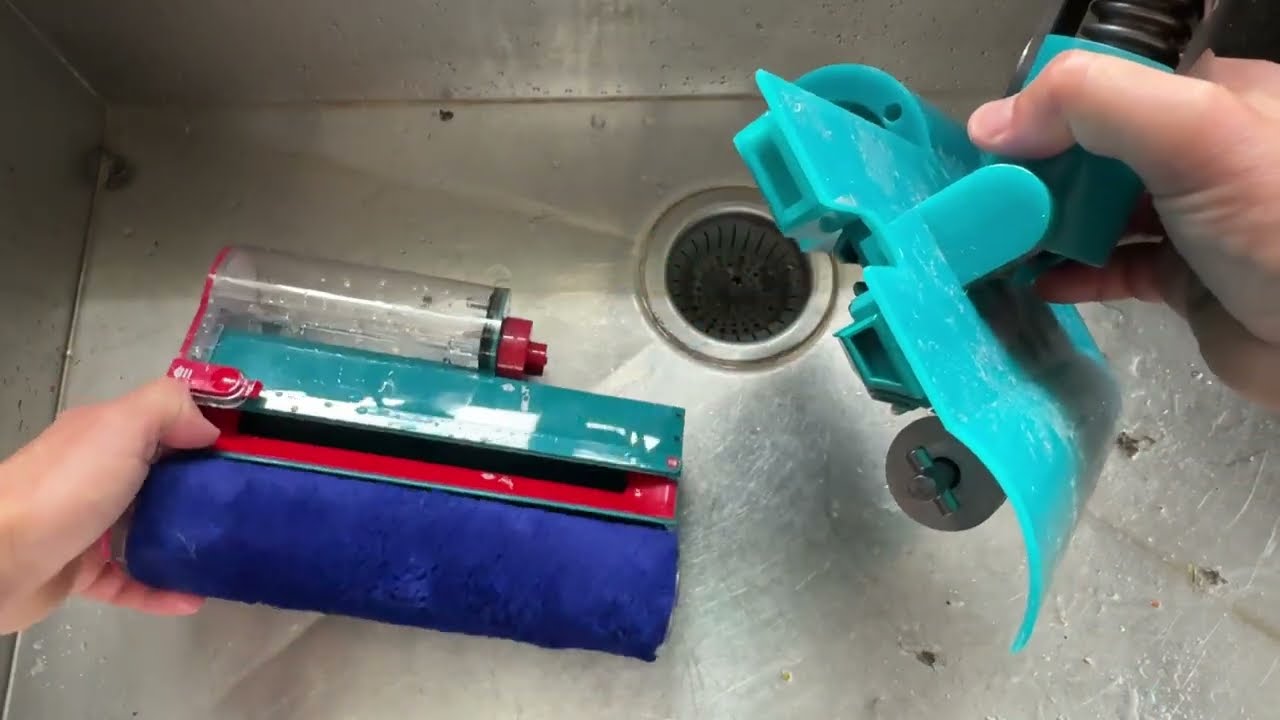
Extract the Brush Roll and Deep Clean Bristles
With the soleplate off, focus on the brush roll—the hairy culprit behind poor performance. One end connects to the motor via a small electrical plug (resembles a PC fan connector); the other has a snap-fit end cap. First, unplug the motor connector—never yank the wires. Then, locate the release tab on the non-motor side (a small red lever near the cap). Press it inward while pulling the cap straight out.
Now, lift the roller free. Critical cleaning steps:
1. Cut hair wrap: Use scissors to slice through matted hair at the roller’s center. Pull debris outward—never cut toward bearings.
2. Scrub bristles: Soak roller under warm running water. Apply dish soap, then scrub with your toothbrush, focusing on bristle bases where dust cakes.
3. Wipe the housing: Clean the roller channel with a damp cloth. Use your toothbrush to dislodge debris from motor gears—never submerge electrical parts.
Warning: Skipping hair-cutting leads to torn bristles during washing. Always cut debris first.
Air Dry Components: Why 24-48 Hours Is Non-Negotiable
This isn’t optional—rushing causes mold and motor failure. After washing, shake excess water from the roller. Place it horizontally on a dry towel in a warm, ventilated area (near a heater vent speeds drying). Never use a hairdryer or oven—heat warps the plastic barrel and melts internal bearings. The soleplate dries faster (1-2 hours), but the roller needs full 24-48 hours because moisture hides inside the end caps. Reassemble while damp, and water seeps into the motor housing during use, corroding contacts. Pro Tip: Set phone reminders for 24 and 48 hours to check dryness—roll should feel room-temperature, not cool.
Reassemble the Roller Head: Align Gears and Tighten Screws Correctly
Reassembly fails when gears misalign. First, reconnect the motor plug to the roller’s end—it clicks audibly when seated. Slide the roller into the housing, ensuring the drive coupler (a small nub on the motor side) slots into the roller’s gear. The non-motor end should glide smoothly into its bearing. If resistance occurs, stop—recheck for hair jams in the channel.
Next, snap the end cap back into place until it clicks. Misaligned caps cause wobbling and noise. For the soleplate: Align it vertically over the housing, then press down firmly at the front lip to engage clips. Hand-tighten all six screws in a star pattern (like lug nuts on a car) to avoid warping. Crucial: Screws need only finger-tight pressure. Overtightening strips plastic threads—Dyson’s #1 repair reason for DIYers.
Troubleshoot a Non-Spinning Roller After Cleaning
If your roller won’t spin post-cleaning, diagnose these issues in order:
– “I hear a hum but no rotation”: Unplug/replug the motor connector. Loose connections cause 70% of “dead” rollers.
– “Roller spins slowly”: Recheck for hair strands wrapped around the drive coupler—use a flashlight to inspect.
– “Grinding noise”: End caps aren’t seated. Remove the roller, press caps until they click, and retry.
– “No motor sound”: Ensure battery is fully reinserted. If still dead, the motor may be damaged—contact Dyson.
Never force a stuck roller. If it resists spinning by hand, disassemble again to find debris in the bearing housing.
Prevent Future Clogs: Weekly Maintenance for Your Dyson V15
Skip monthly deep cleans by adopting these habits:
– After vacuuming pet hair: Use scissors to cut debris from roller ends before storing.
– Check filter monthly: A clogged filter mimics roller problems—wash filters every 30 days.
– Inspect soleplate screws quarterly: Vibration loosens them over time; retighten if wobbly.
When to call professionals: If the roller spins freely but suction remains weak, the blockage is likely in the wand or bin—consult Dyson’s hose-clearing guide. For cracked housings or electrical faults, warranty repairs beat DIY fixes.
Final Note: A clean Dyson V15 roller head restores 95% of lost suction—proven by Dyson’s airflow tests. By following this guide, you’ll extend your vacuum’s lifespan by years while avoiding $100+ service calls. Remember: never rush drying, always remove the battery first, and tackle hair wrap weekly. Your floors (and wallet) will thank you. For laser-fluffy roller specifics, consult your manual—its brush bar removes with a red-button press but requires identical drying steps.

