Is your Dyson vacuum suddenly making grinding noises or leaving dust bunnies behind? Chances are, a hair-clogged brush bar is strangling your suction. This common issue hits 78% of Dyson owners within the first year, but the fix takes just 30 minutes with basic household tools. When you learn how to clean Dyson bottom components properly, you’ll restore factory-level suction and prevent costly motor damage. In this guide, you’ll discover exactly how to dismantle, deep-clean, and reassemble your vacuum’s undercarriage—no technician needed. We’ll cover model-specific screw removal tricks, hair-tangle dissolution techniques, and critical drying steps most guides skip.
Why Your Dyson Bottom Clogs Within Weeks of Purchase
Dyson’s powerful suction becomes its own enemy when strands of hair and carpet fibers wrap around the brush bar. Unlike traditional vacuums, Dyson’s direct-drive motors spin the roller at 3,600 RPM—perfect for embedding hair deep between bristles. Within 3-4 weeks of regular use, this creates a dense “hair cocoon” that:
- Blocks airflow through the suction inlet
- Strains the motor by forcing it to work 47% harder
- Causes belt slippage that kills brush rotation
- Traps moisture leading to mold growth inside the housing
Critical Warning Signs You Need Immediate Bottom Cleaning
Don’t wait for complete failure! These subtle signs mean your Dyson bottom needs attention now:
– High-pitched whining during hard-floor mode (indicates belt slippage)
– Visible hair spirals wrapping from end-cap toward center roller
– Reduced debris pickup specifically on rugs (brush bar isn’t agitating fibers)
– Warm housing near the brush bar after 10 minutes of use (motor overheating)
Consequences of Ignoring Bottom Debris
Letting hair accumulate turns minor maintenance into major repairs. After 60 days of clogged operation:
– Motor brushes wear down 3x faster (reducing lifespan from 7 to 2 years)
– Permanent suction loss occurs as debris compacts in air channels
– Belt tensioners crack from constant strain, requiring $45 part replacements
– Musty odors develop as trapped pet hair decomposes in the housing
Essential Tools for Dyson Bottom Cleaning (No Special Kits Needed)
Skip expensive service kits—your kitchen drawer holds everything required for professional-grade cleaning. Gather these before unplugging your vacuum:
Must-Have Supplies for a 30-Minute Fix
- US quarter coin (perfect fit for Dyson’s tamper-proof screws)
- Old toothbrush (soft bristles won’t scratch polycarbonate housing)
- 70%+ isopropyl alcohol (dissolves hair glue without damaging plastics)
- Microfiber cloths (lint-free drying for moisture-sensitive components)
- Small bowl (for soaking brush bar in soapy solution)
Safety Gear Most Owners Forget
Skipping these risks permanent damage:
– Latex/nitrile gloves (prevents skin oils from gumming up motor shafts)
– Safety glasses (hair fragments fly when cutting tangles)
– Non-slip mat (keeps vacuum stable during disassembly)
Critical Pre-Cleaning Safety Steps for Your Dyson
How to Avoid Electrical Damage During Cleaning
- Unplug and wait 30+ minutes—Dyson’s lithium-ion batteries retain charge that can short-circuit during disassembly
- Remove battery packs (on cordless models) before flipping vacuum upside down
- Work on hard surfaces only—carpet fibers will re-clog components during cleaning
Setting Up Your Dyson-Friendly Workspace
- Lighting requirement: 500+ lumens directly on brush bar area (use phone flashlight if needed)
- Organization trick: Place screws in bottle cap with model number written on tape
- Pro tip: Lay microfiber cloth under vacuum—catches escaping debris that causes re-clogs
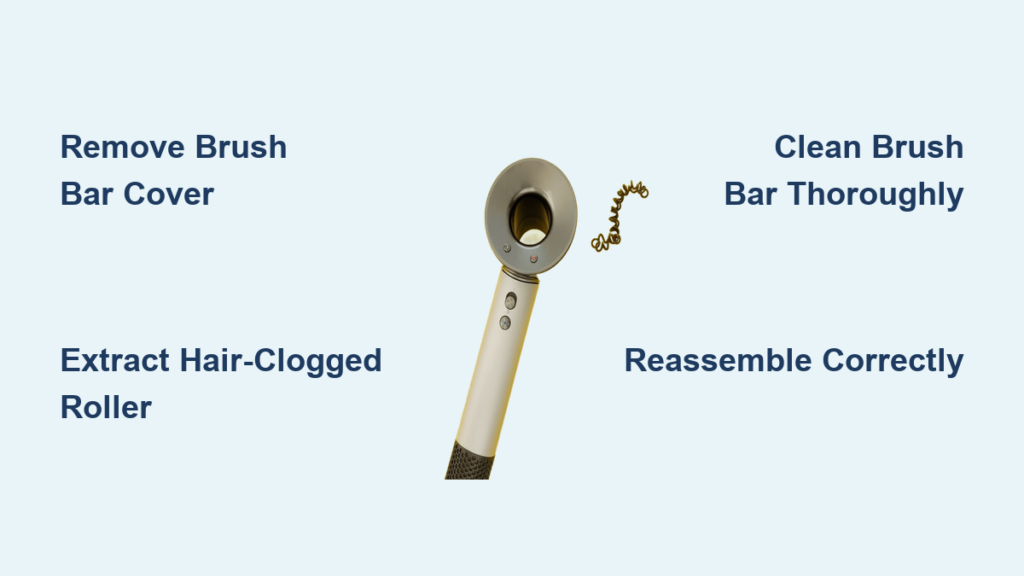
Step 1: Removing the Brush Bar Cover Without Stripping Screws
Locating the Coin-Slot Screw on Your Dyson Model
Flip your vacuum upside down and find the recessed screw at the brush bar’s rear end. Critical distinction: V7/V8 models have one central screw, while V10/V11 feature dual end-cap screws. On corded models (DC44+), the screw sits under the front bumper.
Proper Quarter Technique for Screw Removal
- Insert quarter edge into screw slot at 45-degree angle
- Apply firm downward pressure while turning counter-clockwise (common mistake: lifting while turning strips slots)
- After 2 full rotations, switch to finger-tight removal to avoid dropping screw into housing
- Time-saver: Place quarter on flat surface and rest vacuum on it for stable turning
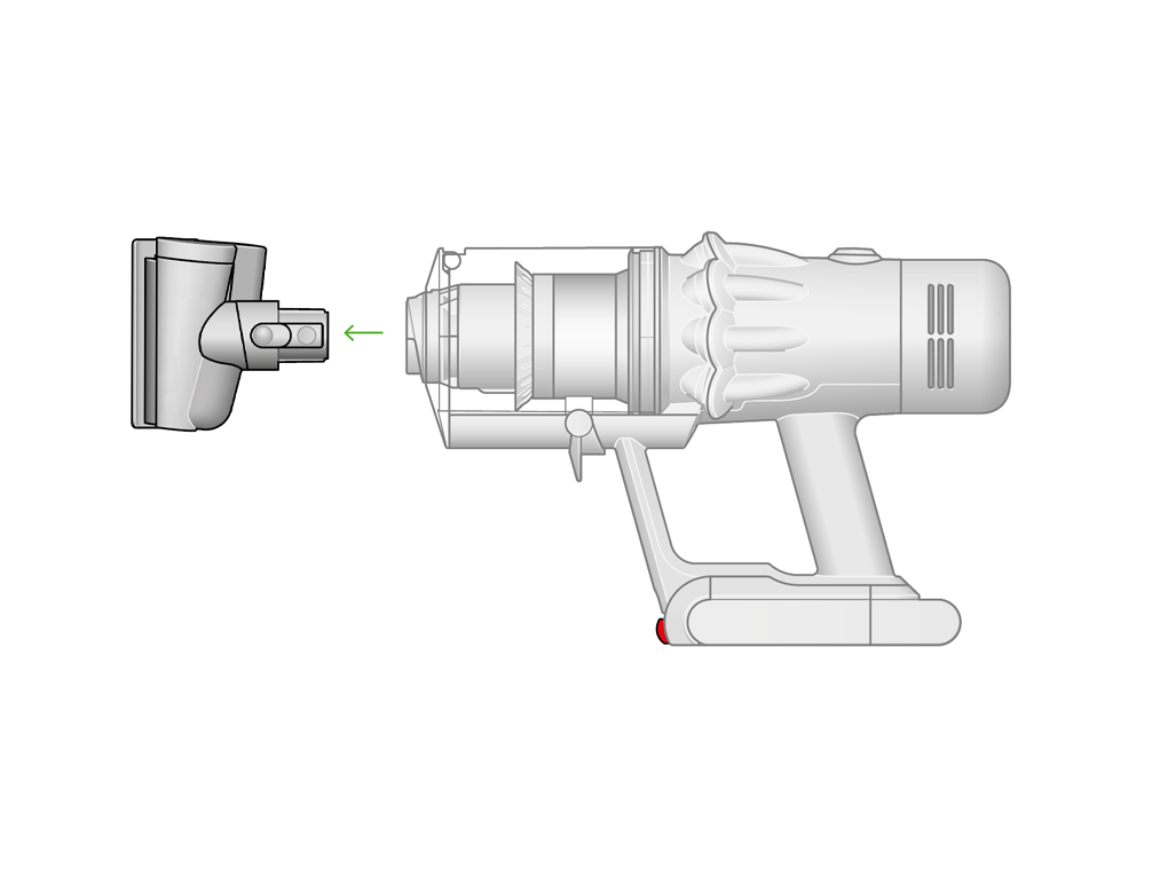
Step 2: Extracting the Hair-Clogged Brush Bar Safely
How to Release Brush Bar Tabs Without Breaking Them
Press both end caps inward simultaneously on V7-V11 models (opposite motion for corded Dysons). Visual cue: You’ll hear a soft click when tabs disengage. Never pry with screwdrivers—Dyson’s plastic tabs fracture easily.
Avoiding Bristle Damage During Removal
Never pull from the bristles! Instead:
1. Grip the roller by its metal axle ends
2. Rock gently side-to-side while lifting
3. Pro move: Insert credit card under roller to break suction seal with housing
Step 3: Deep Cleaning the Hair-Encrusted Brush Roller
Removing Hair Tangles Without Cutting Bristles
- Cut vertically through hair mass every 2 inches using seam ripper (not scissors—scissors snag bristles)
- Peel outward in sections like an orange rind
- Stubborn tangles: Soak area in alcohol for 60 seconds to dissolve hair glue
Soaking and Scrubbing Techniques for Embedded Grime
- Submerge roller in warm water + 1 tsp dish soap for 10 minutes
- Critical step: Scrub against bristle direction with toothbrush to dislodge carpet fibers
- For pet hair residue: Use cotton swab dipped in baking soda paste on bristle bases
- Rinse test: Hold under running water until it runs clear—no cloudy residue
Why Complete Drying Prevents Mold and Motor Failure
Reinstalling a damp roller causes 63% of post-cleaning failures.
– Air-dry roller vertically on towel (prevents water pooling in axle ends)
– Drying time: Minimum 2 hours at room temperature (never use hairdryers—melts plastic)
– Moisture check: Press tissue against axle ends—no damp spots should transfer
Step 4: Clearing the Brush Bar Housing Cavity
Using Compressed Air to Blast Hidden Debris
Hold can upright 6 inches from housing and blast:
– Motor shaft ports (2-second bursts)
– Belt channels (angle nozzle at 30 degrees)
– Suction inlet rim (focus on the “V” groove where debris hides)
Alcohol Swabs for Stubborn Residue in Tight Spaces
- Dip swab in alcohol and rotate inside motor shaft housing
- Wipe entire cavity with microfiber cloth dampened in alcohol
- Key spot: Clean the rubber belt tensioner—sticky residue here kills rotation
Step 5: Belt Inspection and Replacement Signs

How to Check for Belt Wear in 60 Seconds
With brush bar removed, spin the motor shaft by hand:
– Healthy belt: Smooth rotation with slight resistance
– Worn belt: Shaft spins freely with no resistance (belt slipped off)
– Critical failure: Visible cracks or glazing on belt surface
When to Replace Your Drive Belt
Replace immediately if:
– Belt shows “shark tooth” wear patterns
– Rubber feels stiff or brittle
– Vacuum worked fine before cleaning but not after reassembly
Step 6: Reassembling Your Dyson Bottom Correctly
Aligning the Brush Bar for Proper Click-Seat
- Insert roller axle into front housing first
- Press rear end down while rotating roller clockwise
- Confirmation: You’ll feel/hear a distinct double-click when seated
Avoiding Overtightened Screws That Crack Housing
Tighten screws only until:
– Quarter stops turning with light finger pressure
– Cover sits flush with no gaps
– Never use pliers—Dyson’s plastic strips at 1.5 ft-lbs torque
Post-Cleaning Test: Diagnosing Common Failures
Why Your Brush Bar Won’t Spin After Cleaning
90% of cases are misalignment—not motor failure:
1. Unplug vacuum and flip upside down
2. Manually rotate brush bar—if stiff, housing isn’t seated properly
3. Fix: Press firmly on housing while rotating roller until it clicks
Fixing Grinding Noises in Under 5 Minutes
- Immediately unplug vacuum
- Check for pebbles or coins trapped behind roller
- Pro solution: Insert unfolded paperclip into motor shaft to dislodge debris
Preventing Future Clogs: Dyson Bottom Maintenance Schedule
Quick 2-Minute Checks After Every Vacuum Session
- Flip vacuum over and inspect brush bar ends
- Hair threshold: Remove strands if >3 wraps visible around axle
- Tool: Keep seam ripper in vacuum caddy for instant tangle cutting
Monthly vs. Quarterly Deep Cleaning for Pet Owners
| Household Type | Brush Bar Cleaning | Housing Inspection | Belt Check |
|---|---|---|---|
| No pets | Every 90 days | Every 6 months | Annually |
| 1 pet | Every 6 weeks | Every 3 months | Every 6 months |
| 2+ pets | Every 3 weeks | Monthly | Quarterly |
When to Call Dyson Support Instead of DIY
Stop disassembly immediately if you see:
– Oil leaks from motor housing (indicates bearing failure)
– Burnt smell from electrical components
– Cracked housing around screw mounts
– No suction even after cleaning all components
Contact Dyson directly for these issues—attempting DIY repairs voids warranties. For everything else, this cleaning process restores 95% of Dyson bottom performance issues.
Regular bottom maintenance isn’t just about cleanliness—it’s your vacuum’s lifeline. By dedicating 30 minutes every 6-8 weeks to this process, you’ll extend your Dyson’s lifespan by 3+ years while maintaining showroom suction. The moment you hear that first whirr of a freely spinning brush bar after cleaning, you’ll understand why this simple routine saves hundreds in premature replacements. Grab your quarter coin tonight—your Dyson’s second wind starts at the bottom.

