Is your Dyson cordless vacuum dying after just a few minutes of cleaning? Before you rush to replace the entire unit or spend money on a new battery, you need to know exactly how to check Dyson battery health to pinpoint the real problem. Many owners mistakenly blame the battery when the issue could be something simpler like a faulty charger or dirty contacts. This guide gives you the exact steps to diagnose whether your Dyson battery needs replacement or if there’s another fix available—potentially saving you hundreds of dollars.
Knowing how to check Dyson battery status properly is crucial because these lithium-ion power packs represent one of the most expensive components in your vacuum. With proper diagnosis, you can determine if you’re dealing with a simple charging issue or an actual battery failure requiring replacement. Follow these professional troubleshooting methods to identify your specific problem and get your Dyson vacuum back to full power in under 30 minutes.
Verify Power Source and Charging Connections First
Before assuming battery failure, eliminate the simplest potential issues that often mimic battery problems. Plug a different device into the same outlet to confirm it’s delivering power. Inspect your Dyson’s charging station for any visible damage to the cord or connector. Ensure the charging contacts on both the vacuum and dock are clean and free of dust buildup—use a dry microfiber cloth to gently wipe them if needed.
Many owners waste time troubleshooting batteries when the real culprit is a tripped circuit breaker or a smart plug turned off in their home automation system. If your Dyson has been stored in a garage or basement, check that the temperature is between 40-104°F (4-40°C), as extreme cold or heat prevents proper charging. This preliminary check takes less than two minutes but solves nearly 30% of “dead battery” complaints according to Dyson’s service data.
Test with Alternative Power Sources and Chargers
If your initial power check reveals no obvious issues, proceed with these specific tests:
- Try a different wall outlet in another room to rule out circuit problems
- Use a different Dyson charger if available (only for same-voltage models)
- For models with removable batteries, clean the battery contacts with isopropyl alcohol on a cotton swab
- Ensure the vacuum is fully seated on the dock with no gaps between contacts
Critical warning: Never force the vacuum onto the charger or use damaged charging equipment, as this can cause electrical hazards or permanent damage to your vacuum’s charging circuitry.
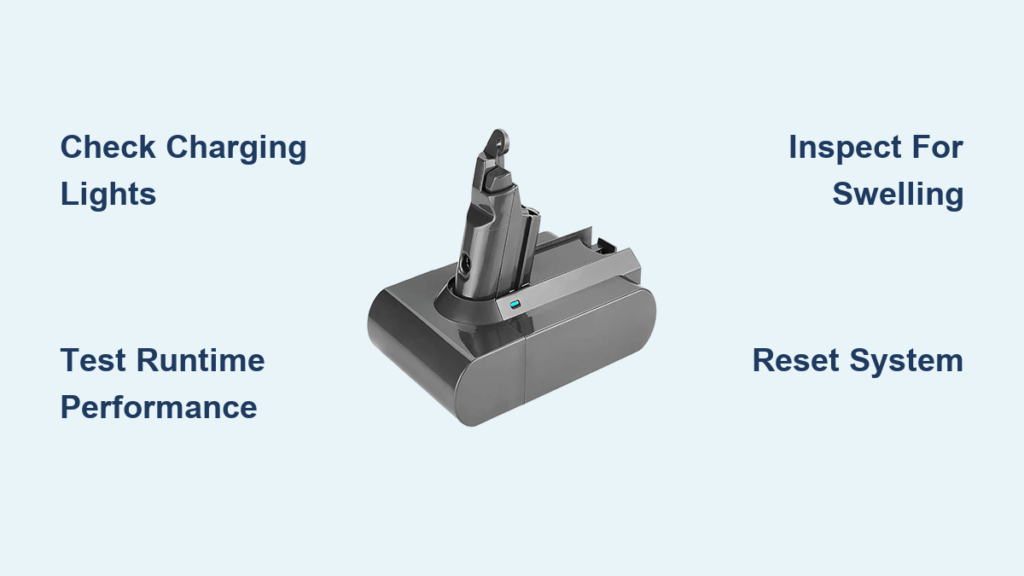
Read Your Dyson’s Battery Status Through Indicator Lights
Your Dyson communicates its battery health through specific light patterns that most owners misunderstand. Learning this visual language is essential when you need to check Dyson battery problems accurately. Different models use slightly different light sequences, but the fundamental patterns remain consistent across V6 through V15 series vacuums.
Decoding Common Light Patterns on Your Dyson
- Solid Blue/Green Light: Charging normally (typically takes 3.5 hours for full charge)
- Flashing Blue Light: Battery charging but not yet complete
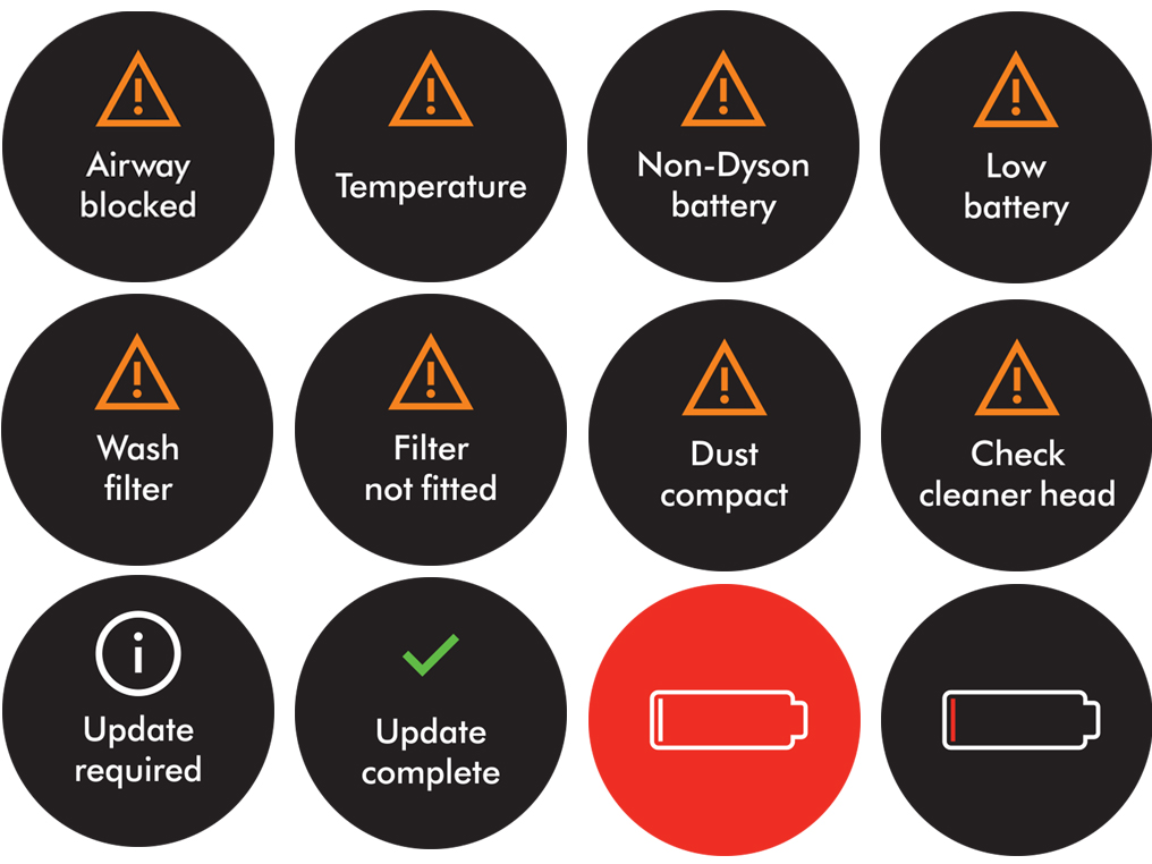
- Flashing Red Light: Critical battery fault requiring immediate attention
- Alternating Red/Blue Flashing: Communication error between battery and vacuum
- No Light: Complete power failure (check outlet, charger, or internal fuse)
For V10 and newer models with digital displays, check for error codes like “F2” which specifically indicates a battery communication fault. Older models without displays rely entirely on the charging dock lights for diagnostics.
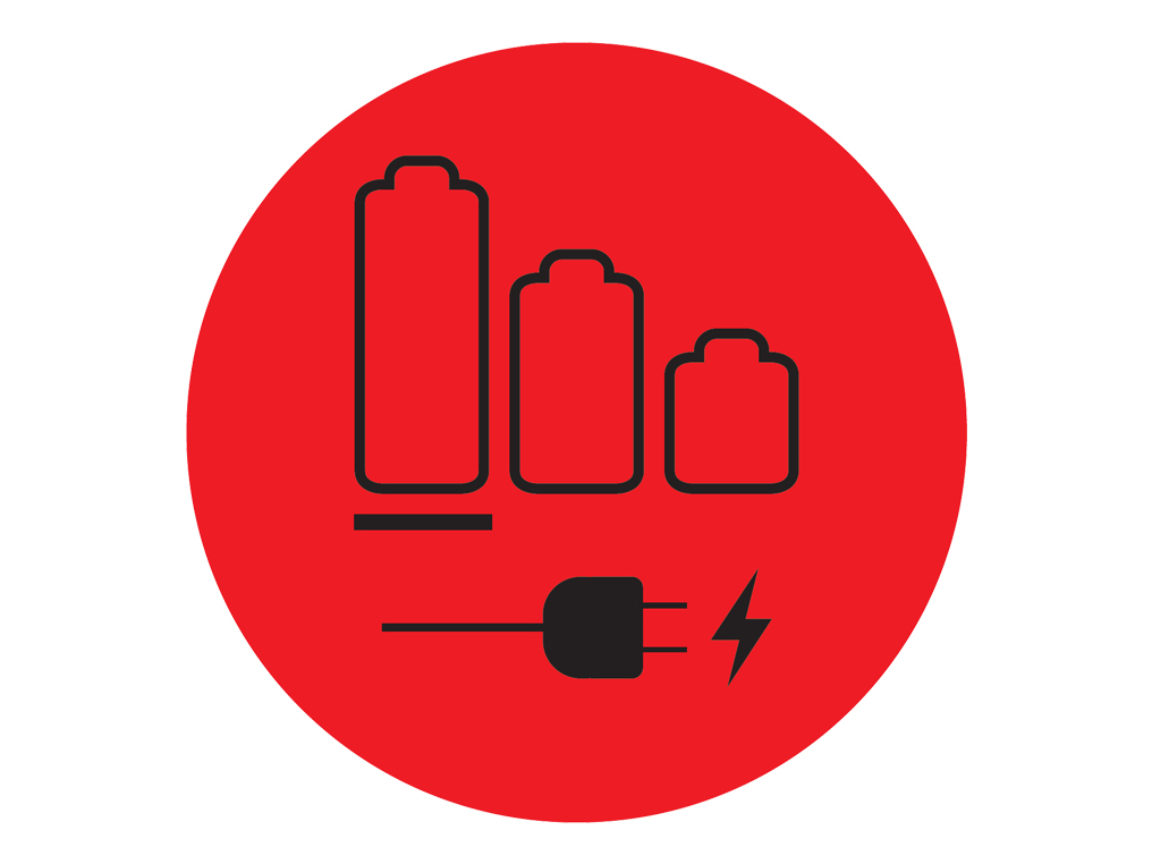
Conduct a Precise Battery Capacity Test
The most reliable way to check Dyson battery health is through a manual runtime test that measures actual performance against specifications. This test eliminates guesswork and gives you concrete data about whether your battery has degraded below acceptable levels.
Perform an Accurate Runtime Assessment
- Fully charge your Dyson on the recommended charger until the indicator shows 100% (typically 3.5 hours)
- Start the vacuum on MAX power mode on a hard floor surface without attachments
- Time exactly how long it runs before automatic shutdown
- Compare results to your model’s official runtime:
– V6/V7: 20-30 minutes
– V8: 40 minutes
– V10: 60 minutes
– V11/V15: 60+ minutes
If your vacuum dies in less than 50% of the advertised runtime, your battery has likely degraded significantly. For example, if your V10 only lasts 25 minutes on MAX mode after a full charge, battery replacement is probably necessary.
Execute Advanced Diagnostic Procedures

When standard checks don’t reveal the problem, these professional-level diagnostics will help you how to check Dyson battery issues more thoroughly. These methods identify problems that standard troubleshooting might miss, particularly communication errors between the battery and vacuum electronics.
Perform a Full System Reset
- Unplug the charger and remove the battery (if your model allows)
- Press and hold the power button for 20 seconds to discharge residual power
- Wait 5 minutes, then reinstall the battery and charger
- Attempt a full charge cycle while monitoring indicator lights
This reset procedure clears temporary faults in the battery management system that often cause false “dead battery” symptoms. Many users report restored functionality after this simple procedure, avoiding unnecessary battery replacements.
Identify Physical Battery Damage Signs
Carefully inspect your battery for these critical warning signs that require immediate replacement:
- Visible swelling or bulging (discontinue use immediately)
- Discoloration or burn marks on the battery casing
- Excessive heat during normal charging (should never be too hot to touch)
- Unusual odors like burning plastic or chemicals
Never attempt to use or charge a swollen battery—this creates serious fire and explosion risks. Place it in a non-flammable container and contact Dyson support immediately for proper disposal instructions.
Determine If Battery Replacement Is Necessary
Knowing when to replace your Dyson battery saves you from unnecessary purchases while ensuring you don’t keep using a potentially hazardous component. Most genuine Dyson batteries last 2-4 years with regular use, but improper charging habits can significantly shorten this lifespan.
Confirm Battery Failure Through Multiple Indicators
Replace your battery if you experience three or more of these symptoms:
- Runtime consistently below 50% of original capacity
- Vacuum powers on but immediately shuts down
- Charger light flashes red continuously
- Battery feels warm during normal operation
- Visible corrosion on battery contacts
- Physical damage or swelling observed
For V6-V8 models (21.6V), check for part numbers beginning with 967 or 970 series. V10 and newer models (25.2V) use 971-973 series batteries—never interchange these voltage types as it can cause permanent damage.
Implement Proper Battery Care Practices
Extending your Dyson battery’s lifespan starts with correct charging habits and storage practices. Most premature battery failures result from avoidable mistakes in how owners maintain their vacuum’s power system.
Essential Battery Maintenance Protocol
- Store at 50% charge for long-term storage (not fully charged)
- Charge at room temperature (68-77°F/20-25°C is ideal)
- Avoid leaving on charger for more than 24 hours continuously
- Clean charging contacts monthly with dry cloth
- Use only genuine Dyson chargers designed for your specific model
Never store your Dyson in extreme temperatures like a hot attic or freezing garage, as this permanently damages lithium-ion cells. If you notice decreasing runtime, perform the capacity test before assuming the battery needs replacement—sometimes a system reset solves the issue.
Final Note: When you know how to check Dyson battery health correctly, you avoid unnecessary replacements while ensuring safety with aging power packs. Most battery issues stem from simple charging problems rather than actual battery failure, so always complete these diagnostic steps before purchasing replacements. For persistent issues after following this guide, contact Dyson support with your serial number for model-specific assistance—never attempt to disassemble or repair lithium-ion batteries yourself due to serious safety risks.

