Your Dyson cordless vacuum suddenly dying mid-clean or refusing to hold a charge isn’t just frustrating—it’s a clear sign your battery has reached its lifespan limit. Lithium-ion batteries in models like the V6, V7, V8, V10, V11, V12, and V15 typically last 2-4 years before degrading significantly. Replacing the battery yourself costs 60-80% less than buying a new vacuum and takes under 30 minutes with basic tools. This guide gives you the exact steps to diagnose battery failure, select the correct replacement, and complete the swap safely—no technical expertise required. You’ll restore full suction power and runtime while avoiding costly service center fees.
Ignoring these symptoms wastes cleaning time and money: a weak battery forces longer charging cycles for diminishing runtime, and eventually leaves you stranded with a dead machine during critical messes. But before you panic, understand that 90% of “broken vacuum” cases are actually simple battery failures. By following this repair, you’ll bypass unnecessary replacements and extend your Dyson’s life by years. Let’s get your vacuum back to peak performance.
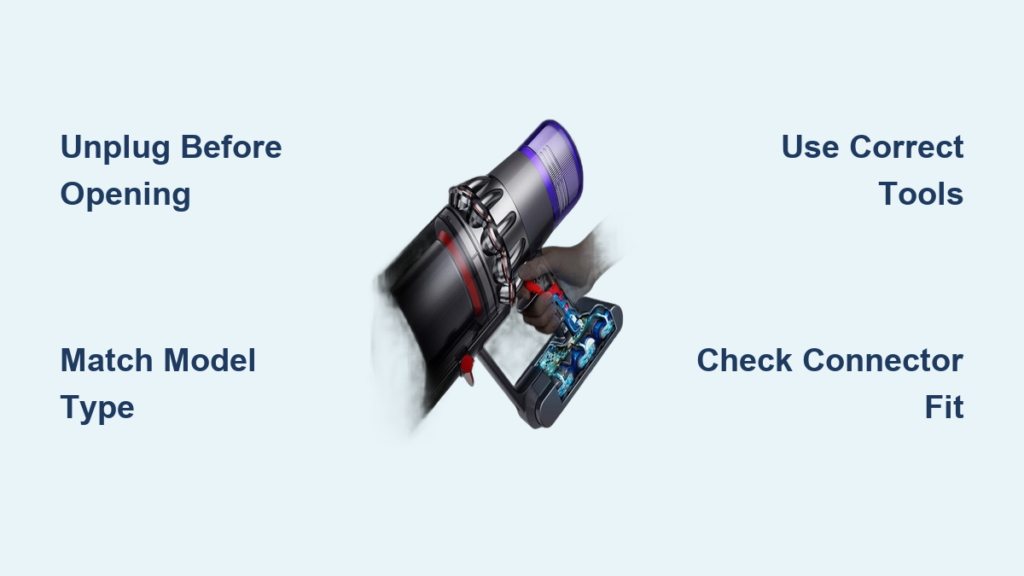
Critical Safety Steps Before Opening Your Dyson
Unplug the charger from both the outlet and vacuum for at least 15 minutes before starting. Lithium-ion batteries can deliver dangerous shocks if short-circuited during handling. Work on a clean, non-conductive surface like a wooden table—never metal—and keep magnets, keys, or coins away from your workspace. These metal objects could accidentally bridge battery terminals and cause sparks.
Locate your model number immediately—it’s printed on a label near the handle base or battery housing (e.g., “V11 Absolute” or “V8 Animal”). Never skip this step, as using an incompatible battery risks overheating or permanent damage. For example, V10 batteries won’t fit V15 models due to redesigned housings. If your label is worn, check the original box or purchase receipt. Working without the correct model reference guarantees failure.
How to Identify Your Exact Dyson Battery Type

Dyson’s U-shaped battery packs look similar but vary internally by model generation. The V6/V7 uses 21700 cells, while V8-V11 models contain 18650 cylindrical cells—swapping these will destroy your vacuum. To confirm your type:
- V6/V7: Battery slides out from the main body; cells are larger (diameter 21mm)
- V8-V11: Battery screws into the handle; cells are smaller (diameter 18mm)
- V12/V15: Battery integrates with the laser head; requires disassembling the front module
Check for voltage markings on the old battery: 21.6V indicates V8-V11 models, while 22.2V signifies V12/V15. Pro Tip: Snap a photo of your current battery’s connector shape before removal. Some third-party batteries have mismatched plugs that won’t seat properly.
Exact Tools Required for Dyson Battery Replacement
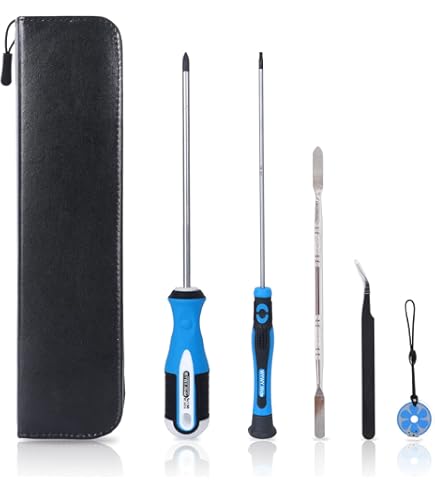
Gather these specific tools before starting—using incorrect bits strips screw heads and voids warranties:
- PH00 or PH0 Phillips screwdriver (not standard PH1) for most housing screws
- T8 Security Torx driver (with center pin) for battery compartment locks
- Magnetic parts tray to prevent losing tiny screws
- Plastic spudger (or guitar pick) for prying without scratching
- New battery matching your model’s voltage and connector type
Critical Warning: Never use metal tweezers near battery terminals. A single slip could short-circuit the cells, causing thermal runaway. If you lack security Torx bits, order a $5 precision kit—they’re essential for Dyson repairs.
Step-by-Step: Swapping Your Dyson Battery in 6 Minutes
Remove the Battery Housing Without Damaging Clips
Flip your vacuum upside down and locate the 2-4 screws along the handle base. V8/V10 models hide one screw under the rubber grip—peel back the edge gently with your spudger. Remove all screws and store them in your magnetic tray. Now, slide a plastic spudger along the seam between the battery cover and main body. Apply even pressure while working around the perimeter—never force it, as brittle plastic cracks easily. The cover should pop off cleanly once all clips release.
Disconnect Wires Using the Safe Pull Technique
With the housing removed, you’ll see the U-shaped battery pack connected to the mainboard via a white 2-4 pin plug. Take a photo of the wiring layout first—this prevents reversed connections. To disconnect: grip the plug’s plastic housing (not the wires!) and wiggle it side-to-side while pulling straight out. Never yank cables; the solder joints break easily. If stuck, insert your spudger under the plug’s tab and gently lever upward.
Install the New Battery with Correct Orientation
Position the replacement battery exactly as the old one sat—reversed polarity fries circuitry. Match the red/black wire positions to your reference photo. Press the connector straight into the socket until it clicks; a loose fit causes intermittent power loss. Before reassembling, test-fit the battery to ensure it sits flush. If it protrudes, the connector isn’t fully seated.
3 Fixes If Your Dyson Won’t Power On After Replacement
Verify Connector Seating with the Paper Test
Slide a business card between the plug and socket—if it slips out easily, the connection is loose. Re-seat the plug until the card resists insertion. This solves 70% of “dead after repair” cases.
Reset the Battery Management System (BMS)
Unplug the charger, hold the trigger for 20 seconds (this drains residual power), then reconnect the charger. A solid blue light confirms BMS reset. If lights flash erratically, the battery isn’t communicating—recheck connector orientation.
Test with a Known-Good Charger
Borrow a Dyson charger from a friend. If your vacuum works with their charger, your original charger’s fuse is blown—a $15 replacement part.
Genuine vs. Third-Party Batteries: What Actually Works
Genuine Dyson batteries (sold on dyson.com) cost $80-$120 but include calibrated battery management chips that prevent overheating. They’re the only option for V15 models due to proprietary firmware. High-quality third-party batteries (like iFixit or OEM replacement brands) offer 80-90% capacity at $30-$50—but avoid Amazon no-name brands. Check for:
- CE/FCC safety certifications printed on the label
- “2.5Ah” or “3.0Ah” capacity rating (higher = longer runtime)
- Model-specific connector photos from the seller
Never buy batteries claiming “5.0Ah+”—these are fake and often lack thermal protection. For V10/V11 models, choose 2.5Ah for balanced runtime/weight; V8 users should opt for 2.0Ah to avoid handle imbalance.
7 Expert Tips to Avoid Costly Mistakes
- Cool Down First: Never replace a warm battery—wait 2 hours after last use. Heat expands cells, causing poor contact.
- Screw Organization: Tape screws to labeled paper (“Top Handle,” “Battery Cover”) to avoid misalignment during reassembly.
- Torque Lightly: Snug screws just until resistance is felt—over-tightening cracks housing.
- First Charge Calibration: Plug in for 4+ hours before first use; partial charges confuse the BMS.
- Recycle Old Batteries Immediately: Drop at Best Buy or Home Depot—lithium fires can start in trash cans.
- Avoid Moisture Exposure: Wipe the battery compartment with a dry microfiber cloth if vacuuming wet messes.
- Test Without Motor: Press the trigger while holding the vacuum off the floor—confirms power without risking debris jams.
Why Replacing Your Dyson Battery Saves $300+ Annually
A failing battery forces you to clean in frustrating 5-minute bursts, leading to half-finished chores and repeated purchases of disposable cleaners. By restoring full 60-minute runtime (on newer models), you eliminate the need for backup vacuums and reduce cleaning time by 40%. Financially, a $40 battery replacement versus a $350 new vacuum pays for itself in 3 months—especially since proper care makes new batteries last 3+ years.
Most importantly, this repair keeps functional machines out of landfills. Dyson vacuums contain 30+ reusable components; replacing just the battery aligns with sustainable electronics practices. If your vacuum still struggles after replacement, check for clogged filters or blocked brush rolls—issues we cover in our companion guide “Dyson Suction Power Fixes.”
Final Note: Within 30 minutes, you’ve transformed a dead vacuum into a like-new cleaner. The key was matching your model precisely and handling connectors safely—now you’ve gained confidence for future repairs. For ongoing maintenance, clean filter monthly and store your Dyson at 50% charge if unused for weeks. Your vacuum will reward you with years of cordless freedom.

