That powerful suction you rely on from your Dyson V11 comes from its sophisticated motor assembly. When this critical component fails, your vacuum loses cleaning power, makes strange noises, or stops working entirely – turning your premium cleaner into an expensive paperweight. This guide shows you exactly how to diagnose motor assembly problems, select the right replacement part for your specific V11 model, and complete the repair yourself. Whether you’re noticing a gradual loss of suction or your vacuum has suddenly stopped working, you’ll learn the signs that point to motor assembly failure, the correct part numbers to order, and a step-by-step replacement process that even novice DIYers can follow.
Don’t panic when your Dyson V11 starts showing symptoms of motor trouble. Many owners mistakenly think a complete replacement is necessary when in reality, the motor assembly is a serviceable component. The V11’s digital motor spins at up to 125,000 RPM and delivers up to 230 AW of suction power, but like any mechanical component, it has a finite lifespan. Understanding how this complex system works will help you determine whether you need a simple filter cleaning or a full motor assembly replacement.
This comprehensive guide covers everything from identifying specific failure symptoms to selecting the exact replacement part for your model. You’ll discover why third-party options like HZIRIU assemblies can save you hundreds while still delivering genuine performance, and learn professional maintenance techniques to extend your motor’s life. Whether you’re a hands-on DIYer or just want to understand what a repair shop might charge, this information puts you in control of your Dyson V11’s performance.
Why Your Dyson V11 Suddenly Loses Suction Power
Sudden or gradual suction loss is your first warning sign that the motor assembly needs attention. While clogged filters or blockages often cause reduced performance, persistent suction problems after basic maintenance point directly to motor assembly issues. Your V11’s digital motor should deliver consistent performance across all modes – Eco (150W), Auto (220W), and Boost (285W). If you notice significantly weaker airflow even on maximum setting, especially after cleaning filters and checking for blockages, the motor assembly is likely failing.
Critical Warning Signs Beyond Suction Loss
Unusual Motor Noises Indicate Internal Damage
– Grinding or grating sounds during operation signal bearing failure or internal component damage
– High-pitched whining indicates electrical issues within the motor windings
– Complete silence when pulling the trigger suggests a dead motor or failed electronic control board
– Intermittent operation where the motor cuts out then restarts points to thermal overload protection engaging
Error Codes That Pinpoint Motor Assembly Problems
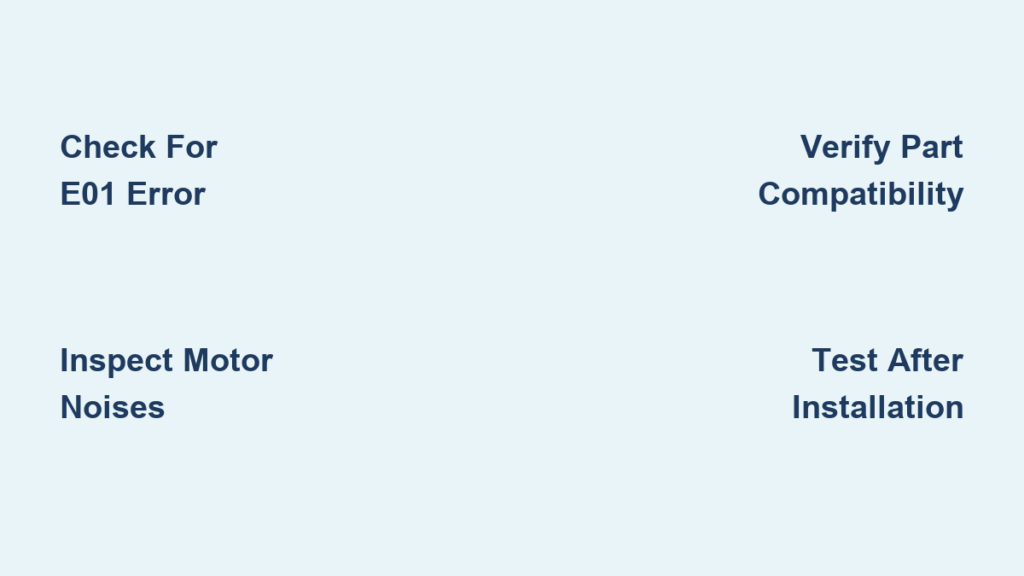
– E01: Motor not responding (check connections and motor assembly)
– E03: Motor overheat protection triggered (clean filters and check for blockages)
– E04: Motor stalled or physically blocked (inspect for internal obstructions)
– Persistent E-codes after reset indicate a failing motor assembly needing replacement
Selecting the Exact Motor Assembly for Your V11 Model

Choosing the wrong motor assembly guarantees installation headaches and poor performance. Your specific V11 model determines which motor assembly you need – and the differences aren’t always obvious from the outside. The most common part number is 970142-01, but Outsize models require the 970142-01-02 version with modified dimensions to accommodate the larger dust bin. Always verify your model number (SV14, SV15, or SV17) and check the sticker inside the battery compartment before ordering.
Genuine Dyson vs. Third-Party Motor Assemblies Compared
OEM Dyson Motor Assembly (970142-01)
– Price: $199.99-$249.99
– Warranty: Full 2-year coverage
– Performance: Matches original specifications (230 AW suction)
– Best for: Owners still under warranty or seeking maximum reliability
– Drawback: Cost approaches half the price of a new entry-level V11
HZIRIU Replacement Assembly (B0F4D8K99Y)
– Price: $79.99-$129.99 (saves 50-70%)
– Warranty: 1-year limited coverage
– Performance: Matches OEM specs with full LCD synchronization
– Best for: Cost-conscious owners comfortable with DIY repairs
– Pro Tip: Look for listings specifically mentioning “SV14/SV15/SV17 compatibility”
Step-by-Step V11 Motor Assembly Replacement Process
Replacing your Dyson V11 motor assembly is an advanced DIY task requiring careful attention to detail. If you’ve never disassembled electronics before, consider professional help – but if you’re handy with tools, this guide will walk you through each critical step. The entire process takes 45-90 minutes depending on your experience level, and having the right tools makes all the difference.
Essential Tools and Safety Preparations
Gather These Before Starting:
– Torx T8 screwdriver (main housing screws)
– Torx T6 screwdriver (battery compartment screws)
– Plastic pry tools (never use metal – it cracks plastic housing)
– Anti-static wrist strap (prevents electrostatic damage)
– Replacement thermal paste (if reapplying to heat sink)
– Critical Safety Step: Remove the battery and wait 5 minutes for capacitors to discharge
Complete Motor Assembly Replacement Walkthrough
1. Proper Disassembly Technique
Start by removing the dust canister and main filter. Locate and remove the four T6 screws on the bottom housing with your Torx T6 driver. Using plastic pry tools, carefully release the four clips holding the top housing – work slowly around the seam to avoid cracking the plastic. Disconnect the battery connector first (this is crucial for safety), then note and disconnect all motor wires, taking photos for reference during reassembly.
2. Motor Removal Without Damage
Remove the eight T8 screws securing the motor housing, then gently lift the assembly. Disconnect the 3-pin motor connector by pressing the release tab – never pull on the wires. If your replacement includes thermal paste, carefully remove the old compound from both surfaces using isopropyl alcohol before applying a pea-sized amount of new paste. Warning: Excess thermal paste can migrate and cause electrical shorts.
3. Installation and Calibration Steps
Position the new assembly exactly as the original, reconnect the motor connector until it clicks, then reinstall all screws hand-tight before final tightening. Before closing the housing, do a quick power test with the battery reinstalled – the motor should spin smoothly without unusual noises. If it works, power down, reconnect the battery connector, and carefully snap the housing halves together until all clips engage.
Fixing Common Post-Replacement Problems

Even with careful installation, you might encounter issues after replacing your motor assembly. These troubleshooting solutions address the most frequent problems DIYers face:
Motor Spins But Suction Feels Weak
This almost always indicates an air leak from improper reassembly. Check that all seals and gaskets around the cyclone assembly are properly seated. The rubber O-ring between the bin and motor housing must be positioned correctly – a single misaligned seal can reduce suction by 50%. Run your finger around all connections to ensure no gaps exist where air could escape.
Error Codes After Motor Replacement
E01 or E02 codes typically mean loose connections. Power down, remove the battery, and verify all connectors are fully seated – especially the main motor connector which must click audibly. If using a third-party assembly, some units require a firmware update through the Dyson app to recognize the new component. Try a hard reset by holding the trigger for 10 seconds with the battery installed.
Maximize Your V11 Motor Life With These Maintenance Habits
Preventative care extends your motor assembly’s lifespan significantly. Follow these professional maintenance techniques:
Weekly Filter Care Routine
– Wash the post-motor HEPA filter under cold water (never use soap)
– Allow 24+ hours for complete drying before reinstalling
– Tap pre-motor filters to remove debris after each use
– Pro Tip: Set phone reminders to clean filters every Sunday
Critical Monthly Checks
– Inspect all seals for cracks or misalignment
– Clean the bin sensor eye with a cotton swab
– Verify no hair or debris is wrapped around the motor shaft
– Check for error codes that might indicate developing issues
Performance Preservation Strategies
– Avoid continuous Boost mode use – switch to Auto for daily cleaning
– Never fill the bin past the MAX line (overfilling strains the motor)
– Store your V11 in a temperature-controlled environment
– Keep the charging dock clear of dust and debris
When to Seek Professional Motor Assembly Service
While DIY replacement saves money, certain situations warrant professional help. Visit an authorized Dyson service center if you encounter stripped screws during disassembly, broken plastic clips, or persistent error codes after replacement. If your V11 is still under warranty (typically 2 years), attempting DIY repairs voids coverage – contact Dyson directly for authorized service. For complex issues like E03 overheating errors that persist after filter cleaning, professionals have diagnostic tools to pinpoint whether the problem lies with the motor assembly or another component like the control board.
Replacing your Dyson V11 motor assembly restores the powerful cleaning performance you expect from this premium vacuum. By selecting the correct replacement part for your specific model and following proper installation techniques, you’ll extend your vacuum’s life for years to come. Remember that regular filter maintenance and avoiding overfilling the dust bin prevents 80% of motor assembly failures. Whether you choose genuine Dyson parts or a quality third-party alternative like HZIRIU, understanding this critical component puts you in control of your V11’s performance and longevity. Keep this guide handy for your next maintenance session, and don’t hesitate to tackle the repair – thousands of DIYers successfully replace their motor assemblies each year, saving hundreds compared to professional service.

