Your Dyson stick vacuum suddenly loses suction while tackling pet hair on the living room rug. That familiar musty smell creeps into the air as you vacuum. These frustrating symptoms almost always point to one culprit: a clogged filter. Ignoring this critical component forces your vacuum’s motor to work 30% harder, slashing battery life and letting allergens like pollen and dust mites escape back into your home. A properly cleaned Dyson stick filter restores 99.99% particle capture down to 0.1 microns—transforming lackluster cleaning into powerful, allergen-trapping performance. This guide reveals exactly how to clean your Dyson stick filter correctly, avoid costly mistakes, and keep your vacuum running like new for years.
Why Your Dyson Filter Demands Monthly Cleaning
A dirty Dyson filter isn’t just about weak suction—it actively compromises your home’s air quality. Dyson’s five-layer filtration system traps microscopic particles as small as 0.1 microns, but when dust and dander clog the mesh, that protective barrier fails. You’ll notice visible signs like reduced battery runtime (your vacuum dying mid-clean) or that distinctive dusty odor during use. More critically, a strained motor overheats, triggering automatic shutdowns that interrupt deep cleaning sessions. For allergy sufferers, this means recirculating pet dander and pollen instead of capturing them. Monthly cleaning prevents this performance collapse by maintaining the precise airflow needed for Dyson’s cyclonic technology to generate 79,000g of centrifugal force—essential for separating fine dust from the airstream.
Step-by-Step Dyson Stick Filter Cleaning Process
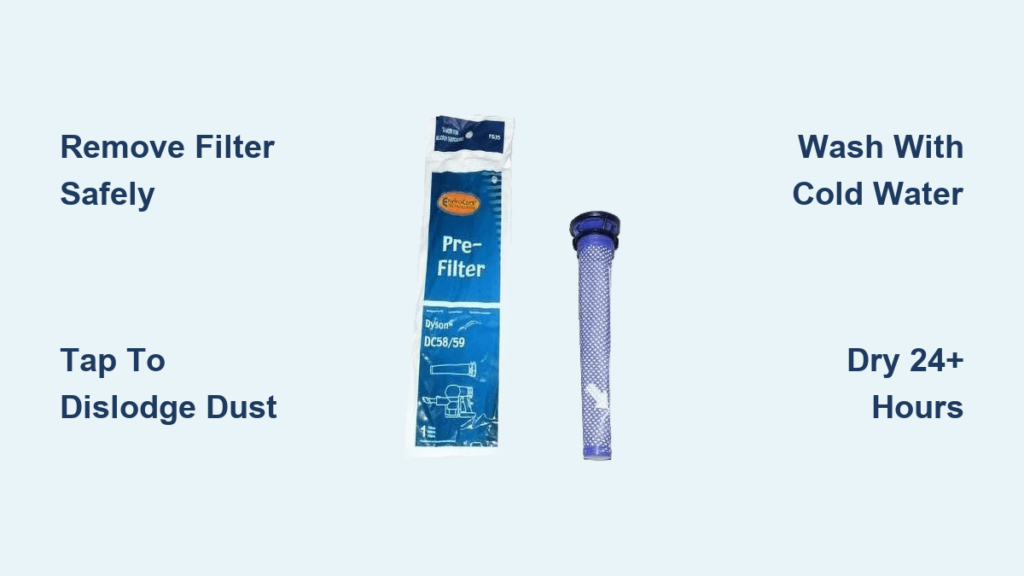
Step 1: Safe Removal and Damage Assessment
Always unplug your Dyson and power it down before filter removal. Locate the colored release tab—typically purple or turquoise—on the canister housing. Press firmly until the filter unit clicks free. Immediately inspect for permanent damage: hold it against a light source. If no light penetrates the mesh, severe clogging exists. More importantly, check for tears, holes, or warped frames. Any visible damage means replacement is necessary—never reinstall compromised filters that could send debris into your motor. This visual assessment takes 10 seconds but prevents catastrophic vacuum failure.
Step 2: Dry Debris Removal Without Damage
Over a trash can, firmly tap the filter’s edges to dislodge loose dust bunnies and hair. For embedded particles in the pleats, use a soft-bristled paintbrush (never stiff bristles) to gently sweep outward. Avoid shaking vigorously—that forces debris deeper into the mesh. This dry phase is critical because wetting a filter packed with dry debris creates mud that permanently clogs microscopic pores. If you spot stringy hair wrapped around the frame, carefully unwind it with tweezers. Skipping this step forces you to repeat the entire cleaning process later.
Step 3: Cold Water Washing Technique That Preserves Filtration
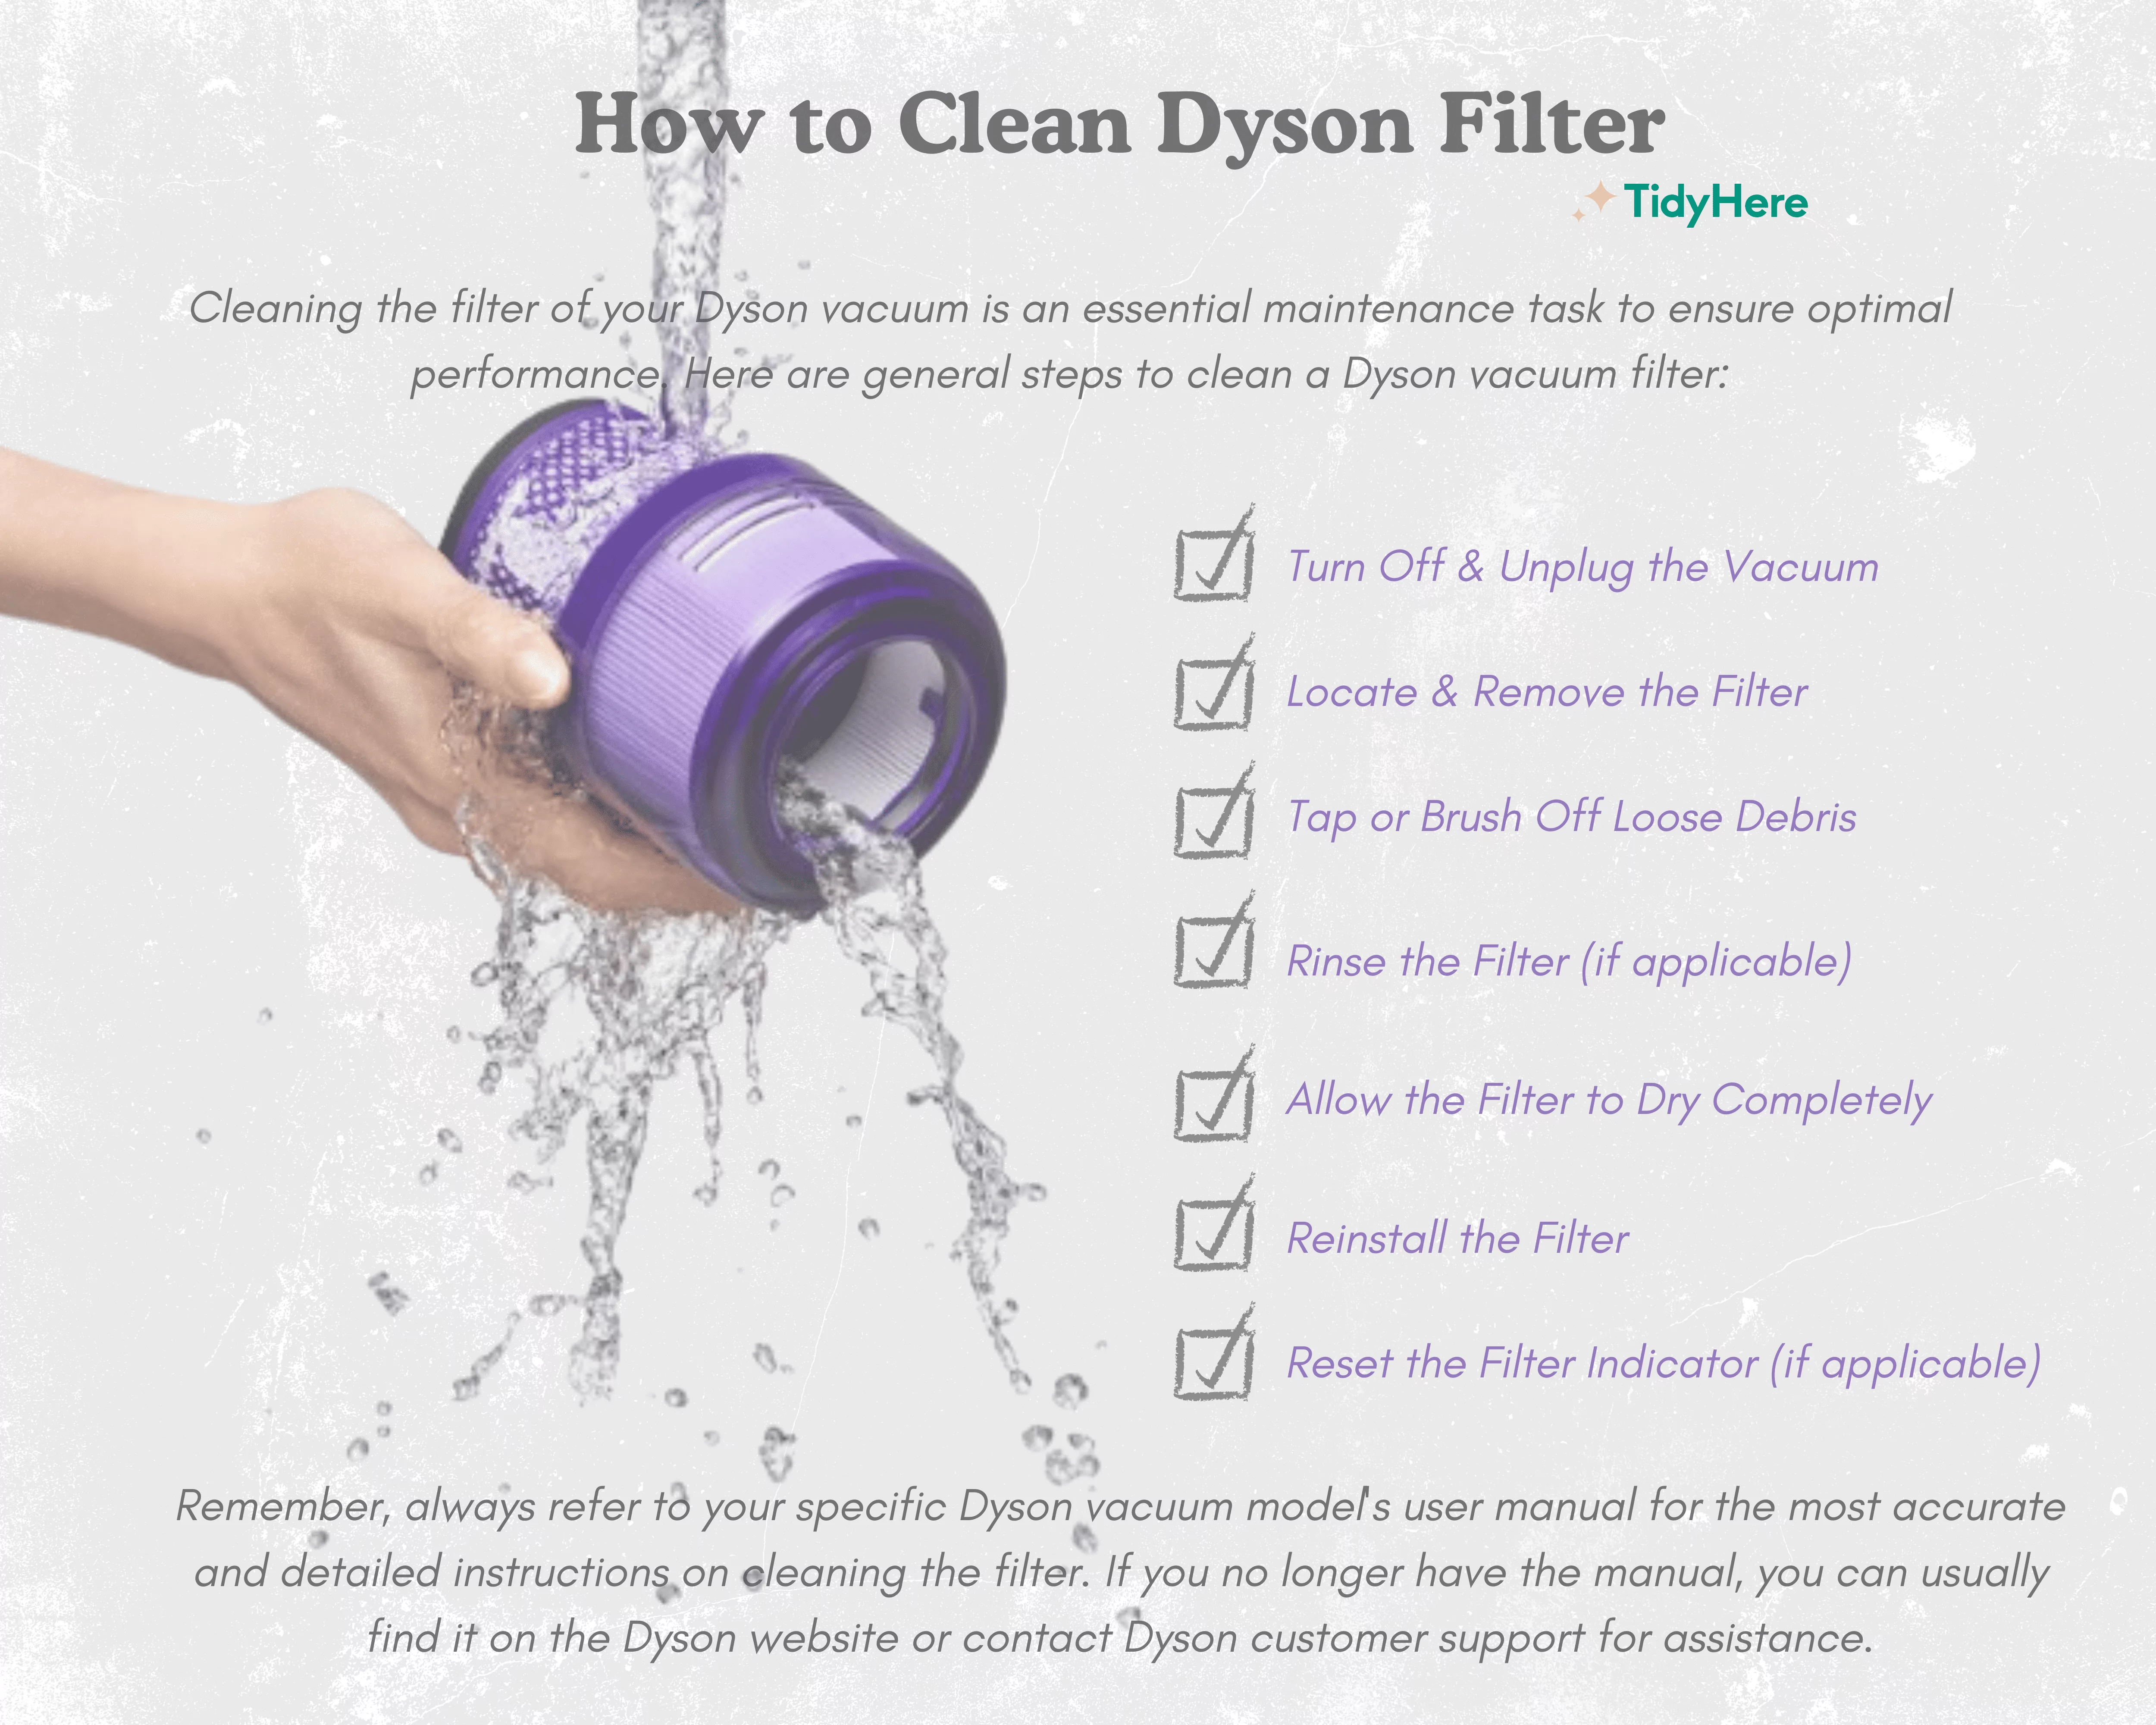
This step makes or breaks your filter’s lifespan. Hold the filter under a gentle cold-water stream (never warm—heat warps the electrostatic fibers). Massage the material from the inside out with your fingertips to push trapped particles toward the outer mesh. Submerge it in a basin of cold water, then fill the hollow core and shake vigorously to flush internal layers. Crucially, never use soap or detergents—residue clogs the 0.3-micron pores, destroying HEPA efficiency. Rinse until water runs crystal clear; stubborn filters may require 5-7 minutes of patient agitation. Remember: chemical cleaners void Dyson warranties by degrading filter media.
Step 4: Complete Rinsing to Eliminate Microscopic Residue
Rinsing isn’t finished when visible dirt disappears. Continue holding the filter under cold water while squeezing the frame—this forces water through all five filtration layers. Pay special attention to the inner core where fine dust accumulates. Test runoff water in a white bowl; even faint discoloration means residual particles remain. For persistent grime, fill the filter with water, cover both ends, and shake violently 10 times. Drain and repeat until water clarity matches your tap water. Incomplete rinsing leaves microscopic debris that rapidly re-clogs the filter, doubling your cleaning frequency.
Step 5: Foolproof Drying Method to Prevent Motor Damage

Moisture is your vacuum’s silent killer. After shaking out excess water, place the filter horizontally on a clean towel in a well-ventilated room—never upright (water pools in the base). Critical: Set a 24-hour timer minimum, but in humidity above 50%, extend to 48 hours. Never use hair dryers, radiators, or sunlight—these crack the filter media. Before reinstalling, perform the “dry finger test”: insert two fingers deep into the filter core. Any coolness or dampness means 12 more hours of drying. One moisture-related failure can fry your motor, costing $100+ in repairs. Patience here protects your entire investment.
Fixing Common Filter Problems Before They Worsen

Critical Mistakes That Destroy Dyson Filters
Three errors cause 90% of premature filter failures: First, using hot water—even briefly—melts the HEPA membrane’s electrostatic charge. Second, forcing damp filters back into the vacuum creates mold within 48 hours, emitting toxic spores. Third, “speed-drying” with microwaves or ovens cracks the plastic housing. Never attempt these shortcuts. Dyson’s engineers specify cold water and air drying for a reason: the filter’s multi-layer polymer mesh requires gentle treatment to maintain micron-level precision. One soap wash permanently reduces particle capture by 40%.
Troubleshooting Persistent Filter Issues
Musty odors after cleaning? This signals residual moisture. Extend drying time by 12 hours with a fan blowing near (not directly at) the filter. If smells persist, soak for 30 minutes in 1:3 white vinegar-water solution, then rinse thoroughly. Weak suction post-cleaning? 95% of cases mean incomplete drying—recheck the core moisture. If dry, remove and reseat the filter to ensure the rubber gasket seals perfectly against the housing. Brown rinse water after 10 minutes? You’re battling deeply embedded ultrafine dust; keep rinsing another 5 minutes—it will eventually clear. Never scrub aggressively; that shreds the delicate pre-motor filter layer.
Replacement Triggers You Can’t Ignore
Clean monthly, but replace annually even with perfect care. Immediate replacement is non-negotiable when you see: permanent yellow/brown stains (oily residue that blocks pores), holes larger than 2mm, or a warped frame that won’t seat flush. Also replace if suction doesn’t recover after two proper cleanings—this indicates internal media collapse. Genuine Dyson filters cost $25-$40 but prevent $150+ motor repairs. Measure your filter’s lifespan: if you need cleaning more than every 2 weeks despite regular emptying, the filter’s efficiency has degraded beyond recovery.
Pro Maintenance Strategies for Longevity
Rotate two filters to eliminate downtime: while one dries, the other cleans. Pet owners should adopt this immediately—dander requires bi-weekly cleaning, making rotation essential. Always empty your dust bin below the “Max Fill” line; overflow forces fine particles backward into the filter. For allergy sufferers, add a monthly “deep refresh”: after standard cleaning, mist the dry filter with allergen-sealing spray (like Allersearch) before reinstallation. Finally, track performance changes: time how long your vacuum runs on a full charge pre- and post-cleaning. A 15%+ runtime increase confirms your cleaning method works. Consistent monthly filter care extends your Dyson’s life by 3+ years while maintaining hospital-grade air purification. Skipping this 15-minute task costs you suction, air quality, and ultimately, your vacuum’s lifespan. Your cleanest home starts with a spotless filter—reclaim your Dyson’s power today.

