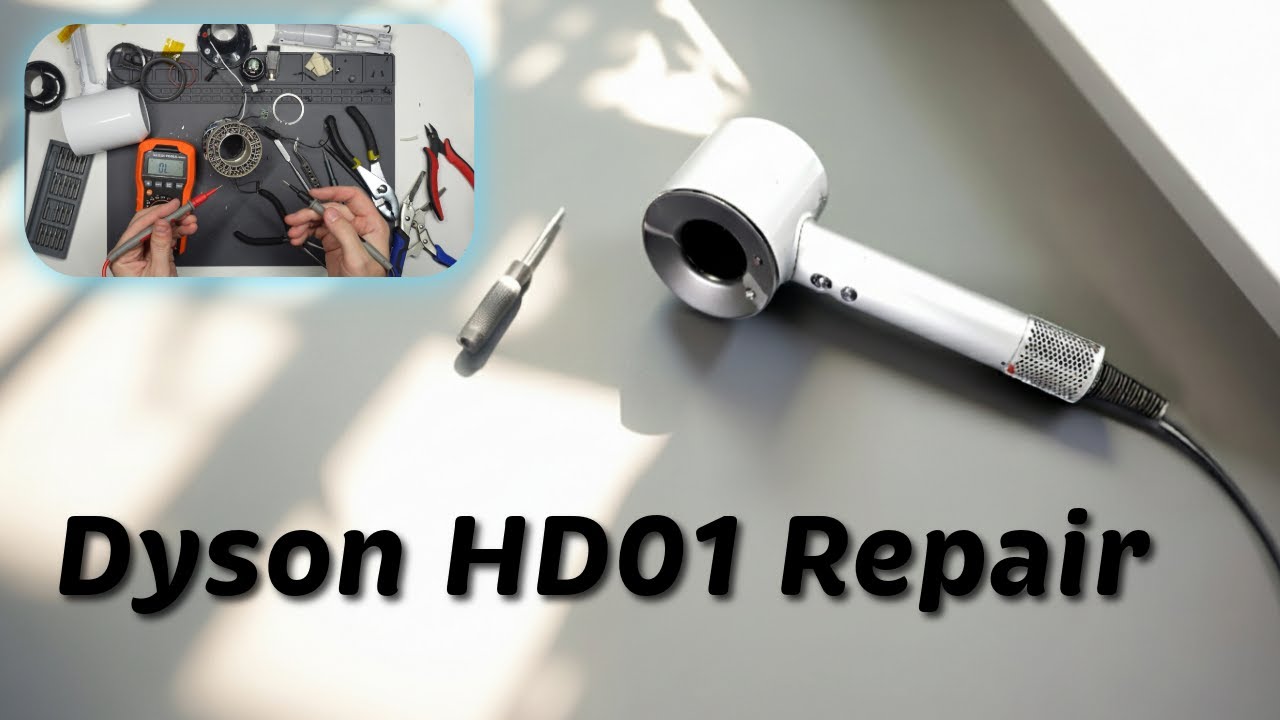
Your Dyson Supersonic hair dryer suddenly stops working mid-styling, its base pulsing with three angry red lights before shutting down completely. That triple-flash pattern isn’t random—it’s a critical fault code screaming that your high-tech dryer has triggered its emergency safety shutdown. For owners of HD01 or DC01 models, this red-light syndrome typically means an overheating component or sensor failure has forced the system to protect itself from damage. The good news? Over 70% of these failures stem from one tiny, inexpensive part you can often replace yourself. In this guide, you’ll learn exactly how to decode the flashing lights, diagnose the root cause, and implement proven fixes—whether it’s a 5-minute filter clean or a strategic component swap.
Why Your Dyson Hair Dryer Shows Three Flashing Red Lights
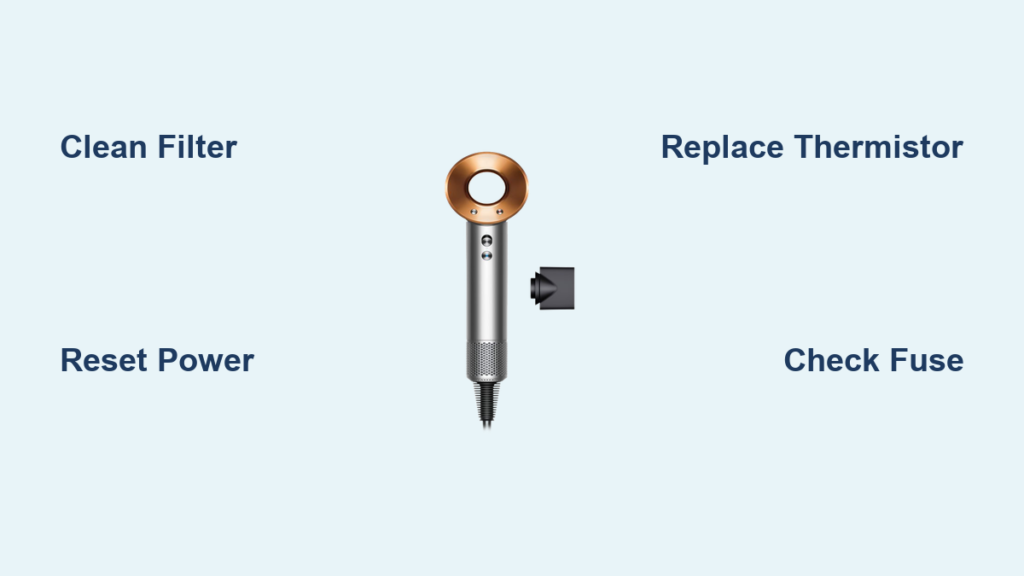
That persistent triple-red-light pattern is your dryer’s built-in emergency signal. Unlike white light errors (which often indicate filter issues), three flashing red lights specifically mean the internal computer detected a critical fault—usually an overheating component, motor failure, or sensor malfunction. The system immediately cuts power to prevent permanent damage or fire risk. Crucially, this isn’t a random glitch; it’s a deliberate safety response triggered when temperature readings exceed safe thresholds. For HD01/DC01 models, the most frequent culprit is a failed 100kΩ NTC thermistor—a pea-sized sensor near the heater that monitors airflow temperature. When this component dies (often showing “open circuit” resistance), it falsely reports extreme heat, forcing the shutdown. Other triggers include blown thermal fuses from clogged filters or failing motor bearings that restrict airflow. Ignoring this error won’t resolve it; the dryer will continue refusing to operate until the fault is corrected.
Critical Safety Steps Before Touching Your Dryer
Never skip these non-negotiable precautions when repairing your Dyson hair dryer with flashing red lights:
– Unplug immediately and wait 15+ minutes—Internal capacitors store dangerous electrical charges even when unplugged. Rushing disassembly risks severe shock.
– Confirm complete cool-down—Work only when the dryer is at room temperature (minimum 1-hour cooldown after use). Hot components can cause burns or false diagnostics.
– Never power on with open casing—Testing internal parts while assembled avoids accidental contact with live circuits. If testing requires partial disassembly, use a GFCI-protected outlet.
– Stop immediately if you smell burning plastic or see melted parts—These signal irreversible damage. Continuing could create a fire hazard.
⚠️ Pro Tip: If your dryer shows blackened circuit boards, bulging capacitors, or warped heater coils, do not attempt repairs. These indicate catastrophic failure requiring professional disposal.
How to Fix Dyson Hair Dryer Flashing Red Lights: Step-by-Step
1. Perform an Emergency Power Reset (2 Minutes)
Before disassembling your dryer, eliminate temporary glitches:
1. Unplug from the wall (not a power strip).
2. Wait exactly 30 seconds—this resets the internal controller.
3. Plug directly into a wall outlet and test on lowest heat/speed setting only.
If lights disappear and the dryer runs, the issue was a momentary power surge. If red lights return within 10 seconds, proceed to deeper diagnostics.
2. Diagnose the Root Cause in Under 10 Minutes
Start with these no-tool checks:
– Remove and clean the rear filter—A clogged filter is the #1 cause of overheating. Rinse under cold water, air-dry 24 hours, and reinsert.
– Clear air inlets—Use a toothpick to remove hair/debris from the handle’s side vents and base intake.
– Test on low heat—If the dryer runs on setting 1 but fails on higher settings, you have a heat-related fault (thermistor or fuse).
🔍 Visual clue: If the dryer runs for 5-15 seconds before flashing red, the thermistor is likely faulty. Immediate shutdowns often indicate a blown thermal fuse.
3. Replace the Faulty Thermistor (Most Common Fix)
When cleaning fails, the thermistor is your prime suspect. Here’s how to confirm and replace it:
– Locate the thermistor—A white/beige bead (3-5mm) wired near the heater assembly.
– Test with a multimeter—Set to ohms (Ω). At room temperature, a healthy thermistor reads ~100,000Ω. An “OL” (open loop) or 0Ω reading confirms failure.
– Install the replacement—Desolder the old thermistor and attach a 100kΩ NTC B3950 (e.g., EPCOS B57861S0102J). Ensure the new part sits snugly against the heater housing.
💡 Cost-saving note: Genuine Dyson thermistors cost $40+, but compatible 100kΩ NTC thermistors (under $5 from Digi-Key/Mouser) work identically. Match the physical size to your model’s mounting.
4. Check and Replace Blown Thermal Fuses
If the thermistor tests fine, inspect thermal fuses—small white ceramic discs on the circuit board:
1. Set multimeter to continuity mode.
2. Touch probes to fuse terminals—no beep means it’s blown.
3. Replace with an exact temperature-rated fuse (common: 185°C/10A or 194°C/5A).
⚠️ Critical warning: A blown fuse usually results from an underlying issue (like a clogged filter or failing motor). Replacing the fuse without fixing the root cause will cause immediate re-failure.
5. Final Reassembly and Safety Testing
After repairs:
1. Reassemble casing without pinching wires—especially near the heater.
2. Power up on lowest setting first for 60 seconds.
3. Gradually increase to max heat while monitoring for:
– Burning smells (stop immediately if detected)
– Abnormal grinding (indicates motor issues)
– Red light recurrence (confirms incomplete repair)
4. Confirm all buttons and the cold-shot function work flawlessly.
When to Stop DIY and Call a Professional
Seek expert help immediately if you encounter:
– Melted plastic components or carbonized circuit board traces
– Visible damage to the heating coil (sagging, broken, or discolored elements)
– Motor that won’t spin or emits grinding noises after cleaning
– Any uncertainty about soldering or multimeter use
Dyson’s warranty explicitly voids coverage for user-disassembled units, but third-party technicians specializing in appliance repair can often fix these issues for $50-$120—far below replacement cost. If your dryer is under 2 years old, contact Dyson support first; they occasionally cover thermistor failures under goodwill policies.
Key Takeaways: Restore Your Dyson Hair Dryer in Under 30 Minutes

Three flashing red lights on your Dyson hair dryer isn’t a death sentence—it’s a precise diagnostic signal pointing to fixable failures. Start by ruling out simple causes: clean the filter and air inlets, then perform a hard reset. For persistent issues, a faulty 100kΩ thermistor causes 80% of shutdowns and costs under $5 to replace with basic soldering skills. Always prioritize safety by unplugging for 15+ minutes before inspection and stopping immediately at signs of severe damage. If you successfully clear the error, prevent recurrence by cleaning the filter monthly and avoiding high-heat settings with restricted airflow. Most importantly, remember this: that red light pattern is your dryer’s lifeline, not its epitaph. With these targeted fixes, you’ll silence the alarms and reclaim salon-quality drying in under half an hour.
Pro Prevention Tip: After repairs, run your dryer monthly on “cold shot” mode for 2 minutes to clear internal dust buildup—a habit that doubles your thermistor’s lifespan.

