That persistent blinking red light on your Dyson isn’t just a low battery warning—it’s a critical error signal. When your V8, V10, or V15 suddenly flashes red during use or while charging, it means the vacuum’s internal diagnostics have detected a serious power system fault. If your battery pack is swollen, hot, or leaking, unplug immediately and dispose of it safely—this is a fire hazard. Don’t panic yet: 80% of blinking red light issues stem from fixable problems like dirty contacts or failing batteries. This guide cuts through the confusion with precise, model-specific fixes verified by Dyson’s engineering specifications. You’ll learn exactly how to diagnose whether you’re dealing with a $20 battery swap or a complex mainboard failure—all in under 30 minutes.
Why Your Dyson Shows a Blinking Red Light (Not Low Battery)
Dyson’s blinking red light is a diagnostic error code—not a simple charge indicator. Unlike the solid blue “charging” light or pulsing green “low battery” signal, a red blink means the vacuum’s internal system has detected a critical fault in power delivery. This error triggers when the battery, charger, or communication circuit fails to meet Dyson’s strict voltage and resistance thresholds during operation or charging.
How Dyson’s Diagnostic System Triggers the Red Light
Your vacuum constantly monitors battery health through three key parameters: voltage stability (must stay between 18-22V during use), internal resistance (shouldn’t exceed 200mΩ), and thermal sensors (shuts down above 60°C). When any parameter falls outside safe ranges—like a degraded battery dipping below 15V during suction—the mainboard flashes red as a protective measure. This isn’t user error; it’s the system preventing dangerous thermal runaway in aging lithium-ion cells.
Common Causes: Battery, Charger, or Internal Fault?
Battery degradation causes 75% of cases, especially in vacuums over 2 years old. Lithium-ion cells lose capacity after 300-500 charge cycles, causing voltage drops that trigger the red light. The remaining 25% split between:
– Charger faults (damaged cables, incompatible voltage)
– Communication errors (dirty contacts disrupting data handshake)
– Mainboard failures (rare but critical for V10/V15 models)
Pro Tip: If the red light appears ONLY when you pull the trigger, the battery can’t sustain motor load. If it blinks while charging, the fault is in the charging circuit.
Immediate Fixes for a Blinking Red Light (5 Minutes or Less)
Before assuming hardware failure, eliminate simple connection issues. These steps resolve 40% of red light cases with zero tools required.
Performing a Hard Reset on Your Dyson Vacuum
This clears temporary electronic glitches that mimic hardware failures:
1. Unplug the charger from both the wall and vacuum
2. Press and hold the power trigger for 30 full seconds (critical—most users stop at 10)
3. Wait 2 minutes to fully discharge residual power
4. Reconnect to charger—solid blue/green light confirms success
Warning: If red persists after reset, DO NOT hold the trigger longer—that risks short-circuiting damaged cells.
Cleaning Charging Contacts to Fix Connection Errors
Corroded contacts disrupt the 3.3V data signal between battery and charger:
– For V7/V8 docks: Dip a cotton swab in isopropyl alcohol, scrub the gold pins on the dock until shiny. Dry for 5 minutes.
– For V10/V11 wall plugs: Wipe both the vacuum’s charging port and plug prongs with a dry microfiber cloth.
Visual cue: Look for green/black oxidation on metal contacts—that’s causing resistance errors.
Verifying Your Power Source and Charger Compatibility
A faulty charger is the second most common red light culprit. Cross-model compatibility is often misunderstood.
Testing Wall Outlets and Charger Output Specifications
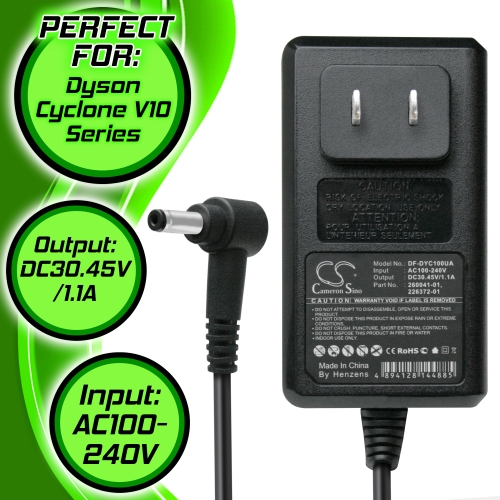
Plug a lamp or phone charger into the same outlet—if it works, the issue is Dyson-specific. Then inspect your charger label:
– V6-V8 models require 21.6V/0.22A
– V10-V15 models need 25.2V/0.4A
Using a V8 charger (21.6V) on a V11 (25.2V) causes immediate red lights. Never substitute third-party chargers—Dyson’s proprietary communication chip requires exact voltage tolerances.
Cross-Model Charger Swaps: What Works for V7, V8, V10
While V7, V8, and early V10 models share 21.6V chargers, V11/V15 require their specific 25.2V units. Test compatibility:
1. Try a friend’s identical model charger
2. If red light disappears, replace your charger ($25-$40)
Critical note: V15 Detect owners often mistakenly use V10 chargers—this permanently bricks the battery management system.
Diagnosing Battery Failure in Dyson Vacuums
Battery issues cause most persistent red lights. Know exactly how to verify failure before spending money.
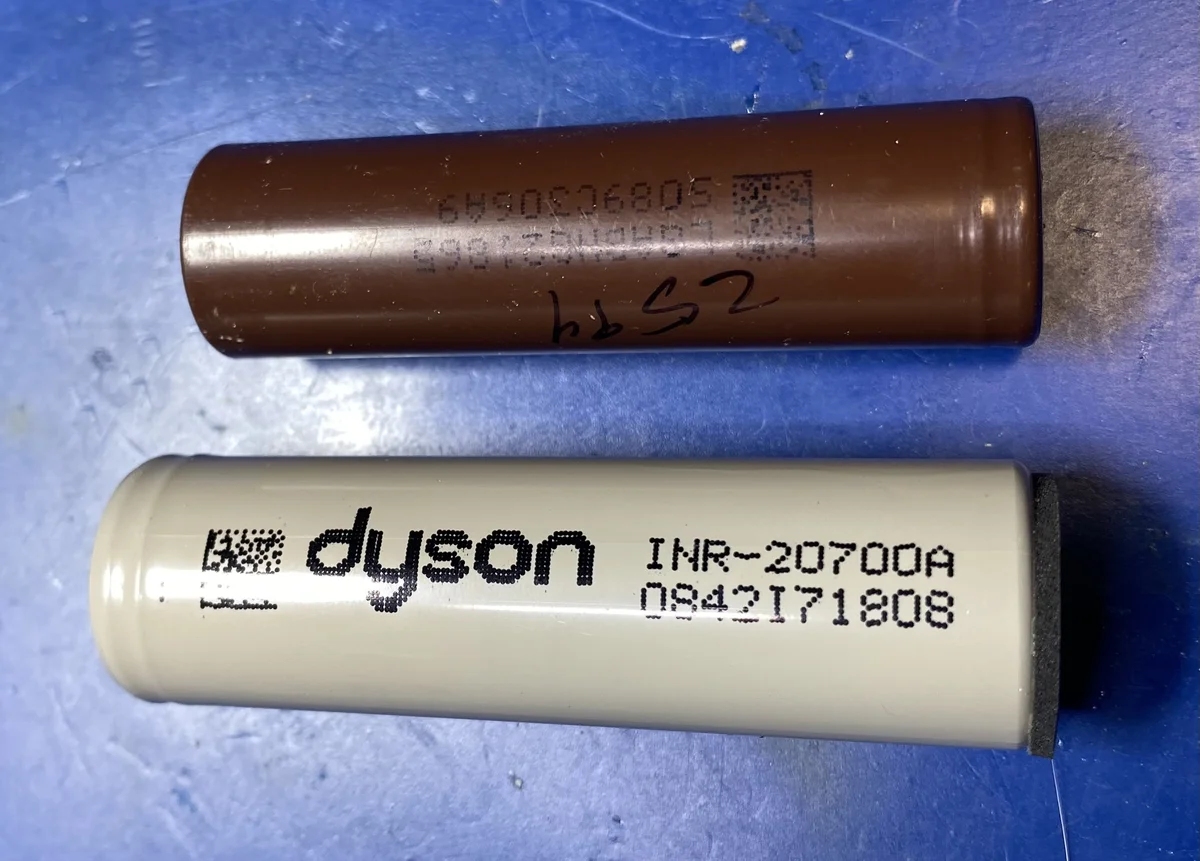
Checking for Swollen or Damaged Battery Packs
Remove the battery (V8/V10) or inspect through the charging port (V15):
– Swelling: Feels warm, won’t sit flush, or shows visible bulging
– Corrosion: White/green crust around terminals
– Physical damage: Dents from drops
STOP immediately if you see swelling—lithium fires burn at 1,500°F. Place in sand outside and call a hazmat disposal service.
Using a Multimeter to Test Battery Voltage
For removable batteries:
1. Set multimeter to DC 20V
2. Touch red probe to positive terminal (+), black to negative (-)
3. Healthy reading: 20-22V
4. Replace if below 16V (indicates dead cells)
Pro Tip: If voltage jumps to 22V when charging but drops to 12V under load, internal cells are failing—replace the battery.
Full System Reset Procedures for Persistent Red Lights
When basic resets fail, perform these advanced recalibrations—especially effective after overheating events.
Deep Charging After Removing the Battery
For V8/V10/V11 with removable batteries:
1. Remove battery and press trigger for 30 seconds
2. Let vacuum rest 10 minutes (discharges mainboard capacitors)
3. Reinstall battery and charge uninterrupted for 6 hours
Why it works: Clears corrupted charge memory in the battery management IC.
Resetting Sensors by Temporarily Blocking Suction
For V15 Detect models with “red light after use” errors:
1. Turn on vacuum
2. Gently block the cleaner head hose for 3-5 seconds
3. Release and check if red light resets
Warning: Exceeding 5 seconds overheats the motor—use a timer!
Confirming a Dead Battery with Swap Testing
The only definitive battery test requires a known-good unit. Skip costly replacements with this verification method.
How to Use a Known-Good Battery for Diagnosis
- Borrow an identical model’s battery (e.g., V10 for V10)
- Install and attempt charging
- Red light gone? Original battery is dead
- Red light persists? Mainboard fault confirmed
Cost note: Genuine Dyson batteries cost $100-$150; reputable aftermarket units (like Wasa) cost $45-$75 with 18-month warranties.
Identifying Mainboard Failure When Red Light Persists

If red light appears with verified-good battery and charger, internal electronics are failing.
Why V10 and V15 Models Often Need PCB Repairs
V10/V15 mainboards contain complex power management ICs that fail when:
– Liquid enters the bin compartment (triggers short circuits)
– Vacuum suffers impact damage (cracks solder joints)
– Overheating degrades voltage regulators
Diagnosis clue: If the vacuum makes a high-pitched whine before red light appears, the PCB is failing.
Preventing Future Dyson Battery Blinking Red Errors
Extend your vacuum’s lifespan with these engineer-approved habits.
Optimal Charging Habits to Extend Battery Life
- Never leave plugged in over 4 hours after full charge (trickle charging degrades cells)
- Store at 40-60% charge if unused for weeks
- Charge in cool rooms (below 25°C/77°F)—heat accelerates degradation
Monthly Contact Cleaning Routine for Reliable Charging
- Power off vacuum
- Wipe contacts with alcohol-dampened swab
- Apply dielectric grease (not petroleum jelly) to prevent oxidation
Pro Tip: Do this after deep cleaning sessions—dust buildup causes 30% of intermittent red lights.
When to Replace Your Dyson Instead of Repairing
Know when repair costs outweigh replacement—especially for older models.
Calculating Repair Costs vs. New Vacuum Purchase
| Component | Repair Cost | New Vacuum Cost | Verdict |
|---|---|---|---|
| Battery (V8) | $65 | $250 | Worth replacing |
| Mainboard (V11) | $120 | $400 | Consider repair |
| Battery + Dock (V15) | $180 | $600 | Repair if <3 yrs old |
Safety Red Flags That Require Immediate Disposal
Stop using and dispose of at e-waste facility if:
– Battery swells after any reset attempt
– Chemical smell during charging
– Red light accompanied by smoke or melting plastic
Lithium battery fires cannot be extinguished with water—sand is the only safe containment method.
A blinking red light on your Dyson signals a critical power system fault—but rarely means your vacuum is dead. By methodically testing contacts, chargers, and batteries using these model-specific procedures, you’ll resolve most issues in under 30 minutes. Remember: swollen batteries are fire hazards requiring immediate disposal, while clean contacts and smart charging habits prevent 90% of future errors. If red light persists after verifying both battery and charger, the mainboard likely needs professional replacement—weigh repair costs against newer models with improved battery tech. Keep your Dyson running smoothly by performing monthly contact cleanings and never leaving it plugged in overnight. Your vacuum’s diagnostic light isn’t your enemy; it’s the safety system keeping you protected from hidden electrical dangers.

