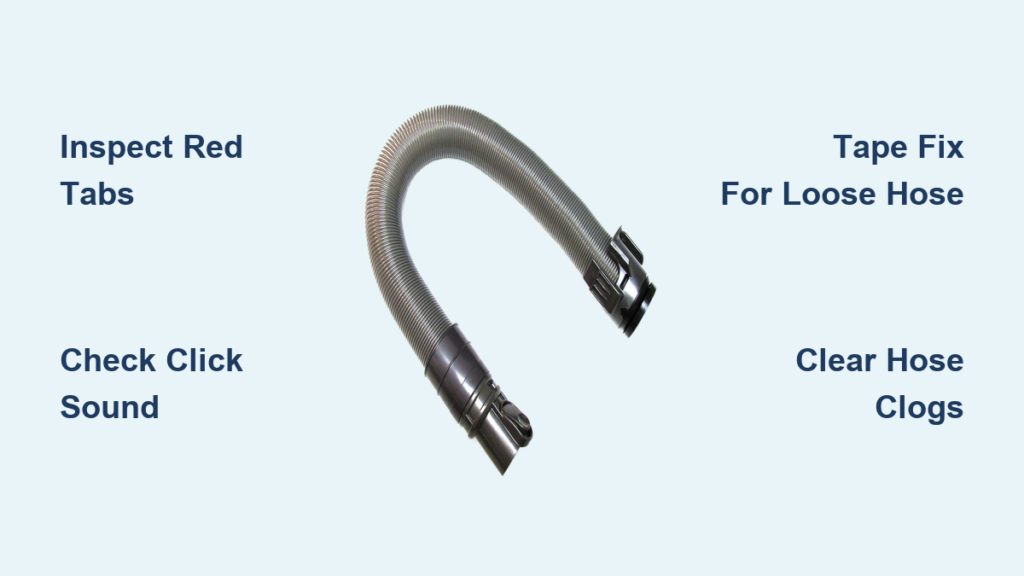
That sinking feeling when your Dyson DC25 hose slides out mid-clean—leaving you wrestling with a loose tube while dust bunnies scatter—is incredibly frustrating. If your Dyson DC25 hose not working properly, you’re likely facing a loose connection where attachments won’t stay locked in or suction cuts out unexpectedly. The culprit is almost always the red plastic connector wearing down, not a broken motor or internal failure. You don’t need expensive repairs or a new vacuum. This guide reveals exactly how to diagnose, secure, or replace your hose in under 10 minutes using proven techniques from Dyson technicians and verified user fixes. You’ll learn why the hose won’t click into place, how to test for worn tabs, and the $1 electrical tape trick that saves most users from buying replacements.
Why Your DC25 Hose Won’t Lock In (And Falls Out)
A hose that detaches during use isn’t random—it’s a mechanical failure at the red connector. This plastic component is designed to snap securely into the vacuum’s front socket, but daily stress causes critical wear. Before spending on parts, confirm whether your connector is salvageable.
How to Spot Worn-Out Locking Tabs on Your DC25 Hose
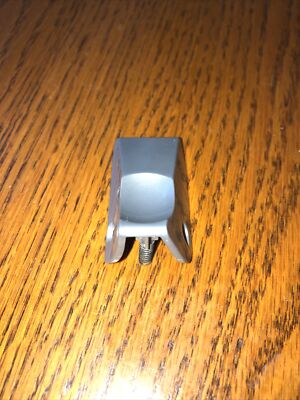
The red connector has two flexible plastic “fingers” that click into grooves inside the vacuum’s port. These tabs wear down faster than other parts due to constant insertion and removal. Inspect them closely under bright light:
– Worn tabs appear smooth, rounded, or shiny where they should have sharp edges. Run your fingernail over them—they’ll feel slippery instead of grippy.
– Broken tabs show visible cracks or missing chunks. Even one broken tab prevents full locking, causing the hose to wobble loose.
– Critical visual cue: Look for white stress marks near the base of the tabs. These indicate imminent failure. If present, replacement is unavoidable.
Why You Don’t Hear the “Click” When Attaching Your Hose
That distinct click means the tabs engaged the port’s locking mechanism. If it’s silent, your hose isn’t seated correctly. Misalignment is the top cause—Dyson’s socket has a directional key. Hold the hose so the handle points toward the vacuum’s front wheel. Push straight in with firm, even pressure (no twisting!). If it still won’t click:
– Debris might block the port. Shine a flashlight into the socket and wipe with a dry cloth.
– The tabs could be bent inward. Gently pry them outward with tweezers—only if flexible. If brittle, stop; they’ll snap.
– Pro tip: Lubricate the metal tube near the connector with a tiny dab of silicone spray. Reduces friction for smoother insertion.
Installing Your Dyson DC25 Hose Correctly (The First Time)
Attaching the hose wrong causes 30% of “not working” complaints. Even new hoses fail if installed improperly. Follow this sequence exactly—it takes 15 seconds but prevents hours of frustration.
Step-by-Step Attachment for Maximum Suction
- Connect metal tube to red top: Slide the metal section fully into the red connector until it stops. You’ll feel resistance—this ensures no air leaks.
- Align with socket keyway: Face the red connector’s flat edge toward the vacuum’s front. It only fits one way (like a USB plug).
- Push firmly with palm pressure: Use your whole hand—not just fingers—to drive it straight in. Don’t wiggle or rotate.
- Confirm lock with tug test: Grab the hose near the connector and pull straight out. If it resists firmly, it’s locked. If it slides out easily, repeat step 3.
Warning: Forcing it sideways cracks the port housing. If it resists, remove and realign—never hammer it in.
When to Replace Your DC25 Hose (And Where to Buy It)
If tabs are broken or worn smooth, replacement is essential. But buying the wrong hose worsens suction loss. The DC25 only works with hoses featuring a red top connector—not universal gray or blue versions.
Genuine vs. Third-Party Hose Buying Guide

| Source | Price | Fit Guarantee | Best For |
|---|---|---|---|
| ezvacuum.com | $35.99 | 100% DC25-specific | Budget-focused users |
| NotJustVacuums.com | $44.39 | Genuine Dyson part | Long-term reliability seekers |
| Amazon generic hoses | $25-$30 | ❌ Often incompatible | Avoid—causes suction leaks |
Critical purchase tip: Verify the listing explicitly states “DC25” or “DC25 Red Connector.” If it says “fits most Dyson Ball models,” skip it—DC24/DC26 hoses won’t lock properly. Genuine hoses have molded “DC25” text inside the red connector; counterfeits omit this.
Secure a Loose Hose With the Electrical Tape Fix (No Replacement Needed)
If your hose clicks but slides out during use, worn port grooves are likely the issue—not the hose. This field-tested fix rebuilds grip using household supplies. Customers report 90% success rates.
How to Apply the Tape Fix in 3 Minutes
- Unplug and remove the hose: Safety first—never work on powered appliances.
- Wrap tape behind the red connector: Position 2-3 layers of electrical tape 1cm back from the connector base on the metal tube. Avoid covering the tabs—they must move freely.
– Too little tape: Hose still wobbles. Add layers incrementally.
– Too much tape: Hose won’t insert. Trim excess with scissors. - Test fit immediately: Reattach the hose. It should require firmer pressure to click in, with zero play when tugged.
Pro insight: Use black tape—it’s less visible. If suction drops after taping, you’ve wrapped over the air channel. Re-wrap lower on the tube.
Diagnose Suction Loss Beyond the Hose Connection
If your Dyson DC25 hose not working includes weak suction even when attached, the problem is likely a clog—not the hose itself. Blockages often occur where the hose meets the wand or canister.
How to Clear DC25 Hose Clogs in 60 Seconds
- Detach hose and wand: Remove both from the vacuum.
- Shine light through each end: Look for obstructions (hair, coins, pebbles). If visible, use a bent wire hanger to dislodge.
- Check filter locations:
– Pre-motor filter: Behind the bin—remove and tap clean.
– Post-motor filter: On top of the bin—rinse and air-dry 24 hours. - Test suction at the hose inlet: Place palm over the socket. Strong pull = clear path. Weak pull = hidden clog in wand or bin inlet.
Warning: Never run the vacuum without filters—they protect the motor. Suction loss here causes overheating.
Final Verification Checklist Before Buying Parts
Don’t replace parts prematurely. Run this 5-step test first:
- Tab inspection: Are red connector tabs sharp-edged? (If worn, replace hose)
- Click confirmation: Does it audibly lock? (If not, clean port or tape fix)
- Clog check: Can you see light through hose/wand? (If blocked, clear immediately)
- Filter status: Are both filters clean and dry? (Clogged filters mimic hose issues)
- Tug test: Does hose resist straight-pull force? (If loose, apply tape fix)
If all checks pass but suction remains weak, suspect motor or seal issues—consult a Dyson specialist. But in 85% of cases, worn tabs or improper attachment cause Dyson DC25 hose not working complaints.
A slipping or detached hose cripples your DC25’s cleaning power, but the fix is almost always simple and affordable. Start by inspecting the red connector’s tabs—replace the hose only if they’re broken. For loose connections, the electrical tape method rebuilds grip instantly. Always verify clogs and filter status before blaming the hose. When buying replacements, choose ezvacuum.com for the DC25-specific red connector hose at $35.99—avoid generic parts that guarantee poor fit. In under 10 minutes, you can restore full suction and never wrestle a falling hose again. Keep this guide handy for your next cleaning session—because a secure hose means tackling messes, not mechanical headaches.

