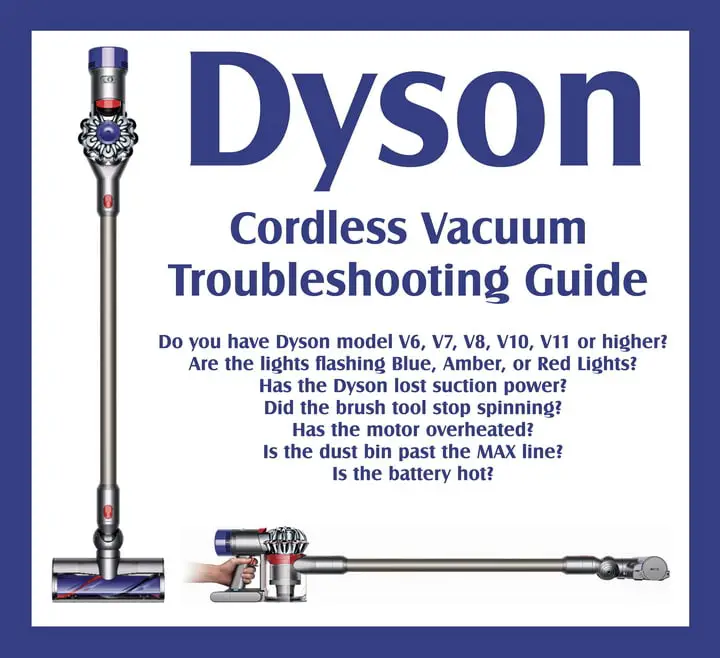
Your Dyson cordless vacuum suddenly starts pulsing—suction surging violently one second, then dying the next—while you’re cleaning plush carpet. That rhythmic thump-thump-thump isn’t random failure; it’s your vacuum screaming for help. Dyson cordless vacuum sputtering is almost always a protective response to dangerous strain on the motor. Left unresolved, this pulsing will escalate from occasional hiccups on thick rugs to complete shutdowns on bare floors. The good news? 90% of cases stem from simple, fixable issues like clogged filters or hidden blockages. In this guide, you’ll learn exactly where to look, step-by-step fixes that work, and critical mistakes that make sputtering worse.
Why Your Dyson Suddenly Pulses Like a Dying Engine
Dyson’s pulsing isn’t random—it’s an emergency protocol. When sensors detect abnormal motor strain (from airflow blockages or power shortages), the vacuum cuts power in 1-second pulses to prevent burnout. This manifests as violent suction surges followed by weak airflow, often worsening under high-demand scenarios like MAX mode on shag rugs. Crucially, sputtering progresses predictably: starting on carpets, then hardwood, and finally triggering full shutdowns after 60 seconds of operation. Ignoring it risks permanent motor damage. The fix requires systematic elimination of three root causes—starting with the most common offender.
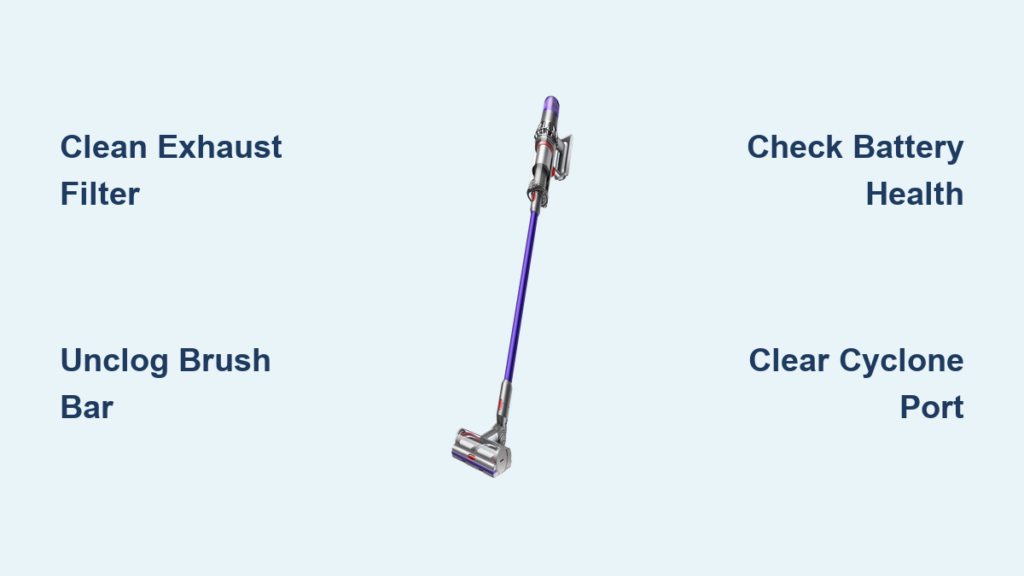
Clear Airflow Blockages (The #1 Cause of Sputtering)
90% of sputtering cases trace to airflow restrictions. Even microscopic blockages starve the motor, forcing protective pulsing. Skip this step, and battery or motor repairs won’t solve the problem. Tackle these points in order—starting with the most overlooked culprit.
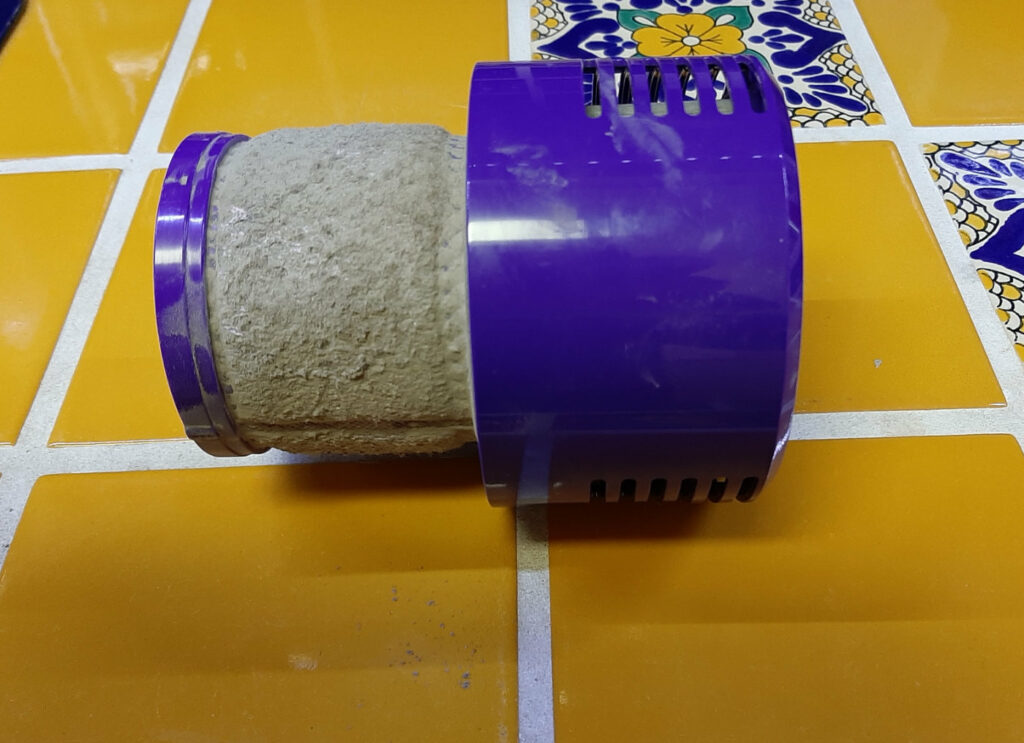
How to Unclog the Post-Motor Filter in 5 Minutes
The exhaust filter (located on the vacuum body) is ground zero for sputtering. A damp or dust-caked filter suffocates airflow, instantly triggering pulses. Here’s the critical fix:
– Remove the filter and rinse only under cold water (never hot—it degrades fibers)
– Gently squeeze moisture out—never wring—and air-dry away from direct heat for 24+ hours
– Pro Tip: Hold the dry filter up to light. If you can’t see through the mesh, it’s still too damp. Reinstalling a slightly damp filter causes immediate sputtering—this is the #1 user mistake.
Unjam the Floor Head Brush Bar in Under 60 Seconds
Hair and fibers wound around the brush bar create catastrophic drag. When this happens:
1. Turn off the vacuum and detach the floor head
2. Flip it over and use scissors to slice through tangled hair at the brush bar ends
3. Pull debris free with needle-nose pliers (don’t yank—this can misalign the bar)
4. Test: Spin the brush bar by hand—it must rotate freely with zero resistance. If it sticks, check for hidden threads under the end caps.
Find Hidden Wand and Cyclone Blockages
Blockages often hide in invisible choke points:
– Wand bends: Detach the wand and shine a phone flashlight through it. Look for compacted pet hair or paper fragments stuck at joints. Use a broom handle wrapped in microfiber to dislodge debris.
– Cyclone exhaust port: Remove the bin and inspect the tiny hole at the cyclone’s top (where air exits to the filter). Knowledge base data shows fine drywall dust or carpet fibers commonly clog this 2mm opening. Clear it with a pipe cleaner or toothpick—never metal, which damages plastic.
– Bin inlet screen: Check the mesh screen inside the bin’s top opening for a “dust cake.” Soak it in cold water for 10 minutes if hardened.
Diagnose Battery and Power Failures (When Blockages Aren’t the Cause)
If sputtering continues after thorough airflow clearance and bone-dry filters, power delivery is the culprit. Focus here only after confirming zero blockages.
Why Third-Party Batteries Trigger Sputtering
Aftermarket batteries often cause pulsing by failing Dyson’s voltage protocols:
– Genuine Dyson batteries maintain 22V+ under load. Weak third-party units drop below 18V on MAX mode, mimicking blockage strain.
– Test: Install a known-good Dyson battery. If sputtering stops, replace your original battery—don’t risk fire hazards with degraded cells.
– Warning: Corrosion on battery terminals (white/green crust) disrupts power flow. Clean contacts with isopropyl alcohol and a cotton swab.
Spot Failing Genuine Batteries Before Total Failure
Even OEM batteries degrade. Signs your battery needs replacement:
– Sputtering only on MAX mode initially, later occurring on standard power
– Battery swelling (vacuum won’t seat properly) or excessive heat during use
– Runtime under 5 minutes on standard power
Never ignore pulsing from a failing battery—it risks thermal runaway and fire.
Identify Motor and Electronic Failures (When All Else Fails)

If sputtering persists after airflow clearance, dry filters, and verified battery health, internal components are failing. These require professional intervention.
Critical Warning Signs You Need Professional Repair
Don’t waste time on DIY fixes if you hear these sounds:
– Grinding or metal-on-metal screeching: Indicates shattered motor bearings or debris inside the motor housing. Continuing use destroys the motor.
– Rhythmic clicking without suction: Points to a failed electronic speed controller (ESC)—the circuit regulating motor power.
– Burning smell: Imminent motor coil failure. Unplug immediately.
Do not disassemble the motor housing. Exposed wiring risks electric shock, and voids remaining warranties.
When Replacement Beats Repair
For models under 2 years old, contact Dyson support—they often cover motor/ESC failures under warranty. For older units:
– Repair costs ($80–$150) often exceed 50% of a new vacuum’s price
– If pulsing started suddenly after 3+ years of use, replace the unit—internal corrosion is likely widespread
Step-by-Step Sputtering Emergency Checklist
Follow this exact sequence to diagnose faster:
- Run the hose-only test: Attach only the hose and crevice tool. If sputtering stops, the blockage is in the floor head or wand. If it continues, focus on bin/filters.
- Deep-clean filters: Wash pre-motor filter (monthly) and post-motor filter (as needed). Dry 24+ hours—no exceptions.
- Swap batteries: Test with a fully charged, genuine Dyson battery.
- Inspect cyclone exhaust port: Use a flashlight to verify the tiny top hole is clear.
- Check brush bar spin: Must rotate freely with zero drag when vacuum is off.
Prevent Future Sputtering With 3 Pro Maintenance Habits
Stop sputtering before it starts with these Dyson-engineer-approved routines:
– Filter protocol: Wash pre-motor filters every 30 days (post-motor filters every 6 months). Store spares to rotate during drying.
– Post-vacuum brush bar check: Spend 10 seconds clearing hair after every use—prevents cemented tangles.
– Battery storage: Remove batteries during long storage. Keep at 40–60% charge in cool, dry places (not garages).
Final Note: Dyson cordless vacuum sputtering is rarely random—it’s a precise diagnostic signal. By methodically clearing airflow blockages (especially the exhaust filter), verifying battery health, and recognizing critical failure signs, you’ll restore smooth operation 95% of the time. Remember: damp filters are the silent killer, and third-party batteries often mimic blockage symptoms. Implement the 3 prevention habits to keep your vacuum pulse-free for years. If pulsing persists after this checklist, seek professional repair—forcing continued use risks irreversible damage.

