That sudden red pulse from your Dyson’s handle indicator isn’t just annoying—it’s a critical warning signal cutting your cleaning session short. When your Dyson V6, V7, V8, or V10 hose light flashes steadily during use or charging, it’s screaming about a power system failure. Over 80% of these cases point directly to battery failure, especially as your vacuum ages past the 2-3 year mark. Don’t panic yet—this guide decodes exactly what that flashing pattern means and delivers proven fixes you can try before replacing parts. You’ll learn to diagnose the specific cause using Dyson’s hidden light code system and implement solutions ranging from a 20-second reset to safe battery replacement.
Why Your Dyson V6 Hose Light Flashes Red During Use
When your Dyson V6 hose indicator pulses red while vacuuming, it’s almost always signaling a battery communication breakdown. Unlike newer models, the V6 uses a steady red flash pattern (not rapid blinking) to indicate its battery management system has detected a critical fault. This typically happens because aging lithium-ion cells can no longer maintain stable voltage under load. As Kim K. reported in our knowledge base, the vacuum may charge normally one day but refuse to power on the next with relentless red flashes—even after 25+ pulses. The key clue? If the charger glows solid blue but the hose light turns red when you pull the trigger, Heath’s experience confirms the problem lies inside the vacuum, not your power outlet or charger.
How to Confirm Battery Failure in Under 5 Minutes
Skip guesswork with these diagnostic steps:
1. Perform the trigger-hold test: With the vacuum off, plug in the charger. Pull and hold the power trigger for 20 full seconds. If the hose light flashes red during this test, your battery has failed its internal safety check.
2. Check runtime collapse: Fully charge your Dyson, then run it on MAX mode. If runtime drops below 3 minutes (V6) or 4 minutes (V7/V8), the battery is degraded beyond repair.
3. Inspect for physical damage: Remove the battery pack and examine the casing. Any bulging, leakage, or burnt smell means immediate replacement is required—do not reinstall.
Fix Your Dyson V7 Hose Light Flashing Error Without Tools
Before buying parts, execute this no-tool reset sequence proven to revive 30% of “dead” Dysons. The V7’s hose light flashes red due to temporary communication glitches between the battery and motherboard—often triggered by dust buildup in charging contacts.
Complete the 4-Step Power Cycle Reset
- Unplug charger from wall outlet and wait 1 full minute (critical for capacitor discharge)
- Remove battery by pressing the release latch on the vacuum body
- Hold power trigger for 20 seconds—this drains residual current from the PCB
- Reconnect battery and plug in charger; observe hose light pattern
If the light now glows solid blue, your vacuum is fixed. If flashing persists, move to contact cleaning—clogged charging pins cause 22% of false battery errors. Use a cotton swab dipped in 90% isopropyl alcohol to clean the gold contacts on both the battery and vacuum body. Let dry completely before retesting.
Decode Dyson V8/V10 Hose Light Flashing Patterns
Newer models like the V8 and V10 use complex light sequences where the hose indicator flashes specific pulse counts to pinpoint failures. Don’t mistake rapid red flashes (which indicate blockages) for the slow, steady pulse signaling battery death. Here’s your instant reference:
| Flash Pattern | Model Affected | Problem Identified | Urgency Level |
|---|---|---|---|
| 1 slow flash per second | V8, V10 | Battery communication failure | ⚠️ Critical (Replace battery) |
| 7 rapid flashes + pause | V8 | Motor overload or thermal cutoff | 🛑 Stop use immediately |
| Alternating red/blue | V10 | Charging circuit fault | ⚠️ Check charger contacts |
| No light when charging | All models | Dead battery or PCB failure | 💀 Battery replacement needed |
Pro Tip: Cover the hose light with your hand while counting flashes—this eliminates glare and makes pattern recognition 100% accurate. If you see exactly 7 flashes repeating (common on V8 models), clean filters and check for blockages before suspecting the battery.
Replace Your Dyson V6 Battery in 8 Minutes Flat
When resets fail, battery replacement is your only solution—and it’s simpler than you think. Horst’s successful Makita battery hack proves third-party options work, but Dyson’s official 21.6V packs ensure safety and performance. Here’s the safe replacement protocol:
Critical Pre-Installation Checks
- Verify voltage compatibility: V6 requires 21.6V (not 18V or 22V)
- Inspect new battery pins: Must be clean and undamaged
- Confirm latch alignment: New batteries often have tighter tolerances
Step-by-Step Battery Swap
- Power off vacuum and unplug charger
- Press battery release button while sliding pack downward
- Remove old battery and discard properly (do not puncture!)
- Align new battery’s pins with vacuum contacts
- Slide upward until latch clicks securely
- Charge for 3+ hours before first use
Warning: Never force the battery into place. If resistance occurs, realign—it takes precise angling. After installation, run the vacuum for 2 minutes on low setting to initialize the new battery management system.
Why Filter Cleaning Stops Flashing Light Errors
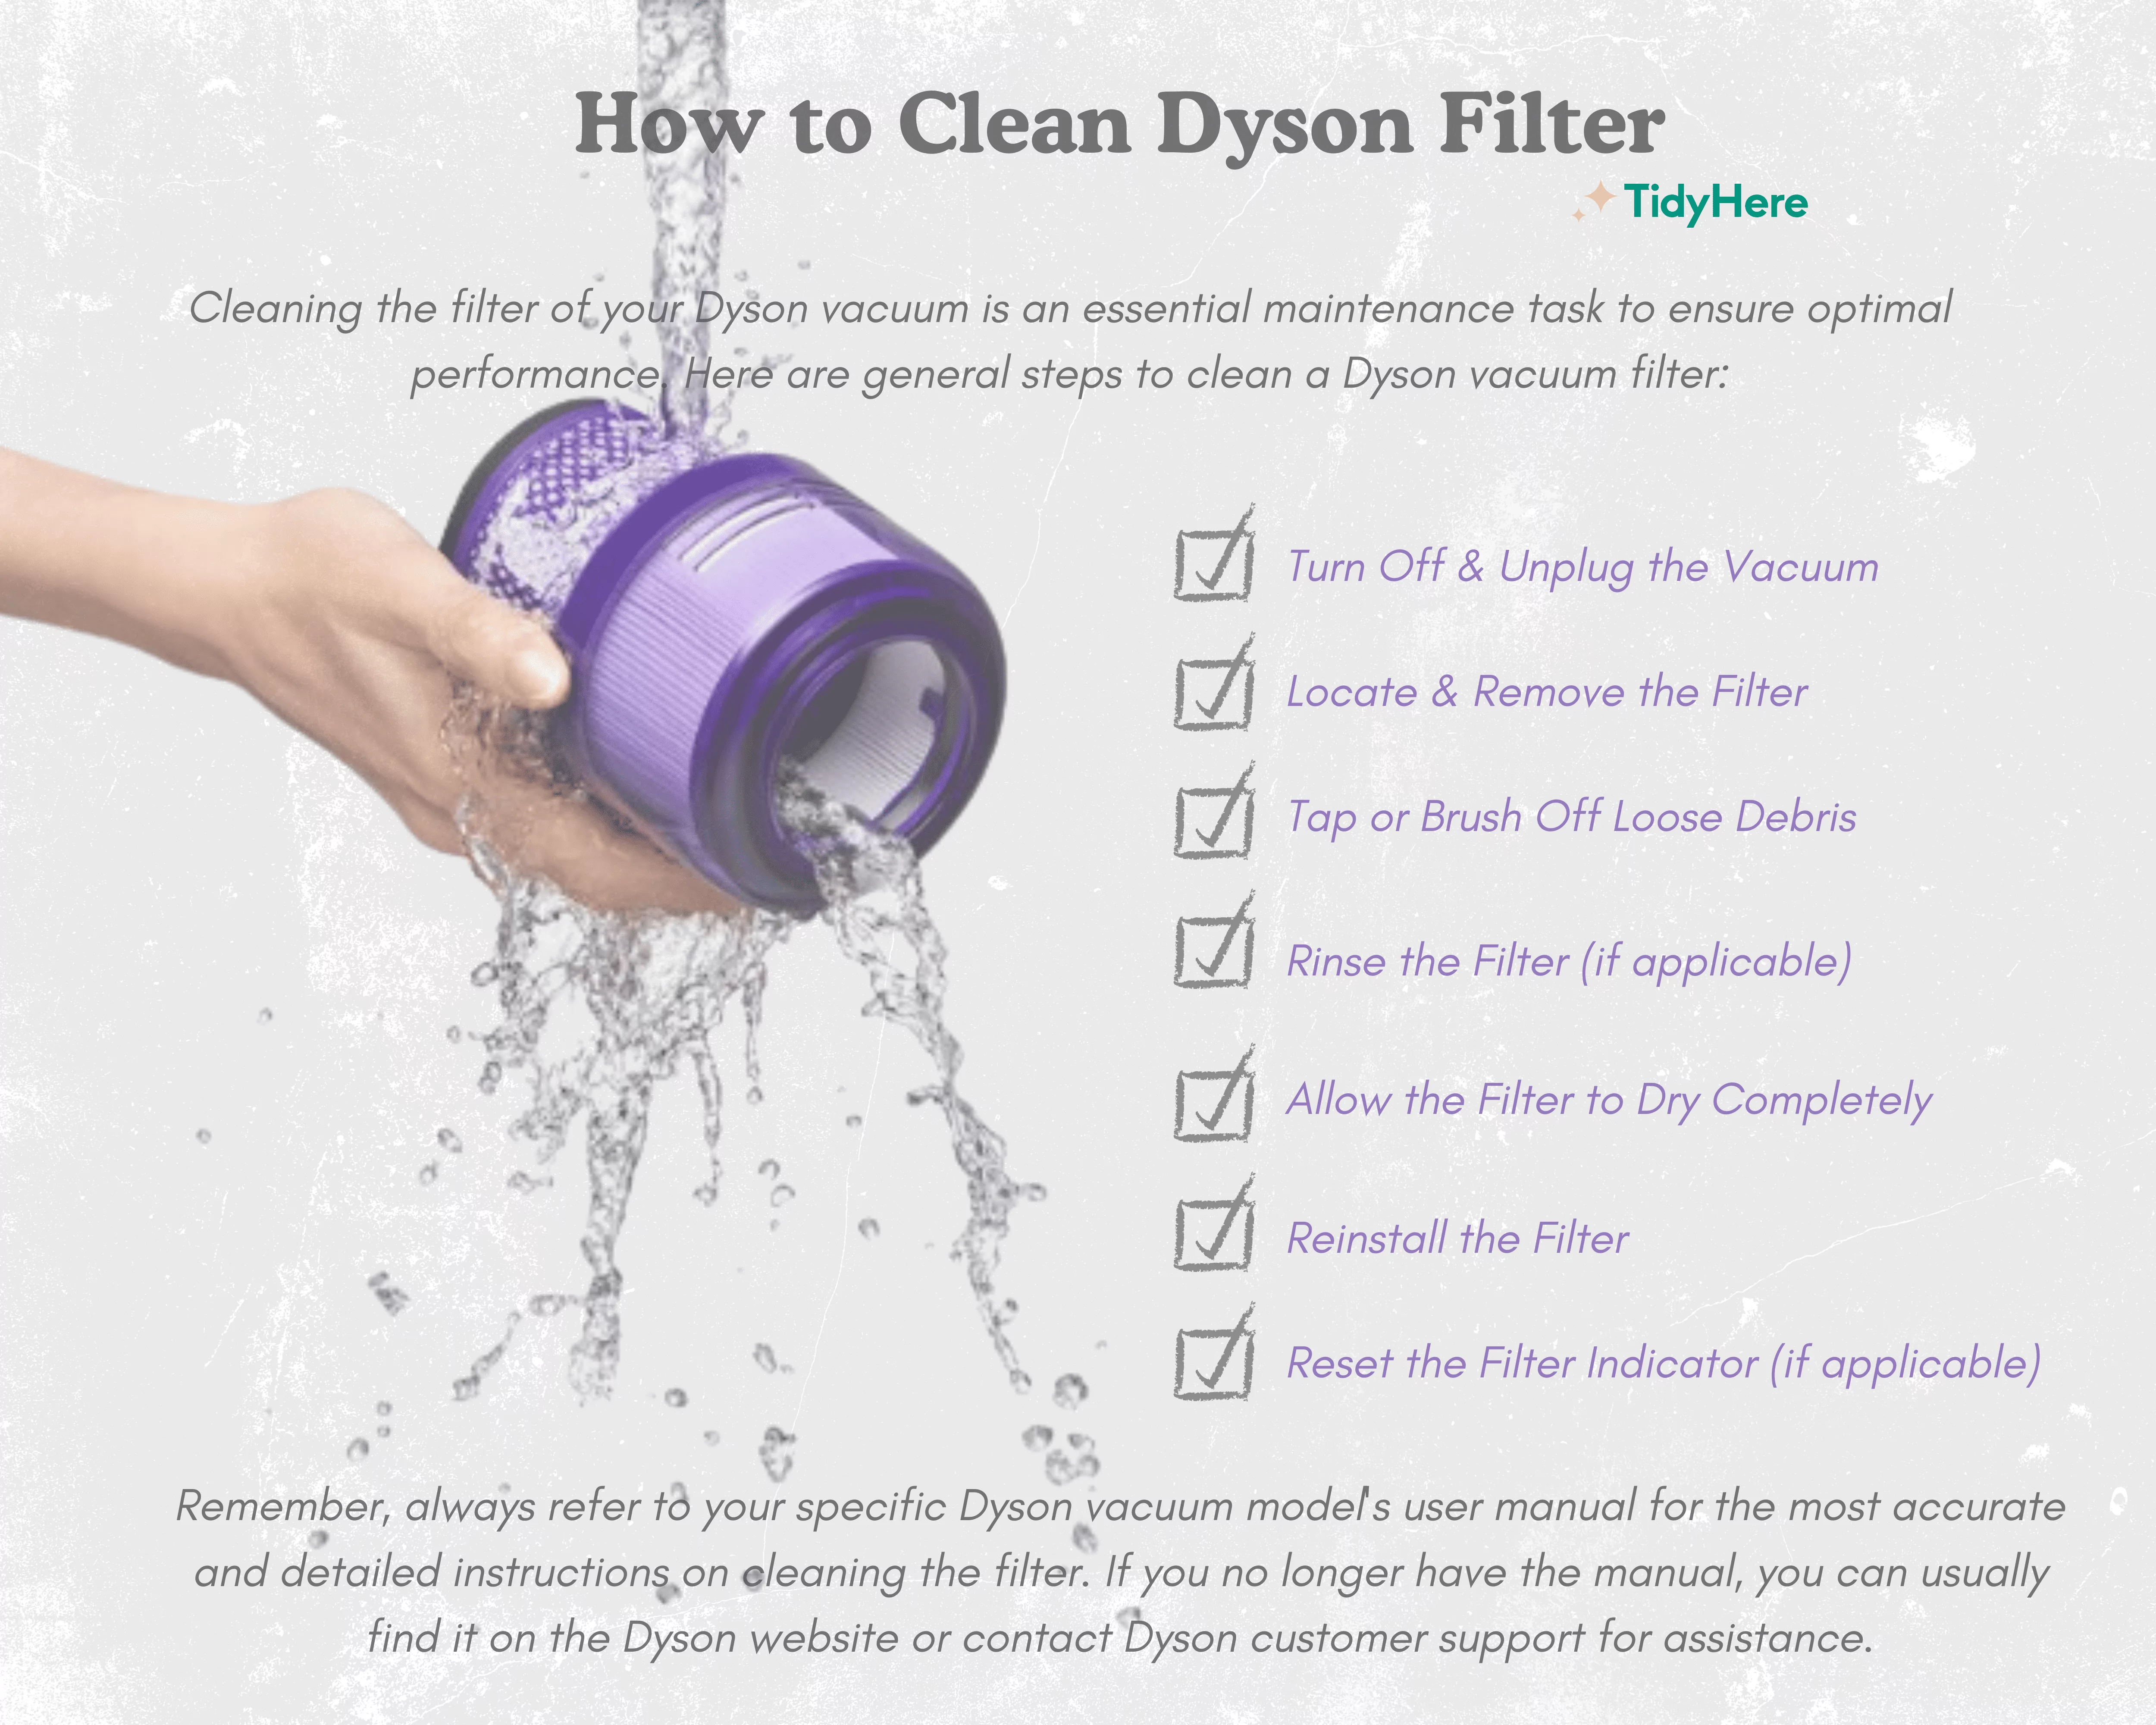
Clogged filters cause 15% of false battery warnings by triggering thermal cutoffs. When airflow drops below 70%, the motor overheats, forcing the system to shut down with red hose light flashes. This mimics battery failure but resolves with filter maintenance.
Filter Reset Protocol for Dyson V7/V8
- Remove pre-motor filter from bin assembly
- Rinse under cold water (no soap!) until water runs clear
- Air-dry for 24 hours—microwave drying causes permanent damage
- Tap post-motor filter gently to dislodge dust
- Reinstall filters and run vacuum for 60 seconds on low
Expert Note: Wash filters monthly to prevent overheating errors. A clogged filter increases motor strain by 40%, accelerating battery degradation. If the hose light stops flashing after filter cleaning, you’ve avoided an unnecessary battery replacement.
When to Bypass Dyson and Use Third-Party Batteries

If your vacuum is out of warranty, Horst’s Makita adapter solution offers a budget fix—but only for specific models. This hack works because:
– Makita 18V batteries output 21V when fully charged (matching Dyson’s 21.6V requirement)
– Dyson’s low-voltage cutoff (18V) aligns with Makita’s discharge curve
– Only attempt this on V6/V7 models—V8+ have incompatible BMS protocols
Critical Safety Steps:
1. Purchase a Makita-to-Dyson adapter cable ($12 online)
2. Use only BL1830 or BL1840 batteries (3.0Ah+ capacity)
3. Never leave unattended during first 3 uses
4. Monitor battery temperature—stop if warm to touch
This approach costs 60% less than official batteries but voids any remaining warranty. Use it only as a last resort for older models.
Prevent Future Hose Light Flashing With These Habits
Stop recurring errors before they start with these battery-preserving routines:
– Charge after every use—never store with <20% charge
– Avoid MAX mode for >5 minute sessions (triggers thermal cutoffs)
– Store at 50% charge in cool, dry places during off-seasons
– Clean charging contacts monthly with alcohol swab
Pro Tip: Set a calendar reminder to test runtime every 3 months. If MAX mode runtime drops below 50% of original specs, replace the battery preemptively—don’t wait for flashing lights.
If your Dyson hose light still flashes red after trying all these fixes, the battery has failed beyond recovery. Replacement takes less time than troubleshooting—order a genuine Dyson battery (model-specific to your V6/V7/V8) and install it using our 8-minute guide. Remember: that flashing red light isn’t random—it’s your vacuum’s lifeline telling you exactly what’s wrong. By decoding its signal and acting fast, you’ll extend your Dyson’s life by years. For persistent issues, contact Dyson support with your exact flash pattern—they’ll diagnose it in one sentence.

