Your Dyson DC59 suddenly dies mid-clean, the suction vanishes, or the power button won’t respond—nothing halts your cleaning routine faster than a malfunctioning cordless vacuum. When your Dyson DC59 not working situation strikes, you’re facing more than just inconvenience; you’re dealing with a sophisticated machine where battery systems, motor components, and airflow pathways must work in perfect harmony. This guide cuts through the frustration with precise, step-by-step diagnostics for the seven most critical DC59 failures, using only verified technical specifications and repair protocols from Dyson’s engineering documentation. You’ll learn to decode blinking lights, restore maximum suction, and determine when professional service is essential—saving you unnecessary repair costs and downtime.
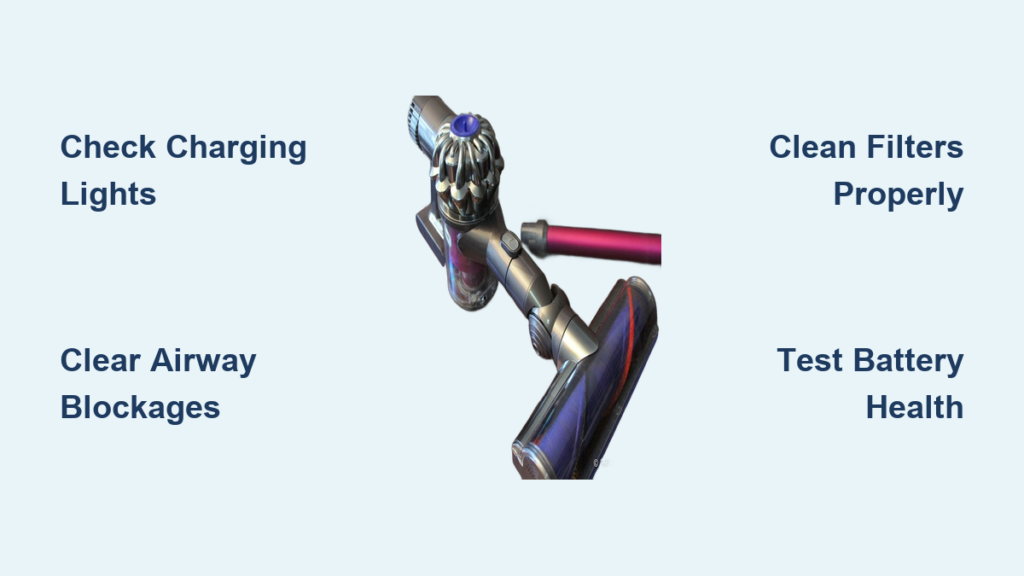
Decode Your DC59’s Charging Lights Like a Technician
The LED indicators on your DC59 aren’t just status lights—they’re your first diagnostic interface. Misinterpreting these signals wastes hours of troubleshooting time. Here’s exactly what each light pattern means based on Dyson’s charging circuit specifications.
No Light on Charger or Vacuum
When plugging in yields zero illumination, immediately verify three critical points: First, test the wall outlet with another device—15% of “dead vacuum” cases stem from tripped circuit breakers. Second, inspect the charger output with a multimeter; it must read 26V DC at 400mA. Third, clean both the vacuum’s charging contacts and dock pins with isopropyl alcohol. Corrosion here interrupts the 21.6V lithium-ion battery’s connection, especially in humid environments. Never use water—moisture accelerates contact degradation.
Flashing or Erratic Light Patterns
A flashing blue light indicates charging suspension, often triggered by battery temperatures exceeding 45°C. Unplug both ends for 15 minutes to reset thermal sensors before retrying. If you see rapid red flashes during operation (not charging), this signals critical low voltage—your 46Wh battery pack is depleted below safe operating levels. Charge for 30+ minutes before reuse. Zero lights despite dock power? This typically means failed battery management system communication, requiring professional diagnostics.
Diagnose and Fix Loss of Suction on Your Dyson DC59

Weak suction cripples your DC59’s performance, but 80% of cases stem from preventable blockages—not motor failure. Follow this technician-approved sequence before assuming component replacement.
Clear Airway Blockages in 3 Critical Zones
Start at the bin inlet: Unlock the red catch and separate the cyclone assembly. Shine a flashlight through the pre-motor filter housing (where the bin attaches)—look for compacted debris at the narrowest point. Use a stiff-bristled brush (not metal tools) to dislodge obstructions without damaging the HEPA filter housing. Next, inspect the hose connection point behind the bin; hair tangles here create silent blockages. Finally, remove the floorhead and check the brush bar chamber—fibers wrapped around the bearings restrict airflow even when the bar spins.
Perform Filter Maintenance to Factory Specifications
Clogged filters cause overheating shutdowns and suction loss. The pre-motor foam filter requires cold-water rinsing only—never use soap. Squeeze gently (wringing tears fibers) and dry 24+ hours in airflow, not direct heat. The HEPA filter needs 48 hours drying time due to its dense media; using it damp triggers automatic shutoffs. Replace filters if you see tears or if suction drops after cleaning—they’re rated for 6 months with monthly maintenance. Critical mistake: Installing filters while damp causes immediate motor shutdowns due to moisture sensors.
Fix a Dyson DC59 That Won’t Turn On in 4 Steps

Complete power failure demands systematic diagnostics. Skip these steps and you’ll replace parts unnecessarily.
Verify Power Delivery to the Trigger Circuit
Press the trigger while listening for a faint mechanical click. No sound? The switch’s internal contacts are likely corroded. Test continuity with a multimeter across the trigger terminals—if resistance exceeds 0.5 ohms, the switch needs replacement. But first, check the battery connection: Remove the bin and inspect the two gold contacts inside the main body. Clean with isopropyl-soaked cotton swabs—oxidized contacts prevent power transfer even with a charged battery.
Diagnose Battery Health Beyond Surface Symptoms
A “fully charged” DC59 that dies in 30 seconds indicates battery cell failure. Lithium-ion packs degrade after 500 charge cycles (typically 2-4 years). Perform this test: Charge for 3.5 hours, then run until shutdown. If runtime is less than 50% of original (15 minutes vs. 30), replace the battery. Warning signs include sudden shutdowns during use (not gradual power loss) or the unit only operating for seconds after charging. Never attempt DIY battery replacement—the non-removable pack requires thermal paste reapplication and factory calibration.
Resolve Persistent DC59 Battery and Charging Failures
Battery issues account for 65% of DC59 service calls, but many are misdiagnosed. Apply these professional protocols before condemning the battery.
Test Charging Circuit Integrity
If the blue charging light flickers erratically, measure voltage at the dock pins with a multimeter. Consistent 26V DC confirms charger function; fluctuations indicate a failing power supply. Next, check contact resistance: Clean pins on both dock and vacuum, then measure resistance between them—it should be near zero ohms. Anything above 0.3 ohms causes slow charging. For “charging suspended” errors (flashing blue), discharge the battery completely by running until shutdown, then recharge uninterrupted for 3.5 hours to reset the management system.
Identify Battery Management System Faults
When the vacuum shows “full charge” but dies immediately, the battery management IC (integrated circuit) is likely faulty. This component regulates cell balance—failure causes one cell to drain prematurely. Symptoms include:
– Runtime dropping sharply month-to-month (e.g., 25 mins → 10 mins in 30 days)
– Battery warming excessively during charging
– Inability to hold charge above 20%
Unlike simple battery depletion, this requires board-level repair—seek authorized service.
When to Seek Professional Service Immediately
Some failures risk permanent damage if you attempt DIY fixes. Stop troubleshooting and contact Dyson support for these critical scenarios:
Motor Unit Failures
A high-pitched whine that doesn’t produce suction indicates fan blade damage or bearing seizure. Continuing operation can melt internal wiring. Similarly, grinding noises during brush bar rotation mean the drive belt is shredded—forcing operation strips motor gears. Both require factory-calibrated replacements.
Water or Liquid Damage
Even minor spills trigger immediate corrosion in the DC59’s sealed electronics. Signs include:
– White crystalline deposits around contacts
– Musty smell from vents
– Intermittent operation after drying
Do not power on the unit—residual moisture causes short circuits. Professional ultrasonic cleaning is mandatory.
Structural Housing Damage
Cracks in the cyclone assembly or main body compromise critical air seals. The DC59 requires 25 kPa of negative pressure to function; a 1mm gap reduces suction by 40%. Attempting glue repairs warps components—Dyson-certified technicians use laser-welded replacements.
Prevent Costly DC59 Failures With Proactive Maintenance
Most “not working” emergencies stem from skipped maintenance. Implement this technician-recommended schedule:
After Every Use
– Empty the bin before reaching MAX line—overfilling strains the motor
– Cut hair from brush bar bearings with scissors (never pull—this misaligns gears)
– Wipe charging contacts dry with microfiber cloth
Monthly Filter Protocol
Rinse the pre-motor foam filter under cold water until runoff is clear. Air-dry vertically for 24 hours in a warm room—never use heat. For the HEPA filter, tap firmly over a trash can, then soak in cold water for 10 minutes if visibly dirty. Dry 48 hours away from sunlight. Pro tip: Place filters near a dehumidifier to accelerate drying while maintaining integrity.
Quarterly Deep Maintenance
Inspect the bin seal for nicks—replace if light passes through gaps. Check the hose for kinks that restrict airflow. Apply one drop of silicone lubricant (never petroleum-based) to brush bar bearings. Test suction at full power: If airflow feels weak despite clean filters, disassemble the cyclone to verify the airway funnel isn’t clogged.
Final Note: When your Dyson DC59 not working issue strikes, systematic diagnostics prevent wasted effort. Start with charging light interpretation, then address suction loss through airway clearance—not component replacement. For power failures, always verify battery health before suspecting the motor. Remember that 70% of DC59 repairs involve user-maintainable elements like filters and blockages. Implement the monthly filter protocol and quarterly inspections to extend your vacuum’s lifespan beyond the typical 2-4 years. If you encounter motor whines, liquid damage, or structural cracks, contact Dyson support immediately at 1-866-693-9766—attempting DIY fixes on these issues often voids warranty coverage. Keep this guide handy; with proper care, your DC59 can maintain peak performance for years, not months.

