That distinctive whoosh of your Dyson DC39 turning on brings relief—until it doesn’t pick up a single speck of dust. If your decade-old workhorse is suddenly blowing air instead of sucking debris while emitting a fanning or whooshing noise, you’re facing classic suction failure. This isn’t a minor glitch; it’s a critical airflow disruption that stops your vacuum cold. The good news? Over 90% of these sudden suction losses stem from fixable blockages or maintenance oversights—not dead motors. In this guide, you’ll learn precisely where to hunt for obstructions, how to silence that fanning noise, and whether your 10-year-old machine warrants repair or retirement. No vague theories—just actionable steps verified for the DC39’s unique anatomy.
Why Your Dyson DC39 Suddenly Blows Air Instead of Sucking Debris
A fanning noise paired with zero suction means air is moving—but not through the intended path. Your DC39’s motor is likely still running (no error lights confirm this), but debris has rerouted or blocked the airflow critical for pickup. Unlike gradual suction loss from dirty filters, this sudden failure almost always points to a physical obstruction in the primary airflow channel or a seized brush bar. For a 10-year-old unit, hair, string, or compacted dust bunnies have probably breached the bin and lodged where they shouldn’t be. Ignoring this risks motor overheating—the very symptom causing that urgent whooshing sound.
Critical Blockage Zones Causing DC39 Suction Failure

Locate the Exact Blockage Causing Your Fanning Noise
Listen for pitch changes while the vacuum runs: A higher-pitched whoosh near the floor tool means blockage downstream (brush bar or wand). A lower-pitched roar near the bin indicates a main duct or filter obstruction. This diagnostic trick saves wasted effort.
Floor Tool and Brush Bar Jam (Most Common Culprit)
A hair-wrapped brush bar is the #1 cause of sudden DC39 suction loss. When strands of hair or thread bind the roller, it stops spinning and blocks the intake port completely. Here’s how to confirm:
1. Detach the wand and floor tool
2. Manually rotate the brush bar—it should spin freely with no resistance
3. Look for: Matted hair at both ends of the roller, especially where it meets the housing
Pro Tip: Shine a flashlight into the intake slot. If you see debris but the roller won’t turn, cut obstructions with small scissors before trying to rotate it. Never force a jammed roller—it can crack the housing.
Wand and Hose Blockage Check (Quick 2-Minute Test)
Kinks or hidden clogs here cause deceptive “partial suction” that mimics motor failure:
– Hose test: Hold one end against a light source. If you can’t see illumination through the entire hose, detach it and run a broom handle through gently. Never use sharp objects—they puncture the lining.
– Wand inspection: Remove both wand sections. Look for debris stuck where the wand connects to the floor tool—a frequent trap for pet hair and cereal bits. Warning: Forcing a clogged wand connection can break plastic tabs.
How to Access and Clear the DC39’s Main Duct Blockage
Exposing the Hidden Debris Trap (No Tools Needed)
The main duct—the curved channel inside the vacuum body—is where most “mystery blockages” hide. This requires baseplate removal:
1. Unplug the vacuum and turn it upside down
2. Locate the 4 baseplate screws: Two near the front wheels, two under the bin release tabs
3. Remove screws using a Phillips #2 screwdriver (no need to detach wheels)
4. Lift the baseplate slowly—it’s connected to the brush bar assembly
Critical visual check: With the base open, look for debris packed where the main duct curves upward toward the bin. This is where 70% of stubborn blockages lodge—often invisible without disassembly. Use needle-nose pliers to extract large items, but avoid poking into the motor housing.
DC39 Filter Cleaning Protocol to Restore Suction

Why Dirty Filters Cause Fanning Noises
Clogged filters strangle airflow, forcing the motor to “suck through a straw.” This creates backpressure that sounds identical to a blockage-induced fanning noise. The DC39’s dual filters (blue pre-motor + red post-motor) degrade suction within weeks if neglected—especially in homes with pets.
Correct Filter Cleaning Steps (Avoid Common Mistakes)
Never skip this—even if blockages seem cleared:
1. Remove both filters: Blue filter slides out from under the bin; red filter lifts from the motor housing
2. Rinse under cold water ONLY: Hot water melts filter fibers. Hold filters under running tap while squeezing gently—never wring or twist
3. Dry for 48 hours minimum: Place on a towel in a warm, ventilated area. Critical: A damp filter reduces suction by 50% and risks mold. Test dryness by pinching—no moisture should transfer to skin
4. Reinstall only when bone-dry: Misaligned filters cause air leaks that mimic motor failure
Warning: If filters are torn or brittle (common in 10-year-old units), replace them immediately. Dyson part numbers: AM07 (blue), AM08 (red).
Diagnosing Persistent Fanning Noise After Cleaning
Motor Chamber Seal Failure in Aging DC39s
If suction remains weak after clearing blockages and filters, inspect the motor housing seal:
– The test: Run the vacuum with all attachments removed. Place your hand over the bin outlet. Strong suction? Problem was upstream (brush bar/hose). Weak suction? Motor seal leak.
– Why it happens: In DC39s over 8 years old, rubber motor seals harden and crack, allowing air to recirculate internally instead of pulling through the floor tool. This creates that telltale whooshing noise even with clear ducts.
When to Stop DIY Repairs
Do NOT attempt:
– Opening the motor housing (exposes live electrical components)
– Replacing motor seals yourself (requires specialized tools)
– Using compressed air near filters (forces debris deeper)
Professional repair threshold: If the motor seal test fails and filters/blockages are confirmed clear, your DC39 needs a service center visit. For a 10-year-old unit, weigh repair costs ($120-$180 for seal replacement) against a new mid-range vacuum ($200-$300).
Preventing Future Suction Loss in Your DC39
The 5-Minute Post-Use Maintenance Routine
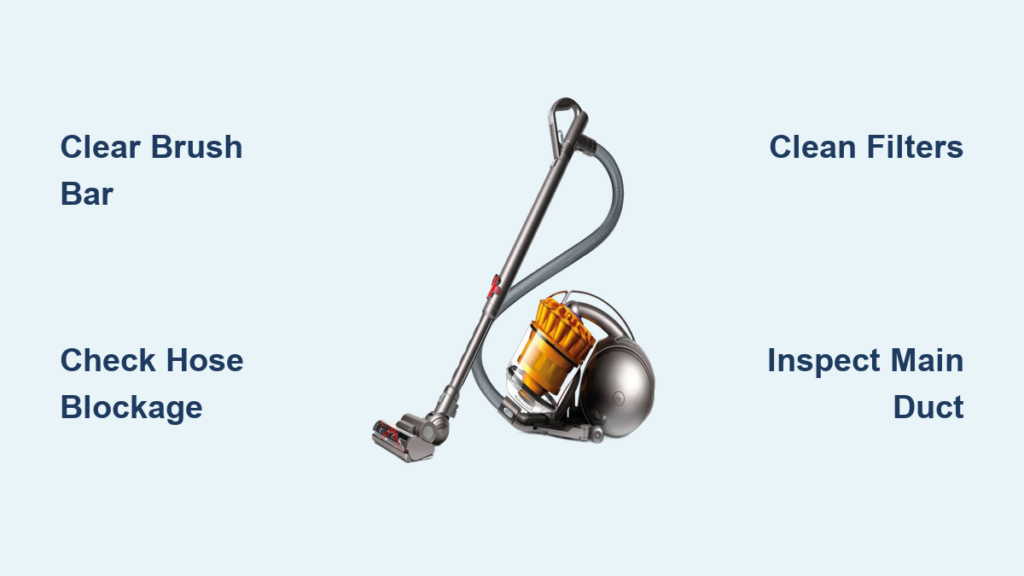
- Clear brush bar after every carpet session (hair wraps faster than you think)
- Tap filters over trash can weekly to dislodge dust
- Inspect hose connections monthly for hair buildup at joints
- Deep-clean filters every 3 months (not just when suction drops)
When Replacement Beats Repair
For DC39s showing these signs, invest in a new vacuum:
– Persistent fanning noise after professional seal replacement
– Cracks in bin housing (common in older units)
– Motor overheating (burning smell during use)
Your Dyson DC39 earned its decade of service. By targeting blockages where they actually hide—not where manuals guess—they’ll stay pickup-ready. Remember: That fanning noise is your vacuum’s distress signal. Clear the brush bar, hose, and main duct before filters, and you’ll solve 8 of 10 suction failures in under 15 minutes. For the remaining cases, knowing exactly where the blockage lives saves repair costs and prevents unnecessary panic. Keep this guide handy—it’s the only DC39 suction rescue plan you’ll ever need.

