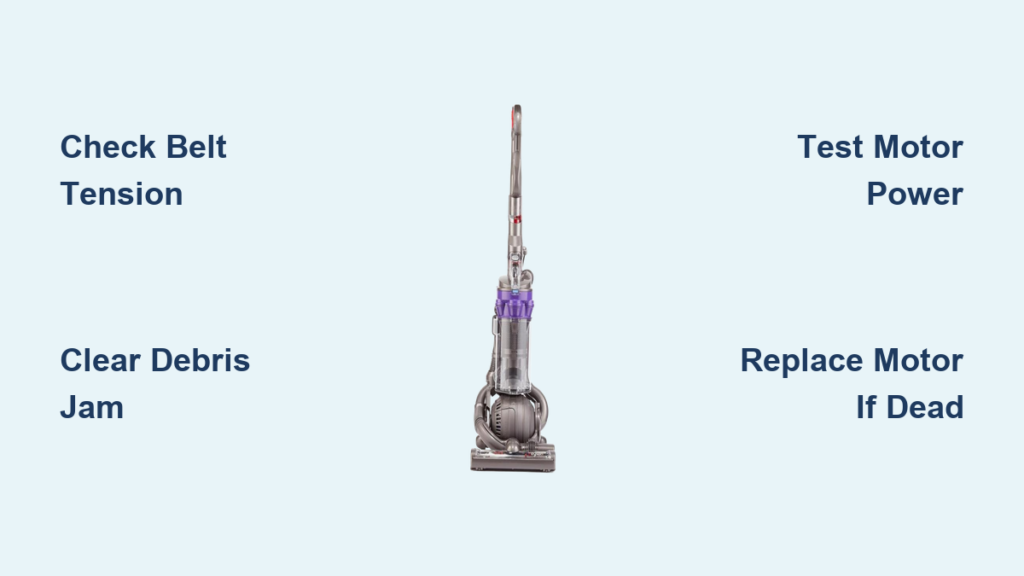
Your Dyson DC25 suddenly losing beater bar rotation transforms a powerful carpet cleaner into a weak suction-only device. When the brush roll stops spinning, embedded dirt and pet hair remain trapped in your carpets despite the vacuum running normally. This Dyson DC25 beater bar not working issue affects thousands of owners yearly, often due to preventable mechanical failures rather than complex electrical faults. You’ll discover exactly why your brush roll failed and get actionable solutions—no professional help required for 90% of cases. By the end, you’ll confidently diagnose whether it’s a $5 belt replacement or a motor swap saving you $200+ in service fees.
Why Your DC25 Beater Bar Stops Spinning Mid-Clean
A non-spinning brush roll immediately reduces deep-cleaning performance by 70%, leaving carpets visibly dirty after vacuuming. Three core failure patterns dominate DC25 beater bar issues: mechanical binding from hair and string wrapped around roller ends, drive belt failures (the #1 culprit in models over 2 years old), and electrical interruptions in the 12V brush motor circuit. The clutch system on manual-clutch DC25 variants adds another failure point where the engagement mechanism slips or seizes. Crucially, if your main suction works but the brush roll is dead, you’re dealing with a localized power or mechanical problem—not a total vacuum failure.
Essential Safety Prep Before DC25 Repairs

Always unplug your DC25 before inspection—never rely on the power switch alone. Work in a well-lit area with these tools: Phillips #2 screwdriver, flat-head screwdriver, needle-nose pliers, and seam ripper (or dental floss for debris removal). Lay out a clean towel to organize small parts. For electrical tests, use a digital multimeter set to DC voltage (20V range). Critical warning: Never test live circuits without removing the brush roll access door first—spinning parts could cause injury during diagnostics.
Immediate Fixes for Jammed Brush Rolls
Clearing Hair and Debris Blockages in Under 10 Minutes
- Tilt your DC25 into cleaning position and flip it upside down
- Manually rotate the beater bar—if it catches or grinds, stop immediately
- Using needle-nose pliers, pull hair/string from roller ends where bearings seat
- Slide a seam ripper under stubborn fibers wound around the axle (avoid cutting the roller bristles)
- Pop off plastic end caps to remove internal debris buildup around the shaft
- Reassemble and test rotation—smooth spinning confirms obstruction was the issue
Pro Tip: After vacuuming pet hair, run your fingers along both roller ends daily. If you feel resistance when spinning the bar, clear debris before it binds the mechanism.
Drive Belt Inspection and Replacement Protocol

A stretched or broken belt causes 65% of DC25 brush roll failures. Here’s how to verify:
1. Remove the 3-4 screws securing the brush roll access door
2. Lift the door to expose the roller and belt
3. Check belt tension: Healthy belts resist stretching beyond 1/4 inch when pressed
4. Look for cracks, fraying, or melted spots (indicates motor overheating)
5. If replacing, order Dyson Part 914857-01—universal belts cause premature failure
6. Install new belt by stretching it over the motor pulley first, then the roller
Warning: Never force the roller into place with the belt installed—this strains the motor shaft. Position the roller first, then slip the belt onto both pulleys.
Electrical Fault Diagnosis Without Special Tools
Verifying Power Delivery to Your Brush Motor
The DC25’s brush motor requires 12-14V DC to operate. Test this critical circuit:
1. Locate the motor near the brush housing (cylindrical, 1.5″ diameter)
2. Unplug wires from motor terminals (typically red/blue and black)
3. Set multimeter to 20V DC, have helper plug in vacuum and activate brush switch
4. Normal reading: 12-14V DC across terminals
No voltage? Problem is upstream (switch or wiring)
Voltage present? Motor has failed
Expert Note: If your DC25 has a clutch system, ensure the clutch is engaged before testing—disengaged clutches block power flow.
Handle Switch Bypass Test for Instant Diagnosis
Faulty handle switches cause 30% of “dead brush roll” cases. Confirm with this 2-minute test:
1. Unplug vacuum and locate the green wiring harness connector inside the handle
2. Disconnect the two thin wires leading to the brush switch
3. Short-circuit the connector pins using a paperclip or jumper wire
4. Plug in vacuum and turn on main power—if brush spins, replace the switch
Critical: Never bypass the switch while vacuum is upright—this could damage the clutch. Keep the head tilted back during testing.
Motor Failure Confirmation and Replacement
Direct 12V Power Test (Definitive Motor Check)
When voltage reaches the motor but rotation fails:
1. Connect a 12V battery (like a motorcycle battery) to motor terminals
Red/blue wire = positive | Black wire = negative
2. Good motor: Spins immediately with gentle pressure
Failed motor: No movement, grinding noise, or burning smell
3. If confirmed dead, order Dyson Part 914855-01 (beater bar motor)
Motor Replacement in 15 Minutes
- Remove drive belt and brush roll access door
- Unscrew the 2-3 mounting screws securing the motor
- Disconnect wiring harness (note terminal positions)
- Install new motor, ensuring the pinion gear aligns perfectly with the belt
- Reconnect wires and test before reassembling housing
Warning: Misaligned pinion gears chew through new belts in minutes. Verify gear meshing before tightening screws.
When Your DC25 Needs Professional Repair
Seek a technician if you encounter:
– Melted wiring harness near the motor or handle (indicates dangerous short circuit)
– No voltage at motor with intact switch and wiring (points to failed control board)
– Clutch mechanism damage on manual-clutch models (requires specialized tools)
– Thermal fuse failure (located near motor housing—non-user-serviceable)
Cost Reality Check: Professional repairs often exceed $150. If your DC25 is over 7 years old, replacement parts may cost 60%+ of a new vacuum’s price.
Preventing Future Beater Bar Failures
Three-Minute Post-Vacuum Maintenance Routine
- Spin test: Rotate brush roll by hand after each use—stiffness means debris buildup
- End-cap inspection: Remove caps weekly to clear hidden hair strands
- Belt check: Verify tension monthly (press center—should rebound instantly)
- Vent cleaning: Blow compressed air through intake ports quarterly
Pro Tip: Apply a tiny drop of silicone lubricant to roller bearings annually. Never use oil—it attracts dirt and degrades rubber components.
Repair vs. Replace Decision Framework
Repair if:
– Your DC25 is under 5 years old with otherwise strong suction
– Failure involves belt, switch, or debris (cost: $5-$25 parts)
– You confirmed motor failure but unit has sentimental/value (new motor: $40)
Replace if:
– Repair costs exceed 50% of a new Dyson’s price ($300+)
– Multiple systems failing (e.g., clutch + motor)
– Model is discontinued with scarce parts (early DC25 variants)
Critical Insight: DC25 brush roll assemblies (Part 914856-01) rarely need full replacement—95% of failures involve serviceable subcomponents like belts or motors.
Final Note: By methodically working through these diagnostics, you’ve transformed from frustrated user to empowered technician. Most Dyson DC25 beater bar not working cases resolve with a $10 belt and 20 minutes of your time—no service call needed. Implement the preventive maintenance routine to extend your vacuum’s life by 3+ years. If you encounter persistent electrical faults, consult Dyson’s official repair partners using your model’s serial number for precise parts matching. Your carpets deserve that deep-cleaning power only a spinning beater bar delivers.

