That moment when your Dyson vacuum suddenly powers down mid-clean is incredibly frustrating. A “dyson power cord not working” issue can manifest as intermittent operation, complete power loss, or even a tripped GFCI outlet—turning what should be a simple chore into a major headache. The good news is that diagnosing and repairing a faulty power cord is often a straightforward fix that can save you hundreds compared to professional repair or replacement costs. This guide will help you identify whether your Dyson’s power cord is truly the culprit, safely replace it yourself, and implement habits to prevent future cord failures—all while keeping your safety as the top priority.
Why Your Dyson Vacuum Loses Power During Cleaning
Before grabbing tools, you need to confirm the cord is actually the problem. Many users waste time replacing cords only to discover the issue was a tripped circuit breaker or faulty outlet. Start with these targeted diagnostic steps:
Check the obvious first: Plug a lamp or phone charger into the same outlet to verify it’s functioning properly. If other devices work, move to inspecting the vacuum’s circuit protection. Most homes have GFCI outlets in kitchens, bathrooms, and garages that trip easily with minor electrical issues—press the “reset” button if present.
Identify intermittent power patterns: Does your Dyson only work when the cord is positioned a certain way? This classic symptom indicates an internal wire break. The copper conductor has fractured but still makes contact when bent just right. Run your fingers along the entire cord length while the vacuum is running (carefully!) to pinpoint where the connection breaks.
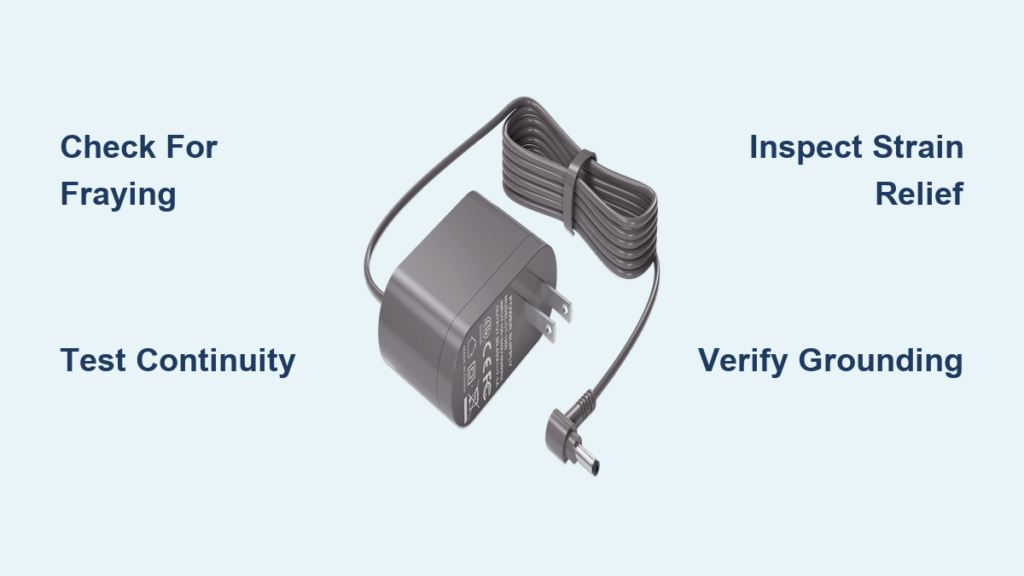
Inspect high-stress areas thoroughly: Focus your visual examination on the most vulnerable spots—within six inches of both the plug and where the cord enters the vacuum body. Look for:
– Fraying or cuts in the outer insulation
– Discoloration or melting (often feels soft or sticky)
– Kinks that create hard bends in the cord
– Exposed copper wires (an immediate safety hazard)
Critical Safety Steps Before Touching Your Dyson Cord
Working with electrical components demands respect and preparation—skip these steps and you risk shock, fire, or permanent damage to your vacuum.
Unplug completely and verify: Don’t just turn off the vacuum—physically remove the plug from the wall outlet. Double-check by attempting to turn on the vacuum (it shouldn’t respond). This simple step prevents 90% of electrical accidents during DIY repairs.
Gather essential safety tools: You’ll need VDE-rated insulated screwdrivers (not standard tools), safety glasses, and ideally electrical gloves (class 00). Work on a clean, dry wooden surface—never metal or wet areas. Keep a fire extinguisher rated for electrical fires within arm’s reach.
Document everything before disassembly: Take multiple clear photos with your smartphone as you remove each component. Note screw lengths and locations—Dyson often uses different screw sizes in one housing. A magnetic parts tray or labeled paper cups prevents losing tiny components.
How to Test Your Dyson Power Cord for Internal Breaks

The wiggle test with a multimeter is the definitive way to confirm a broken conductor inside the insulation.
Set up your multimeter correctly: Turn the dial to continuity mode (symbolized by sound waves) or resistance (Ω). Insert the black probe into the COM port and red into the VΩmA port. Touch the probes together—you should hear a continuous tone indicating a complete circuit.
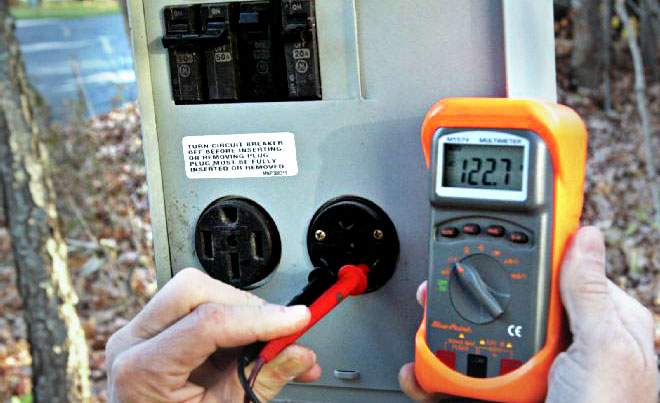
Perform the critical continuity test: With the cord unplugged, insert one probe into the neutral slot (longer slot) and one into the hot slot of the plug. Have a helper hold the probes steady while you slowly bend and twist the cord along its entire length. If the tone cuts out at any point, you’ve found your break location—mark it with tape.
Check for dangerous shorts: Test between the ground pin and both hot and neutral slots. Any continuity here indicates a serious short circuit that requires immediate cord replacement. A reading of “OL” (open loop) confirms no dangerous shorts exist.
Must-Have Tools for Fixing a Dyson Power Cord
Avoid makeshift solutions—using proper tools ensures a safe, lasting repair that won’t fail weeks later.
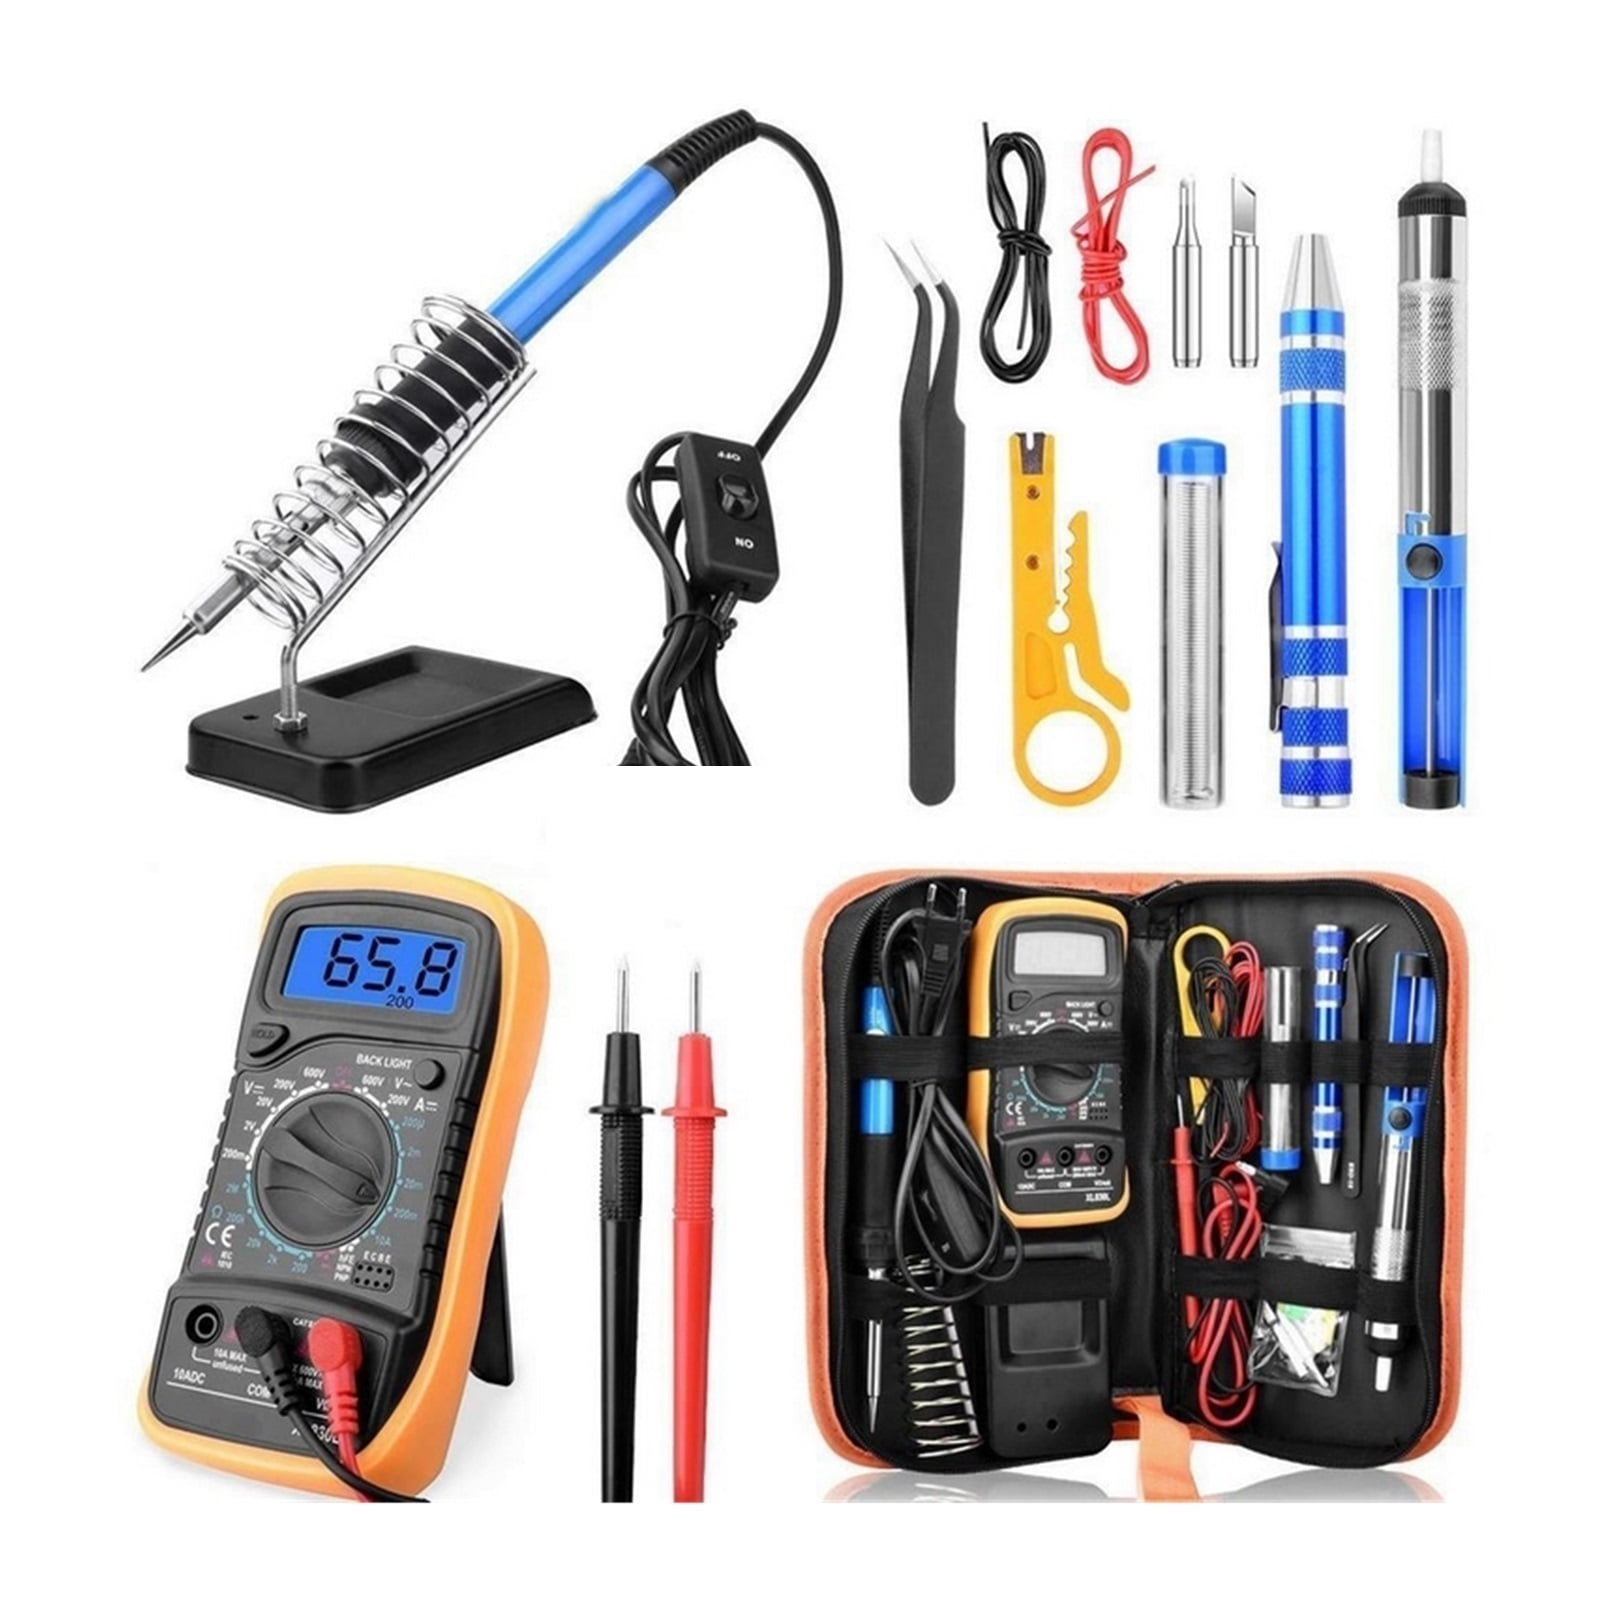
Essential toolkit:
– Phillips #1 and #2 screwdrivers (Dyson often uses tamper-proof Torx screws)
– Precision wire strippers (not household scissors)
– 30-40W soldering iron with temperature control
– 60/40 rosin-core solder (63/37 melts faster but is pricier)
– Heat shrink tubing (3:1 ratio, 3mm and 6mm diameters)
– Digital multimeter with continuity tester
– Needle-nose pliers with insulated handles
Replacement parts checklist:
– 16 AWG 3-conductor SJT cord (matches Dyson’s specifications)
– Replacement plug (if damage is near wall end)
– Cable strain relief bushing (prevents future damage)
– Electrical tape (3M Super 33+ for moisture resistance)
Replace Your Dyson Power Cord: Detailed Step-by-Step
WARNING: If you’re uncomfortable with electrical work, stop now and consult a professional. Working with mains voltage can be fatal.
Access the Cord Connection Points Safely
Remove all visible screws from the vacuum’s base housing—Dyson typically conceals screws under rubber feet or labels. Carefully separate the housing halves by inserting a plastic pry tool along the seam. Work slowly around the perimeter, releasing plastic clips without breaking them. Once open, locate the cord’s strain relief where it enters the main housing.
Disconnect and Remove the Faulty Cord
Take multiple clear photos of the wiring configuration before disconnecting anything. Note wire colors: black (hot), white (neutral), and green/yellow (ground). Most Dyson models use screw terminals—loosen each terminal screw just enough to slide the wire free. If your model uses a plug connector, press the release tab while pulling straight out.
Install the New Cord with Proper Technique
Thread the new cord through the strain relief grommet following the original routing path. Strip 1/2 inch of insulation from each wire end using proper strippers—never cutters that nick the copper. Connect wires to matching terminals: black to hot (often marked “L”), white to neutral (“N”), and green to ground (⏚ symbol). Solder each connection, then cover with appropriately sized heat shrink tubing. A professional-grade repair uses soldered connections with shrink tubing—not just electrical tape.
Critical Safety Tests Before Plugging In Your Repaired Dyson
Skipping these verification steps risks fire, shock, or motor damage—never operate a repaired cord without completing these checks.
Continuity verification: With the vacuum switch ON, check resistance between hot and neutral prongs—you should see 5-50 ohms (motor resistance). Between ground and hot/neutral, it must read “OL” (infinite resistance). Any lower reading indicates a dangerous short circuit.
Strain relief integrity test: Gently pull the cord where it enters the housing with 10-15 pounds of force. The cord should not move more than 1/8 inch—excessive movement will cause future failures. The strain relief must absorb all pulling forces, not the solder joints.
Controlled power-up procedure: Plug into a GFCI-protected outlet. Stand clear and turn on the vacuum for just 2 seconds. Check for smoke, unusual smells, or sparks. If all seems normal, run for 30 seconds while monitoring cord temperature—any noticeable warmth indicates improper connections.
When to Skip DIY Repair and Call a Professional
Certain situations demand expert intervention—don’t risk your safety trying to save a few dollars.
Seek professional help if:
– You smell ozone or “hot electrical” odors during operation
– The GFCI trips repeatedly even with a known-good cord
– Internal components show signs of arcing (black scorch marks)
– You’re uncomfortable with any step of the electrical process
Cost reality check: Professional repair typically costs $75-$150, while DIY parts run $15-$35. If your vacuum is under warranty (Dyson offers 2 years on parts), opening it yourself will void coverage—contact Dyson support first at 1-866-693-5586.
Prevent Future Dyson Cord Failures With These Proven Techniques
Most power cord failures stem from improper handling—change these habits to extend your cord’s life dramatically.
Master proper cord storage: Never wrap tightly around your hand. Use the “over-under” method: form a loop over your thumb, then under your index finger, alternating to prevent internal wire twisting. Store loosely coiled in a figure-eight pattern.
Eliminate stress points during use: Keep the cord clear of the vacuum’s path—never run over it. Maintain gentle curves at both ends, especially where it enters the vacuum. Install cord hooks at waist height to prevent floor dragging.
Implement monthly inspections: Run your fingers along the entire cord length feeling for soft spots, lumps, or stiffness. Check plug prongs for discoloration (signs of overheating). Replace immediately if insulation feels sticky or shows cracks.
By following these precise steps, you can successfully fix a “dyson power cord not working” issue while ensuring your repair meets safety standards. Remember that proper strain relief installation and thorough post-repair testing separate a temporary fix from a professional-quality repair that will last years. When in doubt about any electrical procedure, always err on the side of caution and consult a qualified technician—your safety is worth far more than any vacuum cleaner.

