Is your Dyson pet vacuum suddenly struggling to pick up pet hair? For dog and cat owners, a vacuum that can’t handle fur is more than inconvenient—it’s a daily frustration. That telltale sign of weak suction often starts subtly: needing multiple passes to clean a small area, hearing unusual motor noises, or watching helplessly as your vacuum ignores embedded pet hair. The good news? Most Dyson pet vacuum problems stem from simple blockages or maintenance issues you can fix in under 30 minutes. This guide delivers precise troubleshooting steps specifically for pet hair challenges, so you can restore powerful suction without expensive service calls.
Why Your Dyson Pet Vacuum Loses Suction
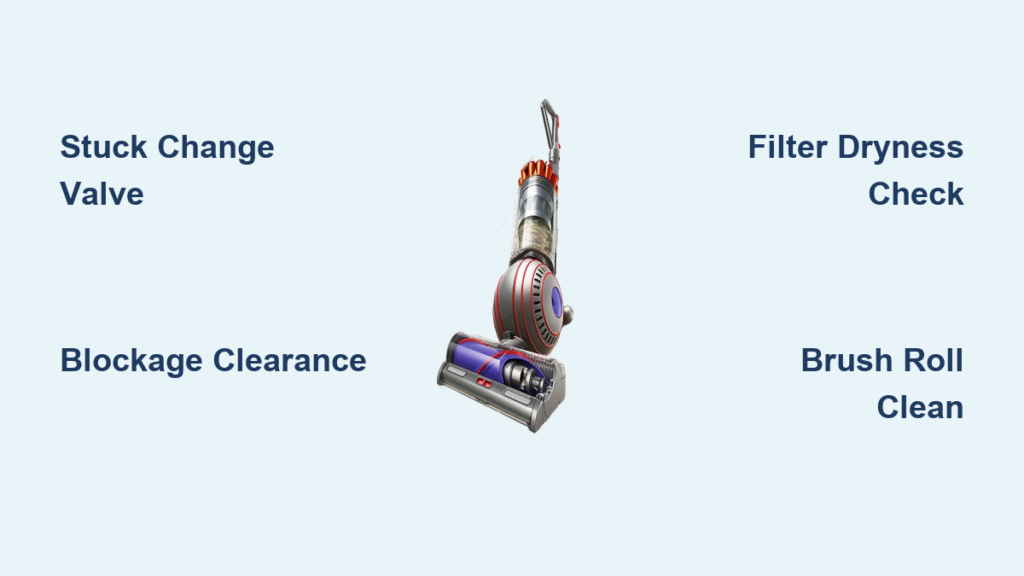
Pet hair creates unique vacuum problems that standard models don’t face. The two most common failure points specifically impact pet owners: the change valve mechanism and internal blockages that bypass standard cleaning routines.
The Change Valve Failure That Blocks Floor Suction
Your Dyson’s change valve redirects airflow between the handle and floor head when you tilt the vacuum. Pet hair constantly jams this mechanism, causing suction to work only in upright position. If your vacuum picks up debris when standing but loses power when tilted forward for cleaning, you’ve got a stuck valve. Here’s how to diagnose it: Run your Dyson, then slowly tilt it to cleaning position. Listen for the characteristic “click” as the valve switches. No sound? Hair has likely wrapped around the valve pivot point inside the ball mechanism. For Ball Animal models, this red valve assembly is particularly vulnerable to pet hair entanglement.
Internal Blockages Caused by Pet Hair and Debris
Unlike human hair, pet fur creates compacted clogs that bypass the bin and lodge deep in tubing. Check these three critical spots where pet hair accumulates: the transparent plastic doorway near the bin, the ball joint connection, and the floor head tube. Shine a flashlight through the hose—you’ll often see a furry “sock” clog that standard clearing misses. Cordless models like the V7 and V8 suffer most from cyclone blockages where fine pet dander packs tightly against the filter housing. If suction works at the wand but disappears at the floor head, your blockage is almost certainly in the lower connection tube filled with matted fur.
Step-by-Step Dyson Pet Vacuum Troubleshooting Protocol
Skip generic troubleshooting—follow this pet-specific protocol that targets the most common failure points in Dyson Animal models. You’ll diagnose and fix 90% of suction issues in 20 minutes or less.
How to Test for Suction Loss in Your Dyson Animal Model
Start with this diagnostic sequence before disassembling anything:
1. Power Check: Confirm the motor runs (you should hear normal operation)
2. Hose Suction Test: Detach the hose and place your palm over the opening—strong suction should pull your skin inward
3. Floor Head Verification: Remove the floor head and check for suction at the base connection point
4. Bin Removal Test: Run the vacuum with the bin completely removed to check motor suction directly
If suction exists at the motor but not at the floor head, your problem is almost certainly the change valve or lower tubing blockage. For cordless models, also check the bin seal integrity—pet hair often compromises the rubber gasket, creating air leaks that kill suction.
Finding Hidden Blockages in Your Dyson Ball Vacuum
Most pet owners miss these three critical clog locations:
– Ball Joint Connection: Where the base meets upper unit (remove base plate to access)
– Valve Mechanism Housing: Behind the red valve assembly in Ball models
– Cyclone Filter Entry Point: Where airflow enters the filter housing
Use this professional clearing technique: Disconnect the hose from both ends, then feed a 12-inch flexible drain snake through the tubing while simultaneously blowing compressed air from the opposite end. The dual-action approach dislodges stubborn pet hair clogs that simple poking misses. For V10/V11 models, remove the cyclone assembly and inspect the small plastic grill at the bin’s top—this is where fine pet dander packs tightly.
Fixing the Most Common Dyson Pet Vacuum Problems
Don’t waste time on generic fixes—target these pet-specific failure points with precision tools and techniques.
Repairing a Stuck Change Valve in Dyson Ball Models
For Ball Animal owners, this valve repair solves 70% of floor suction problems:
1. Remove the base plate screws (typically T15 Torx)
2. Locate the red valve mechanism between upper and lower sections
3. Use long-nose pliers to extract visible hair from the pivot points
4. Apply dry silicone lubricant to the valve shaft (never oil-based)
5. Manually test valve movement before reassembly
Pro Tip: After clearing, place a tissue against the floor head while running—the tissue should stick firmly when tilted. If not, repeat the cleaning process as residual hair often remains.
Clearing Deep Clogs in Cordless V7/V8 Models
Cordless Dyson pet vacuums suffer from unique clogs at the cyclone-filter junction:
1. Remove the bin and cyclone assembly
2. Inspect the small plastic grill at the top of the bin housing
3. Use a seam ripper (not scissors) to extract packed pet dander
4. Flush the cyclone assembly with water, avoiding the motor area
5. Air dry completely for 48 hours before reassembly
Warning: Never reinstall damp filters—this causes immediate suction loss and potential mold growth. Verify dryness by squeezing the filter; if water droplets appear, wait another day.
Proper Maintenance to Prevent Future Suction Loss
Preventative care tailored for pet hair extends your Dyson’s life significantly. Follow this pet-specific maintenance schedule to avoid recurring problems.
Monthly Filter Cleaning Routine for Pet Hair Vacuums
Pet dander clogs filters faster than standard dust:
– After Each Use: Empty the bin immediately—overfilling triggers auto-shutoff
– Weekly: Clear brush roll ends with a seam ripper (scissors risk damaging bristles)
– Monthly: Wash pre-motor filter under cold water until runoff clears
– Every 6 Months: Replace HEPA filter (pet hair degrades filters faster)
Critical Step: When reinstalling filters, ensure the HEPA filter’s rubber seal seats completely. A 1mm gap from improper seating causes 30% suction loss—common in V11 models.
Essential Tools for Dyson Pet Vacuum Maintenance
Keep this specialized toolkit ready:
– T10/T15 Torx security bits for base plate removal
– Flexible drain snake (12-inch) for tubing clogs
– Seam ripper for safe hair removal from brush rolls
– Small flashlight to inspect dark tubing areas
– Compressed air canister for filter cleaning
Pro Tip: Store these tools with your vacuum. The 30 seconds it takes to clear a minor clog prevents major blockages that require full disassembly.
When to Replace Parts vs. Call a Professional
Most Dyson pet vacuum issues are DIY-fixable, but certain symptoms require professional intervention.
Identifying When Your Dyson Vacuum Motor Is Failing
Replace parts immediately if you notice:
– Persistent high-pitched whine even after clearing all clogs
– Burning smell during operation (shut off immediately)
– Complete loss of suction with confirmed clean filters and pathways
– Intermittent operation that worsens over time
Cost Analysis: For models under 3 years old, motor replacement costs $150-$200. For older models, consider replacement—Dyson’s 2-year warranty covers motor defects but not clog-related damage.
Final Verification Checklist Before Seeking Professional Help
Before paying for service, verify these six critical points:
– ✅ All filters completely dry (damp filters cause 50% suction loss)
– ✅ Bin seal properly seated with no hair in the groove
– ✅ Brush roll spins freely with no hair wrap at ends
– ✅ Valve mechanism moves smoothly when tilted
– ✅ All connection points fully seated with no air leaks
– ✅ Tested with different power outlets (for corded models)
Pro Tip: For cordless models, check battery health—weak batteries reduce motor power, mimicking suction loss. If runtime has significantly decreased, battery replacement may solve your problem.
Troubleshooting your Dyson pet vacuum is a systematic process of elimination targeting the specific failure points that pet hair creates. By focusing on the change valve mechanism and internal blockages unique to pet owners, you’ll restore powerful suction without unnecessary repairs. Implement the monthly maintenance routine to prevent future issues—just 10 minutes of preventative care saves hours of troubleshooting later. With these targeted fixes, your Dyson will continue tackling pet hair like new, saving you hundreds in potential repair costs.

