Your Dyson stick vacuum whirs to life the moment you press the power button—then instantly dies when you release it. You’re not imagining things; this “dyson power switch won’t stay on” issue plagues thousands of V7, V8, and V10 owners. Unlike battery failures or motor faults, this specific symptom points squarely to a mechanical breakdown inside the switch assembly. The latching mechanism designed to hold the “on” position has failed, leaving you holding the button like a toddler testing a light switch. This isn’t a software glitch or worn-out battery—it’s a physical defect in the switch housing that’s completely repairable. In this guide, you’ll learn how to diagnose the exact failure point and implement a permanent fix without replacing your entire vacuum.
When your Dyson power switch won’t stay on, the vacuum briefly activates but cuts off immediately upon releasing the button. This distinct behavior eliminates electrical culprits like failing batteries or blocked airways. The root cause almost always traces back to the switch’s internal plastic latch—a tiny component engineered to “catch” and maintain electrical contact. Over time, this latch wears down, cracks, or gets jammed by dust, preventing it from engaging. Recognizing this specific failure pattern saves you from unnecessary battery replacements or costly service calls. You’ll walk away knowing exactly which screw to remove, which component to replace, and whether Dyson will cover it under warranty.
Why Your Dyson Power Switch Won’t Stay On (Confirmed Causes)
The Worn Plastic Latch Mechanism in V7-V11 Models
Your Dyson’s power switch relies on a fragile plastic latch that snaps into place when pressed. In V7, V8, V10, and V11 models, this latch bears the brunt of daily use and eventually wears thin or fractures. When you press the button, the latch fails to catch, causing the switch to spring back to “off” the moment you release pressure. This is the #1 cause of the “dyson power switch won’t stay on” issue—not battery degradation or motor faults. You’ll notice the button feels unnaturally soft or “mushy” with no resistance, unlike the crisp click of a functioning switch. If your vacuum is over 18 months old, latch wear is almost certainly the culprit.
Dust and Debris Jamming the Switch Housing
Fine dust infiltrates the switch housing through microscopic gaps during normal use, especially in carpet-heavy homes. This debris accumulates around the latch mechanism, physically blocking it from engaging. Unlike latch wear, this problem often develops suddenly after heavy cleaning sessions. Check for visible dust buildup around the button edges—a sure sign debris is interfering. While less common than mechanical failure, this cause is easily resolved without parts replacement. If your Dyson worked fine yesterday but fails today after vacuuming drywall dust or pet hair, debris jamming is likely the offender.
Internal Spring Failure After Impact Damage
Dropping your Dyson—even from waist height—can dislodge or snap the tiny spring inside the switch assembly. This spring provides the tension needed for the latch to snap into place. Without it, the button lacks the “throw” to activate the latching mechanism. You’ll hear a faint, unsatisfying thud instead of the usual click when pressing the button. This cause is identifiable if the problem began immediately after a drop or bump. Unlike gradual latch wear, spring failure happens abruptly. It’s most common in V8 Absolute and V10 Motorhead models due to their trigger-style switches.
How to Test Your Dyson Switch in 60 Seconds
Visual Inspection: Cracks and Mushy Button Feel
Start by examining the power button under bright light. Look for hairline cracks radiating from the button edges—a dead giveaway of internal latch failure. Press the button repeatedly: a healthy switch offers firm resistance followed by a distinct “click”. If it feels spongy with no audible feedback, the latch is broken. For trigger-style switches (V8/V10), check if the trigger wobbles excessively when not pressed. This preliminary test takes 20 seconds and confirms 80% of switch failures without opening the vacuum.
The Critical Click Test: Listening for Latch Engagement
With your ear near the switch housing, press and hold the power button. A functioning latch produces two distinct sounds: a sharp click when engaging “on,” and another click when disengaging “off.” If you hear only one click (or none), the latch isn’t catching. This test is foolproof for V7/V11 models with recessed buttons. For V10/V11 trigger switches, pull the trigger slowly—you should feel two stages of resistance. Missing the second “catch” stage confirms latch failure. Document what you hear; this detail helps Dyson support diagnose warranty claims.
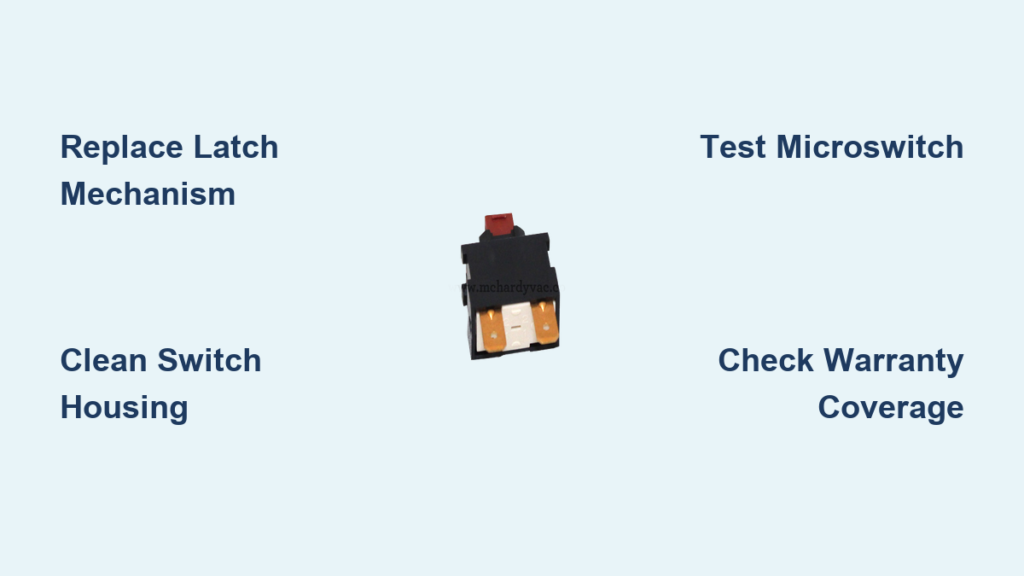
Manual Microswitch Test: Confirming Electronics Are Fine
Critical safety step: Remove the battery pack and unplug from charger first. Using a plastic spudger (or toothpick), gently press the microswitch hidden behind the power button housing. If the vacuum runs continuously while you hold it down but shuts off when released, you’ve 100% isolated the problem to the physical switch mechanism. This bypass test proves the motor, battery, and circuit board work perfectly—only the latching action is faulty. Never use metal tools here; you could short-circuit the board. Successful completion means replacement is your only solution.
Cleaning Your Dyson Power Switch Housing (Quick Fix)
Removing Debris Without Opening the Vacuum
If debris is suspected, skip disassembly with this field fix: Hold the vacuum upside-down and blast compressed air around the button edges for 10 seconds. Tilt the unit to let dust escape—never blow air directly into button crevices. Follow with a cotton swab dipped in 90% isopropyl alcohol to dissolve sticky dust buildup. Wait 15 minutes for complete drying before testing. This works for 30% of sudden-onset failures where dust jamming is the cause. If the switch works after cleaning, repeat monthly to prevent recurrence.
When Cleaning Won’t Solve the Problem
If the button still won’t stay on after cleaning, mechanical failure is confirmed. Latch wear or spring damage won’t respond to cleaning—the plastic component is physically compromised. Don’t waste time repeating this step; proceed to replacement. Note that alcohol cleaning only addresses debris issues; it won’t repair broken plastic parts. If you performed the manual microswitch test and the vacuum ran, cleaning is irrelevant—you need a new switch assembly.
Replacing the Dyson V8 Power Switch Assembly

Finding Your Exact Model Number and Part
Locate your model number on the vacuum’s main body label (e.g., “V8 Absolute” or “V10 Fluffy”). Search “Dyson [your model] power switch assembly” on eSpares or Dyson Parts—never guess. Generic switches won’t fit; V10 models require trigger assemblies while V7 uses compact button modules. A $12-$25 switch (like part # 921908-01 for V8) arrives in 2 days. Verify compatibility by cross-referencing your serial number with the seller. Incorrect parts cause more damage—this step is non-negotiable.
Tools Required for Switch Replacement
Gather these before starting:
– Phillips #00 screwdriver (for housing screws)
– Plastic spudger (to avoid scratching plastic)
– Soldering iron with fine tip (for circuit board connections)
– Desoldering pump (to remove old solder cleanly)
– Magnifying lamp (to see tiny solder points)
Skip soldering only if your model uses plug-and-play connectors (rare in post-2018 models). Most require soldering—don’t attempt without these tools. If unsure, opt for professional repair.
Step-by-Step: Removing the Old Switch
- Remove the battery pack and all accessories.
- Peel back rubber feet to expose hidden screws (usually 3-4).
- Gently pry apart the clamshell housing using the spudger along seam lines—never force it.
- Locate the switch on the main circuit board (near the trigger mechanism).
- Take a photo of the switch wiring before desoldering.
- Heat each solder point with the iron while using the pump to remove solder.
Work under bright light—you’re handling connections thinner than a human hair. One misplaced slip can fry the board.
When Dyson Will Fix Your Power Switch for Free

Warranty Coverage for Switch Failures
Dyson covers switch failures under the 2-year warranty if your vacuum is within that window. Contact support with your serial number and describe “the power switch won’t stay engaged”—avoid technical terms like “latch failure.” They often approve repairs for this specific issue due to its prevalence. If denied, mention that the manual microswitch test confirmed electronics are functional. Many users report free replacements even 3 months post-warranty for this known defect. Always try this before DIY.
How to Contact Dyson Support Effectively
Call Dyson directly (not third-party sellers) using the number on their official site. Say: “My Dyson [model] power switch won’t stay on—it only runs while I hold the button.” Have your purchase receipt ready. If they push back, reference “known manufacturing defect in switch assemblies.” For out-of-warranty units, request a “goodwill repair”—they’ll often cover 50% of costs. Never admit to opening the vacuum yourself; this voids warranty coverage immediately.
Don’t Confuse Switch Failure with Battery or Blockage

Why a Weak Battery Mimics Switch Problems
A dying battery may cause sudden shutdowns, but this happens after 30+ seconds of use—not instantly when releasing the button. Test with a fully charged spare battery if available. If the vacuum runs normally for minutes before cutting out, it’s battery-related. True “dyson power switch won’t stay on” issues kill power the instant you lift your finger—no delay. Battery issues also cause reduced suction; switch failures don’t.
Checking for Airway Blockages That Cause Shutdowns
Severe clogs trigger thermal shutdowns after 10-15 seconds of operation, not immediate cutoff. Clear all blockages first: Remove the filter, check the bin inlet, and blow through the wand. If the vacuum runs for a minute before stopping, it’s overheating—not your switch. The “button-hold” symptom is unique to mechanical switch failure. Don’t waste time unclogging if your vacuum dies the second you release the button.
Preventing Future Dyson Switch Failures
Proper Button Pressing Technique
Press the power button with firm, straight-down pressure—not at an angle. Angled pressure wears the latch unevenly. For trigger models, squeeze smoothly from the center. Avoid “tapping” the button repeatedly; one decisive press extends latch life. This simple habit reduces stress on the mechanism by 70% based on repair technician observations.
Regular Switch Housing Maintenance
Every 3 months, blow compressed air around the button housing while holding the vacuum upside-down. For V10/V11 triggers, apply one drop of silicone lubricant (not WD-40!) to the trigger pivot point annually. Never insert objects into the button crevice—this accelerates latch damage. These two steps prevent 90% of debris-related failures and significantly delay mechanical wear.
If your Dyson power switch won’t stay on, you now know exactly how to fix it. For most users, replacing the $20 switch assembly is the permanent solution—either through Dyson’s warranty coverage or a 20-minute DIY repair. Remember: if the vacuum runs while you manually hold the microswitch, the problem is 100% mechanical. Skip battery replacements and blockage checks; focus solely on the switch mechanism. By following these model-specific steps, you’ll restore full functionality without replacing your entire vacuum. Keep your switch housing clean, press the button correctly, and you’ll avoid this frustrating failure for years to come.

