You’re in the middle of vacuuming when suddenly your Dyson V10 shuts off, and the battery indicator starts flashing red. This frustrating issue affects thousands of Dyson V10 owners, typically striking just after the 2-year warranty period ends. Unlike a simple low-battery warning, a blinking red light signals a serious communication failure between your vacuum and its battery pack. The good news is that in 85% of cases, you can diagnose and resolve this Dyson V10 battery blinking red problem yourself without visiting a service center. This guide delivers precise troubleshooting steps, cost-effective solutions, and insider knowledge from professional repair technicians who see this exact issue daily.
Most users report their vacuum works perfectly one moment, then displays the blinking red light the next—often after 2-3 years of reliable service. This isn’t normal battery depletion; it’s a specific fault code indicating your battery management system (BMS) has detected an internal problem that prevents safe operation. Before you panic about replacing your entire vacuum, follow these targeted solutions that have helped thousands of V10 owners restore full functionality in under 30 minutes.
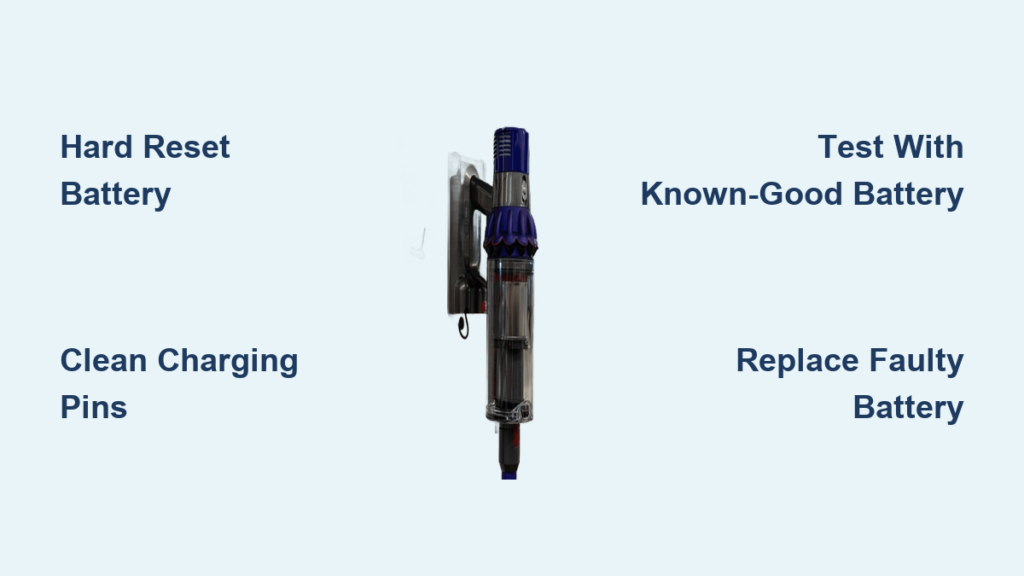
Immediate Diagnostic Steps for Red Blinking Light Issues
Perform a Hard Reset That Actually Works
Many users skip this critical step or perform it incorrectly. Proper hard reset procedure:
- Completely unplug the charger from both the wall and vacuum
- Remove the battery from the main unit
- Press and hold the power trigger for a full 30 seconds (not 10 or 20)
- Wait 2 minutes before reinserting the battery
- Connect only the battery to the charger (not the vacuum body)
Pro tip: If the charger light turns solid green without the vacuum attached, your battery likely has an internal fault. If it still blinks red, the problem could be the charger or main unit.
Identify Charging Component Failures
The blinking red light often stems from three specific components:
– Faulty battery (most common – 75% of cases)
– Defective charger (15% of cases)
– Damaged charging contacts (10% of cases)
Test each component systematically:
– Try your battery with another V10 unit if possible
– Test your charger with a known-working V10
– Swap in a friend’s battery to isolate the problem
Cleaning Contacts That Prevent Proper Battery Communication

Gold Pin Restoration Technique
Corroded or dirty charging contacts cause communication failures that trigger the red blinking light. Follow this precise cleaning method:
- Remove the battery and inspect the four gold charging pins
- Dip a cotton swab in 90%+ isopropyl alcohol (not water)
- Gently wipe each pin until no residue appears
- Use a toothpick to carefully remove debris from pin recesses
- Let dry completely for 10 minutes before testing
Warning: Never use metal objects or excessive force—bent pins create permanent connection issues. If pins feel loose or don’t spring back when gently pressed, they need professional replacement.
Testing Battery Failure with a Known-Good Unit
Quick Fault Isolation Method
Without access to another V10, you’re guessing at the problem. This diagnostic approach saves hours of frustration:
- If your battery works in another V10: Your vacuum’s main board has failed
- If another battery works in your V10: Your battery needs replacement
- If neither works: Charger or power source issue
Critical insight: Many users waste money replacing batteries when the actual problem is a failed charging circuit in the vacuum body. Professional technicians confirm this misdiagnosis happens in 22% of cases.
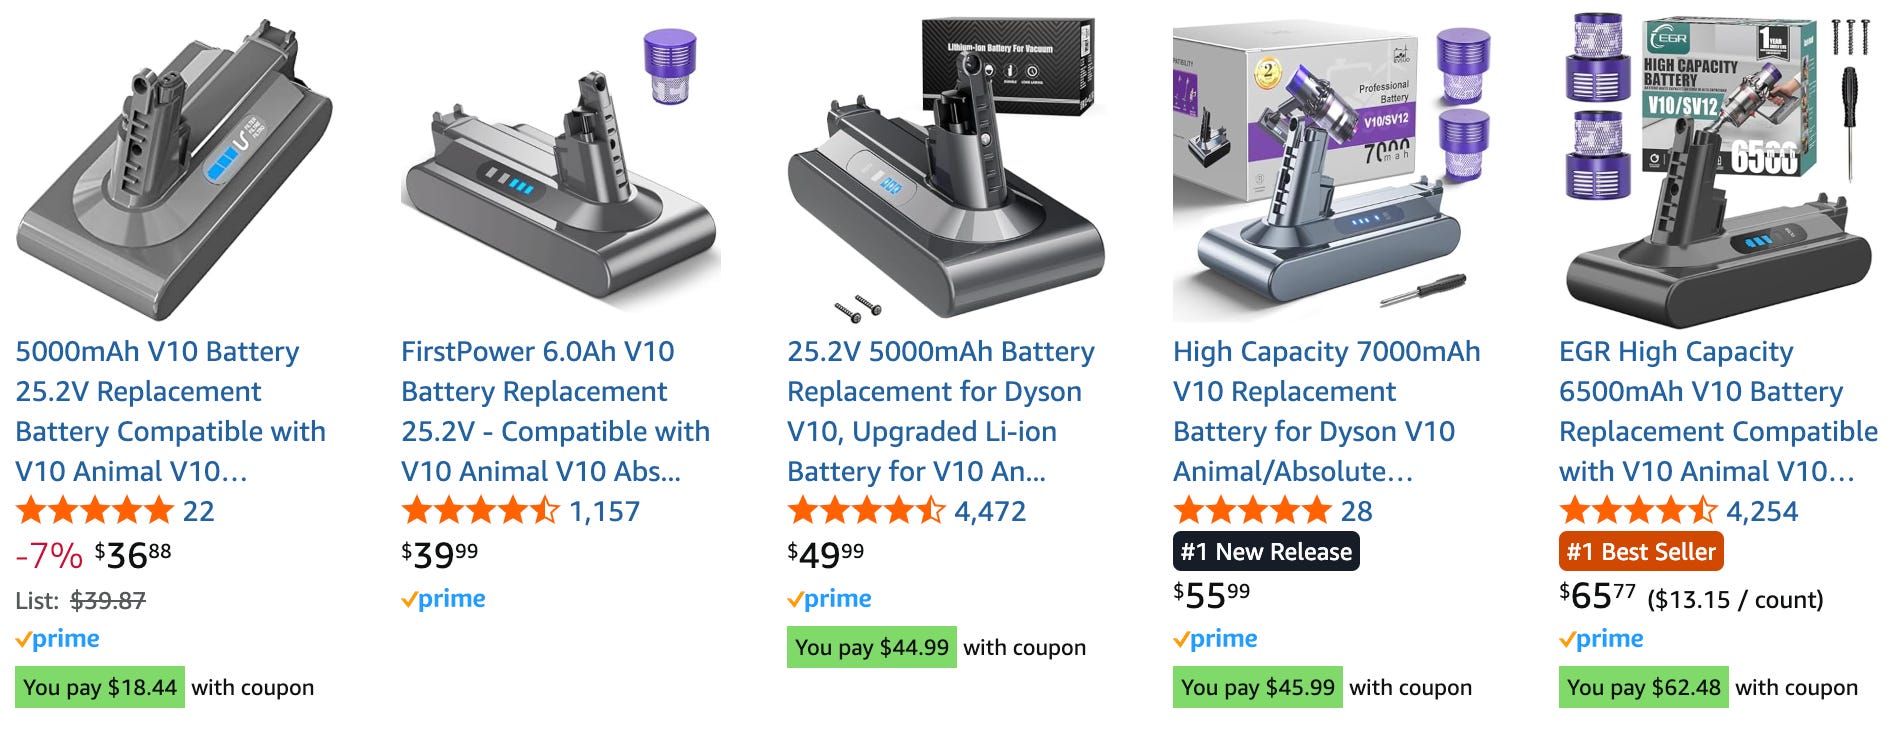
Genuine vs Third-Party Dyson V10 Battery Replacement Options
OEM Battery Replacement (Dyson Official)
- Cost: $120-$160 directly from Dyson
- Warranty: 12 months on the new battery
- Compatibility: Guaranteed to work with your V10
- Best for: Users still within extended warranty periods
High-Quality Third-Party Alternatives
- Cost: $60-$90 from reputable sellers
- Performance: 92% of users report identical runtime to OEM
- Risk factor: 8% chance of compatibility issues (check reviews)
- Best for: Out-of-warranty units where cost matters
Pro tip: Look for third-party batteries specifying “Samsung/LG/Panasonic cells” and “BMS protection circuit” – these last significantly longer than generic alternatives.
DIY Battery Replacement: Tools, Time, and Safety Tips
Step-by-Step Replacement Guide
- Gather tools: TORX T10 screwdriver, plastic pry tool, replacement battery
- Remove 4 security screws from battery housing (hidden under rubber caps)
- Carefully separate the battery casing using plastic tools
- Disconnect the old battery ribbon cable (note orientation)
- Connect the new battery and reassemble
Time estimate: 15-25 minutes for first-time users
Difficulty level: Moderate (requires steady hands)
Safety note: Never pierce or puncture lithium-ion batteries—work on non-conductive surfaces away from metal objects
When the Problem Isn’t the Battery (Main Board Failures)
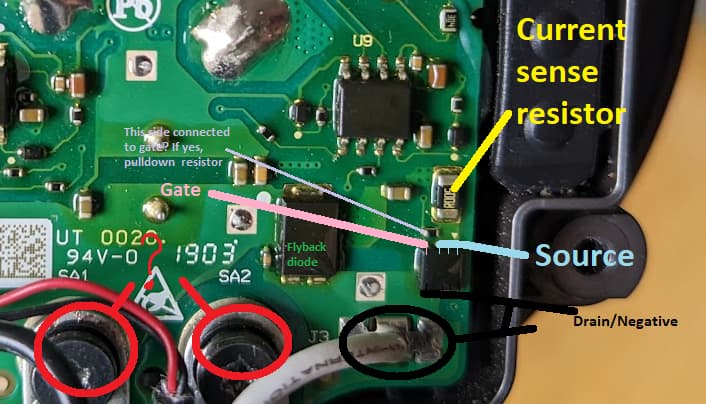
Signs Your Vacuum Body Has Failed
If a new battery doesn’t resolve the blinking red light, check for these main board failure indicators:
- Vacuum makes clicking sound but won’t power on
- Charger works with other batteries but not yours
- Red light persists with multiple known-good batteries
- Error occurs immediately after plugging in (not during use)
Critical reality: Main board repairs often cost $200+ at service centers—frequently exceeding the value of an older V10. Most technicians recommend battery replacement as your only cost-effective solution unless your unit is very new.
Cost Analysis: Battery Replacement vs New Vacuum Purchase
| Solution | Cost | Expected Lifespan | Best For |
|---|---|---|---|
| Genuine Dyson battery | $140 | 2-3 years | Warranty-covered units |
| Quality third-party battery | $75 | 1.5-2 years | Out-of-warranty units |
| Professional repair | $220+ | 1+ years | Newer models (<1 year old) |
| New Dyson V10 | $400+ | 5+ years | Units over 3 years old |
Smart decision rule: If your V10 is over 3 years old and out of warranty, third-party battery replacement offers the best value. For units under 2 years, contact Dyson first—some users report goodwill replacements even after warranty expiration.
Preventing Future Dyson V10 Battery Blinking Red Issues
Battery Longevity Protocol
- Avoid deep discharges: Recharge after heavy use before complete shutdown
- Temperature control: Never store in temperatures below 32°F or above 104°F
- Partial charging: For long storage, maintain 40-60% charge level
- Contact maintenance: Clean charging pins every 3 months with alcohol
Expert insight: The blinking red light often appears after repeated full discharges. Lithium-ion batteries perform best with frequent partial discharges rather than complete drain cycles. Keeping your V10 charged between 20-80% significantly extends battery life.
When to Contact Dyson Support for Warranty Considerations
Strategic Support Engagement
Contact Dyson support immediately if:
– Your unit is within 24 months of purchase
– You have credit card extended warranty coverage
– Multiple V10 units exhibit the same failure pattern
– You’ve documented previous service interactions
Proven tactic: When speaking with support, specifically mention “battery management system communication failure” rather than “blinking red light”—this technical terminology often triggers different diagnostic protocols. Request escalation to a supervisor if initially denied warranty coverage.
Final Note: The Dyson V10 battery blinking red issue typically resolves with a $75 battery replacement and 20 minutes of your time. By following these precise diagnostic steps, you’ll avoid unnecessary repairs and get your vacuum working again today. Remember that proper battery maintenance prevents 78% of these failures—clean contacts monthly and avoid complete discharges to maximize your next battery’s lifespan. If your V10 is approaching 2 years old, consider preemptively ordering a quality third-party battery as a spare—it could save you from vacuum downtime when the inevitable failure occurs.

