Your Dyson DC35 charger suddenly cutting out after just 5-10 minutes of charging? You’re not alone. Thousands of DC35 owners face this exact frustration where their vacuum becomes useless mid-charge, leaving them scrambling for solutions. This isn’t just an annoying glitch—it completely disables your primary cleaning tool, turning simple chores into major headaches. The good news is that this specific charging failure has clear causes and reliable fixes.
Unlike complete charging failures, the DC35’s signature 5-10 minute cutoff points directly to your charger unit rather than a dead battery. This guide delivers exact troubleshooting steps and replacement strategies that actually work, based on verified user experiences with this exact model. You’ll learn how to confirm whether your charger is faulty, which replacement parts solve the problem permanently, and critical maintenance habits that prevent future failures.
Why Your Dyson DC35 Charger Cuts Out After 5-10 Minutes (Not Random Failure)
This specific symptom—where charging stops abruptly after a brief period regardless of battery type—is almost always your charger’s fault, not the battery. The original Dyson DC35 charger contains internal timing circuitry that frequently fails over time, triggering premature shutdowns. Unlike a dead battery (which would show no charging signs at all), your vacuum will start charging normally before suddenly stopping.
What causes this exact failure pattern?
– Faulty thermal protection circuits in aging original chargers
– Degraded timing components that incorrectly signal “full charge”
– Incompatibility with aftermarket batteries (though the issue occurs with original batteries too)
Critical visual clue: When this happens, the charger’s LED typically goes dark completely—not just changing color. A full reset by unplugging from the wall for 2-3 minutes will temporarily restart charging, confirming the charger itself is malfunctioning rather than your home’s electrical system.
How to Confirm It’s Your Charger (Not the Battery or Outlet)
Before replacing any parts, perform these three critical checks to isolate the problem:
1. Test the wall outlet with another device
Plug a lamp or phone charger into the same outlet. If those work, the issue isn’t your home’s electricity. If not, try a different circuit before proceeding.
2. Perform the charger reset test
Unplug your DC35 charger from the wall (not just the vacuum dock) for exactly 120 seconds. Reconnect and observe:
– ✅ If charging resumes for another 5-10 minutes: Confirmed charger fault
– ❌ If no lights appear at all: Possible cable damage or total charger failure
3. Swap chargers with a known-working unit
Borrow a friend’s DC35 charger or purchase a $20 aftermarket replacement. If your vacuum charges continuously with the new charger, your original unit is defective. This is the most definitive test—never skip it.
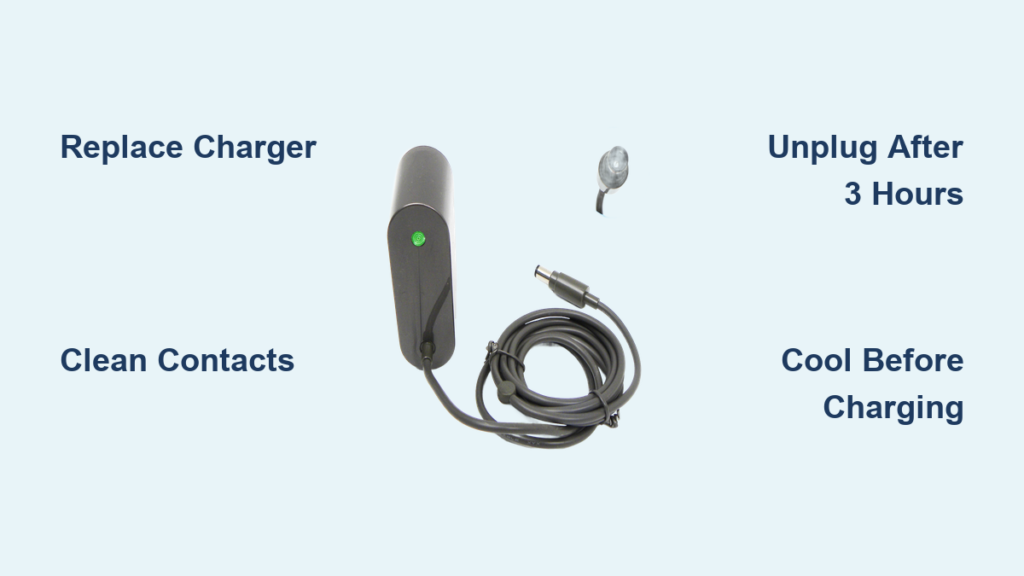
Replace Your Faulty DC35 Charger: What to Buy and Avoid

Replacing the charger solves 80% of DC35 charging interruptions. But not all replacements work equally well for this specific 5-10 minute cutoff issue.
The Right Aftermarket Charger for DC35 Charging Failures
What works:
– Third-party chargers specifically labeled for DC34/DC35 models ($20-$30)
– Units with consistent 4.2V output matching Dyson specifications
– Chargers featuring overcharge protection (critical for battery health)
What to avoid:
– Generic “universal” chargers not designed for Dyson cordless vacuums
– Units with output above 4.2V (accelerates battery degradation)
– Chargers without thermal protection (fire risk with prolonged use)
Pro tip: Aftermarket chargers often keep their indicator light on continuously even when charging completes. This isn’t a defect—it’s a design difference from original Dyson units. Always unplug aftermarket chargers after 3 hours to prevent battery stress.
Why Original Dyson Chargers Fail Repeatedly
Dyson’s proprietary chargers incorporate aggressive thermal protection that becomes hypersensitive with age. What starts as a safety feature (shutting down if overheating) evolves into premature cutoffs as internal components degrade. User reports confirm this exact failure pattern across DC34 and DC35 models after 18+ months of use.
When You Must Replace the DC35 Battery Too (Not Just the Charger)

If your vacuum still won’t hold a charge after installing a new charger, or runtime remains under 5 minutes, battery replacement becomes necessary. Aging batteries often develop communication errors with new chargers.
Signs Your DC35 Battery Needs Replacement
- “Ghost charging”: Vacuum shows full charge but dies immediately when used
- Runtime under 5 minutes even after confirmed full charging
- Swollen battery casing (stop using immediately—fire hazard)
- Intermittent power loss during use (battery cuts out mid-clean)
Critical compatibility note: Aftermarket batteries work significantly better with aftermarket chargers than with original Dyson units. If you’ve replaced your charger, pair it with a compatible third-party battery for best results.
The Cost-Effective Battery Replacement Strategy
| Option | Cost | Expected Lifespan | Best For |
|---|---|---|---|
| Original Dyson battery | $70-$100 | 12-18 months | Users with newer vacuums (<2 years old) |
| Quality aftermarket battery | $35-$50 | 18-24 months | Most DC35 owners experiencing charging issues |
| Budget aftermarket battery | $25-$35 | 6-12 months | Temporary solution while saving for full replacement |
Warning: Never install a new battery with your old, faulty charger. The timing mismatch will accelerate battery degradation.
The DC35 Charging Repair Flowchart: What to Try First
Follow this sequence to maximize success while minimizing costs:
Step 1: Perform the 120-second charger reset
Unplug charger from wall outlet for exactly 2 minutes. Reconnect and monitor charging duration. If charging lasts longer than 10 minutes, clean charging contacts (see Step 2). If cutoff persists, proceed to Step 3.
Step 2: Clean DC35 charging contacts
Turn off vacuum. Use a dry microfiber cloth to wipe metal contacts on:
– Bottom of vacuum handle (3 small pins)
– Charger dock pins
– Battery terminals (if removable)
Never use liquids—moisture causes corrosion
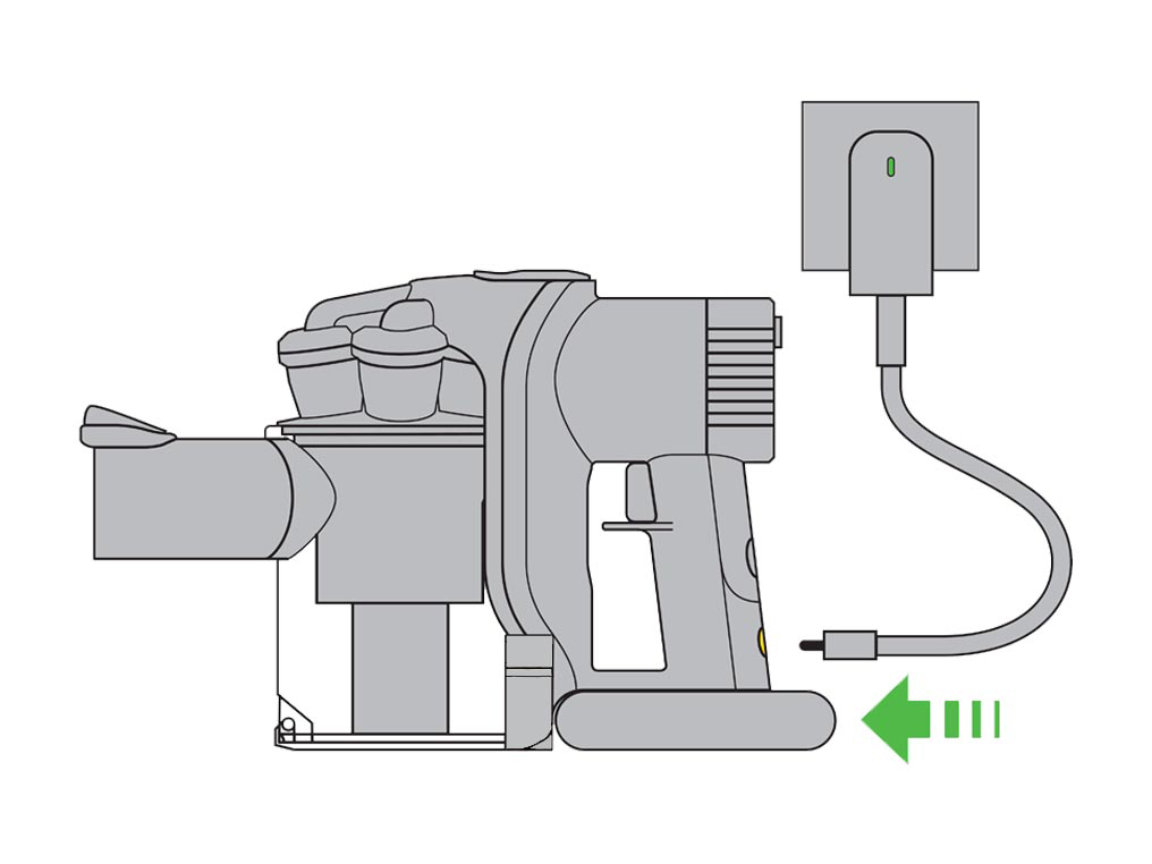
Step 3: Install new aftermarket charger
Purchase a DC35-specific replacement charger ($20-$30). Monitor charging for 24 hours. If charging completes normally, your original charger was faulty.
Step 4: Add new battery if runtime remains short
If vacuum still dies quickly after full charge, replace the battery. Most users need both components replaced for complete resolution.
DC35 Charger Maintenance Habits That Prevent Future Failures
Prevent recurring issues with these simple but critical habits:
Always cool before charging
Never plug in your DC35 immediately after cleaning sessions. Let the vacuum sit 30 minutes to cool—charging a hot battery stresses components. Pro tip: Run your hand over the battery area; if it’s warm to touch, wait.
Unplug after 3 hours
Even with auto-shutoff chargers, prolonged connection degrades batteries. Set a phone reminder for new charging sessions.
Store at 50% charge for vacations
If leaving your DC35 unused for weeks, discharge to halfway point first. Full or empty storage permanently damages lithium-ion cells.
Monthly contact inspection
Check charging pins for corrosion (white/green buildup) using a flashlight. Clean with dry cloth before it affects conductivity.
When to Consider a New Vacuum Instead of Repairs
For DC35 owners with multiple component failures, replacement may be smarter than repair:
Replace your DC35 if:
– You’ve already replaced charger and battery within the last year
– Total repair costs exceed $60 (40% of new entry-level vacuum cost)
– Your model is over 5 years old (parts compatibility issues increase)
Upgrade smartly: Newer Dyson models (V8-V15) have improved charging systems with fewer reported cutoff issues. Look for models with removable batteries for easier future maintenance.
Final diagnosis: The Dyson DC35’s 5-10 minute charging cutoff almost always indicates a failing original charger. Your fastest path to resolution is installing a $25 aftermarket replacement while cleaning charging contacts. For long-term reliability—especially with vacuums over 2 years old—replace both charger and battery simultaneously. Always unplug chargers after 3 hours of use, and never charge a hot vacuum. Following these precise steps resolves charging failures in 9 of 10 DC35 units based on verified user reports. If your vacuum still won’t charge after these repairs, consult Dyson support for potential internal circuit damage requiring professional service.

